bathroom

Are we there yet?

The bathroom isn’t finished. I know. How long does it take? Well, we were away on holiday for a week and the bathroom fitters were going to complete the bathroom then. We got back to find a few things that needed changing (some of which, it turned out, we couldn’t change) and a couple of things which that the builders wanted to discuss before going ahead.

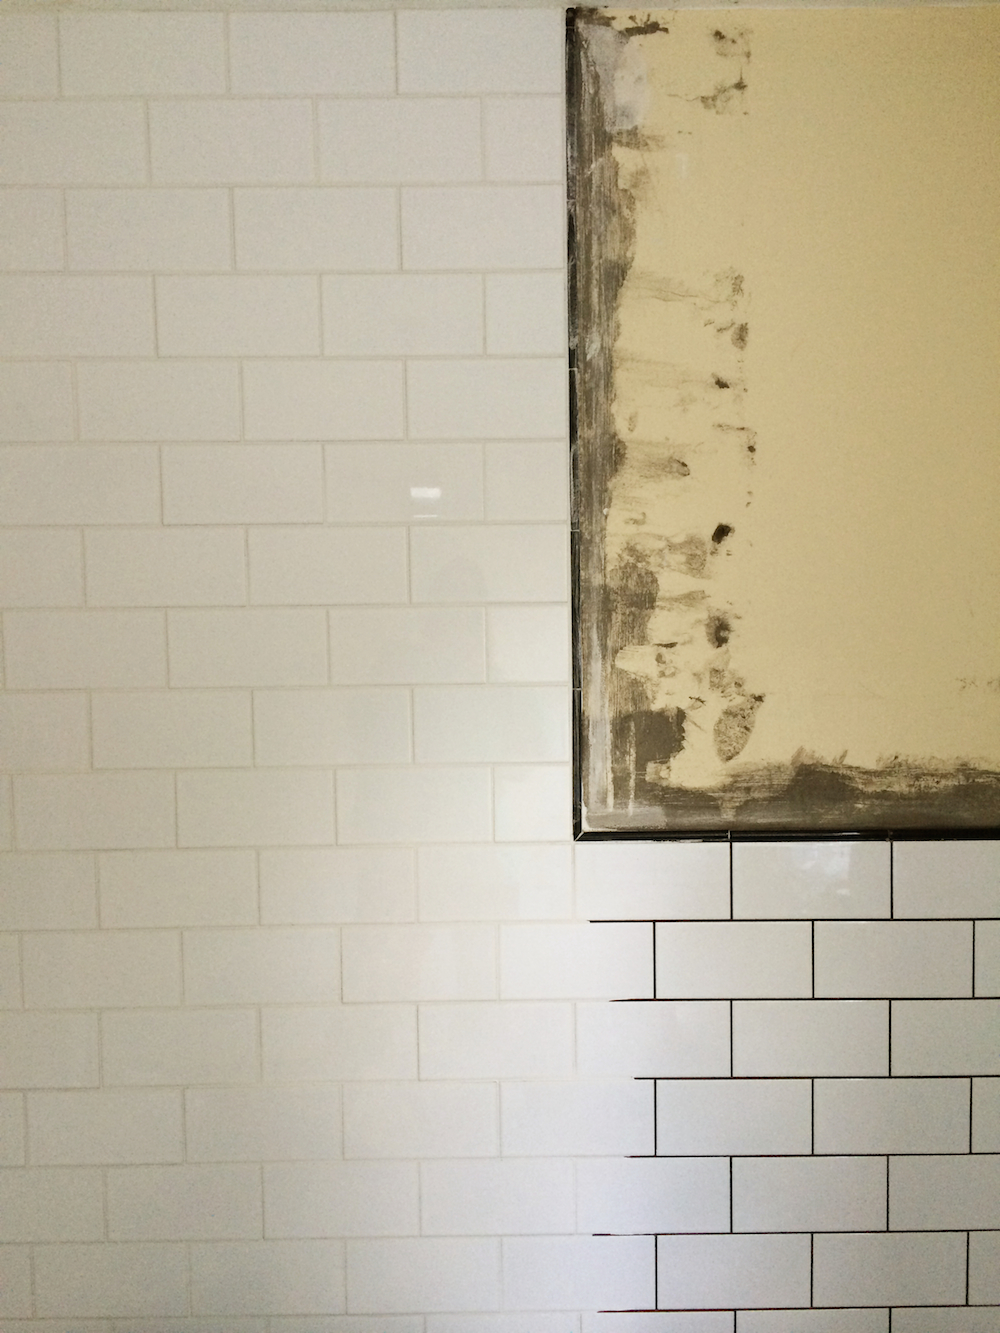
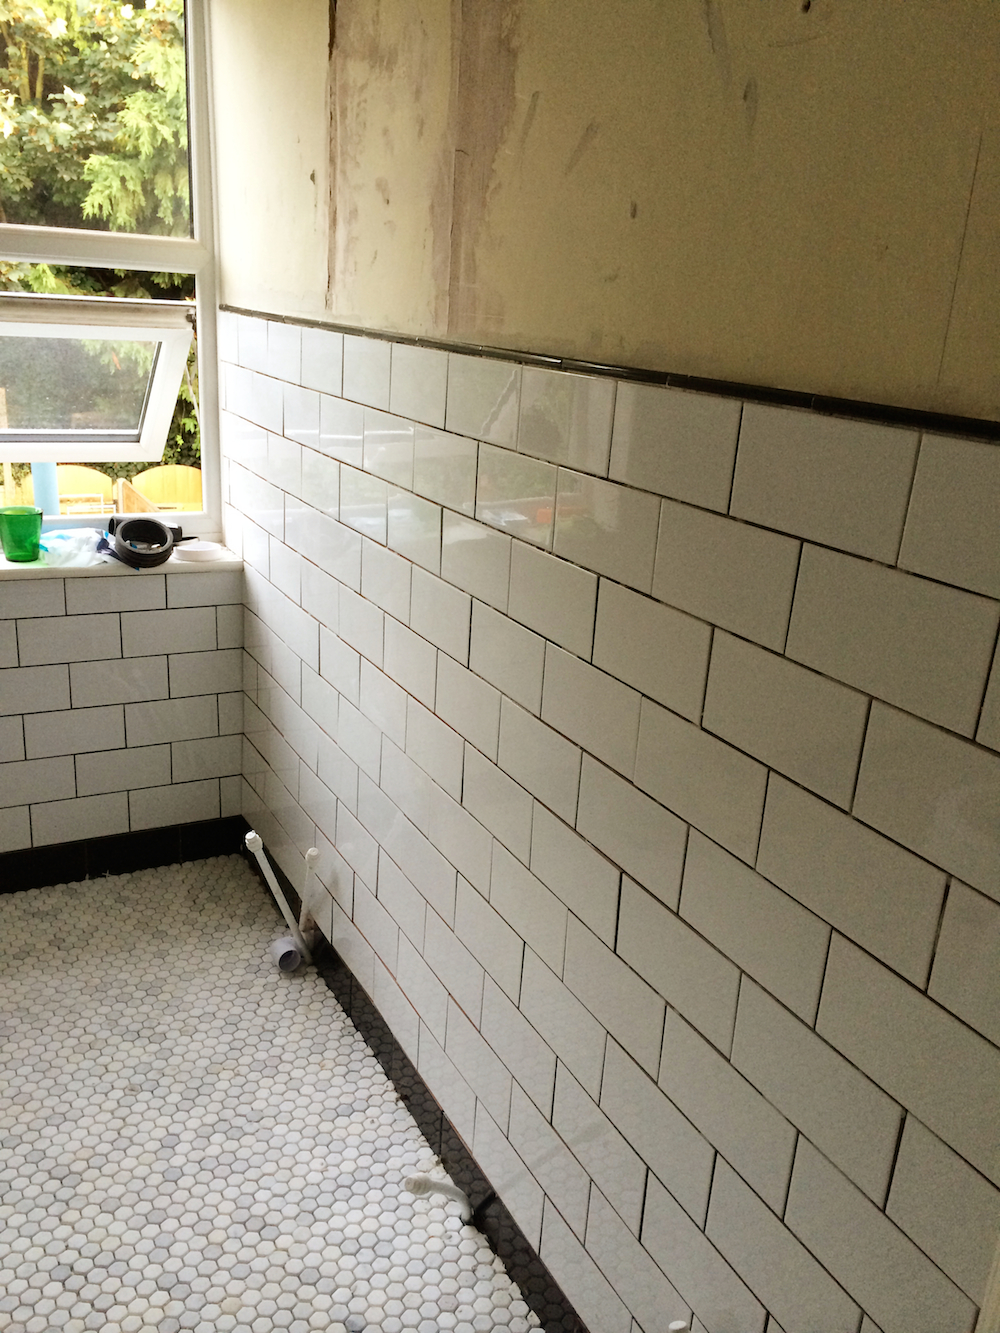
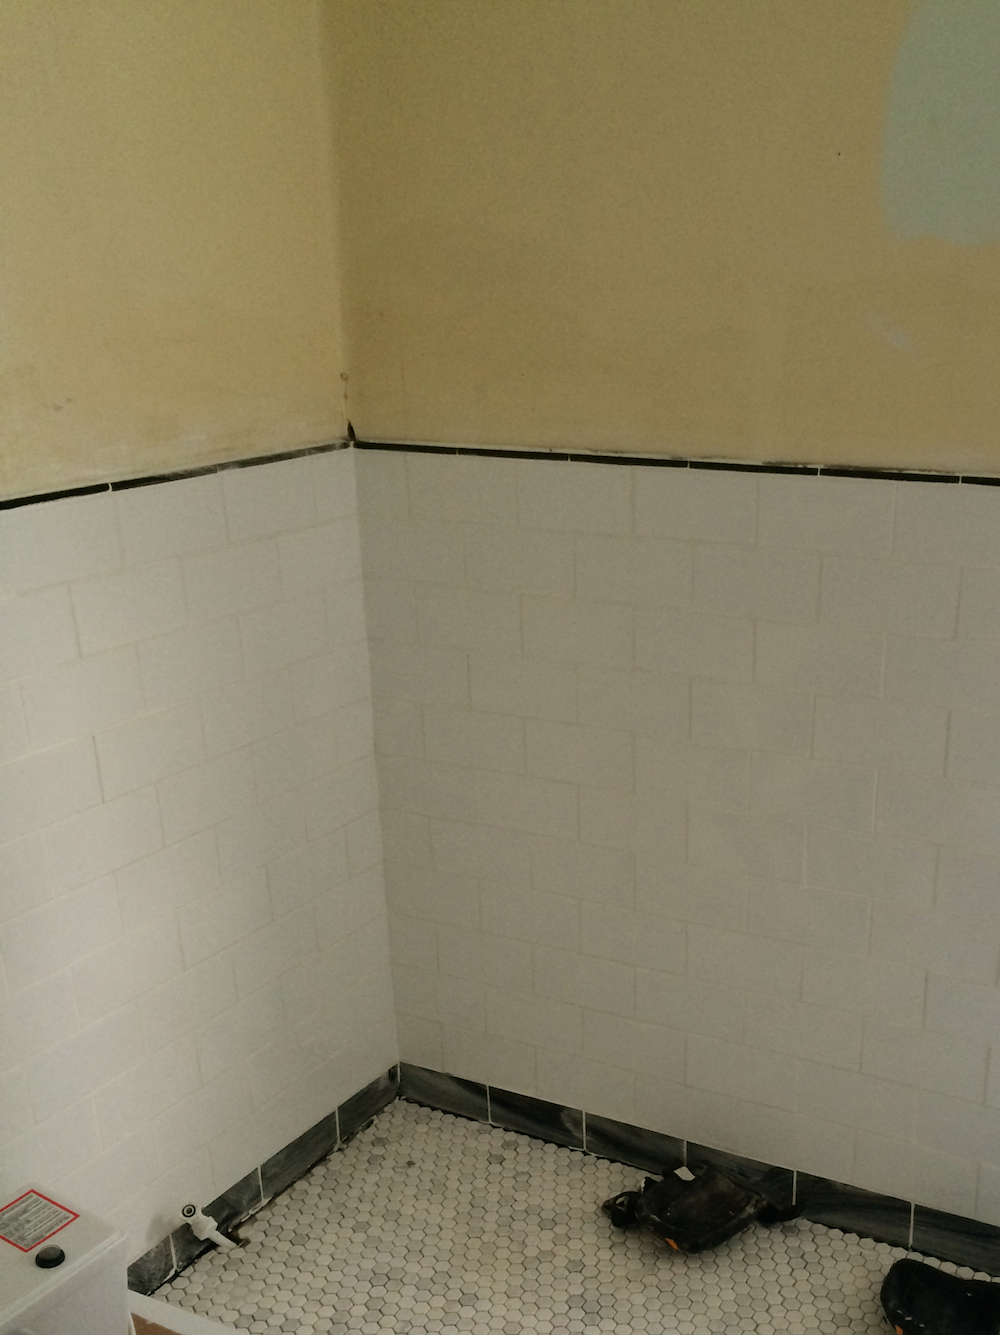
Things I wasn’t happy about but we couldn’t change mostly came down to a combination of wonky and fragile walls.

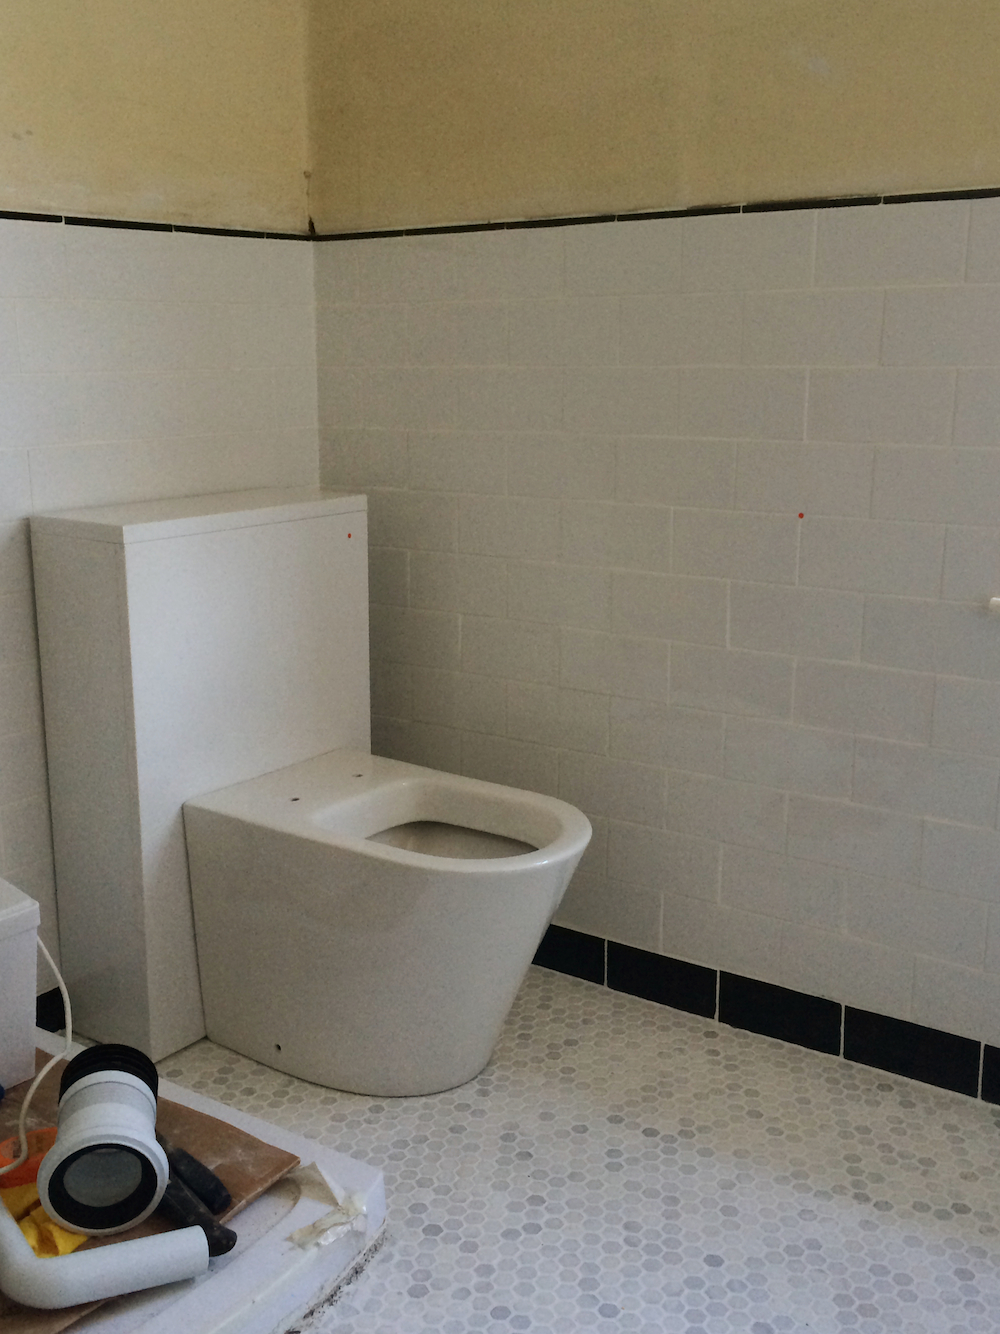
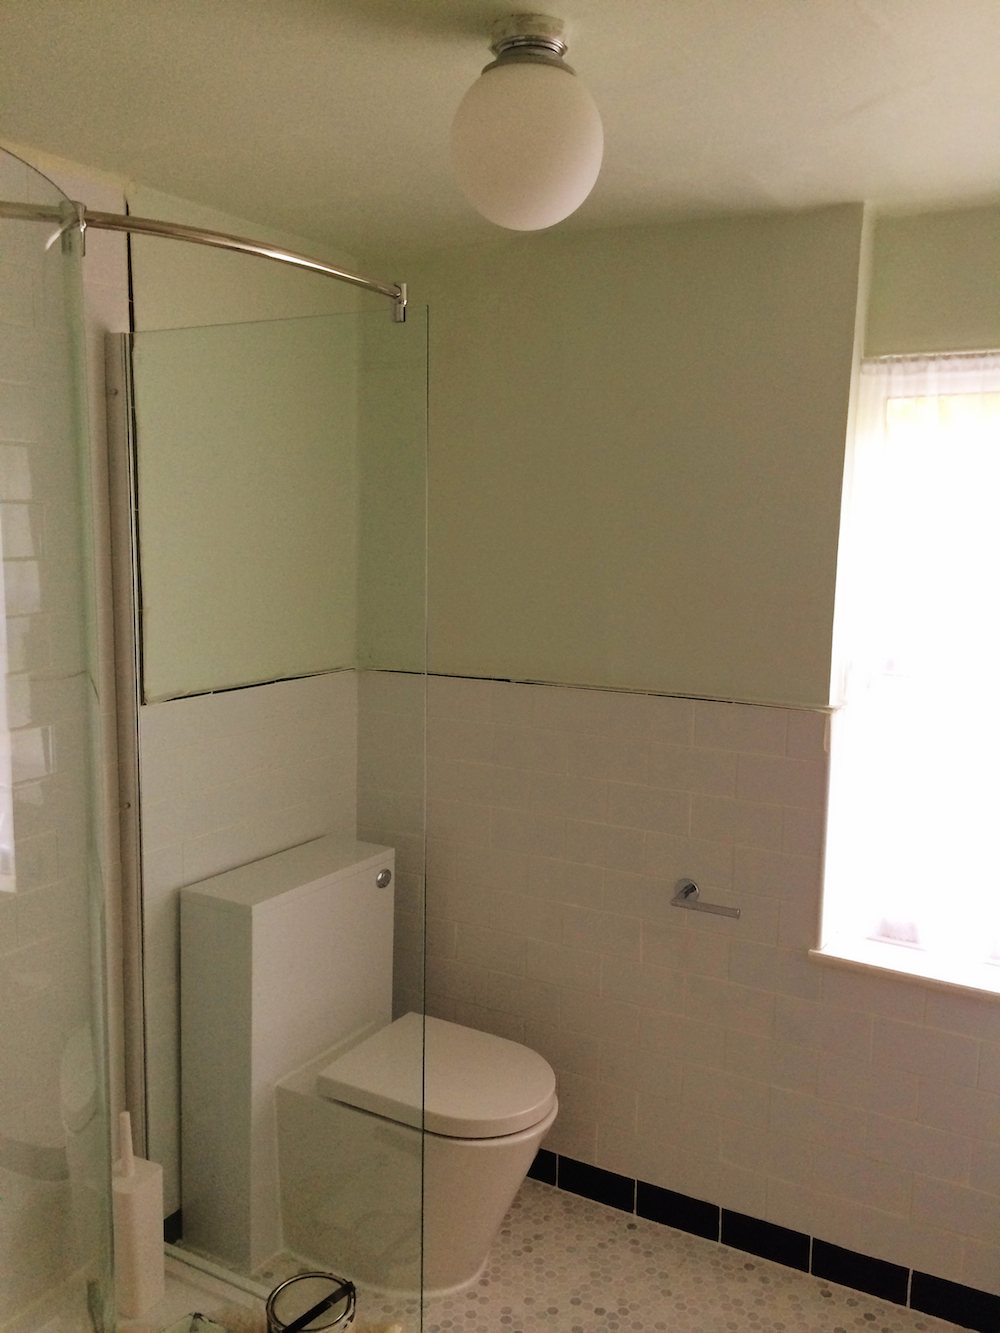
The toilet unit, after all that fuss, has a gap of about 15mm at the top rather than sitting flush with the wall. (flush! a joke! totally not on purpose.) The argument goes that the unit is snug at the bottom but the wall is wonky on both the vertical and horizontal plane so by the time we get to the top there’s a noticeable gap. (Solution is to put a trailing plant on top of the unit to mask the side. I think it might work. Fake it till you make it and all that.)

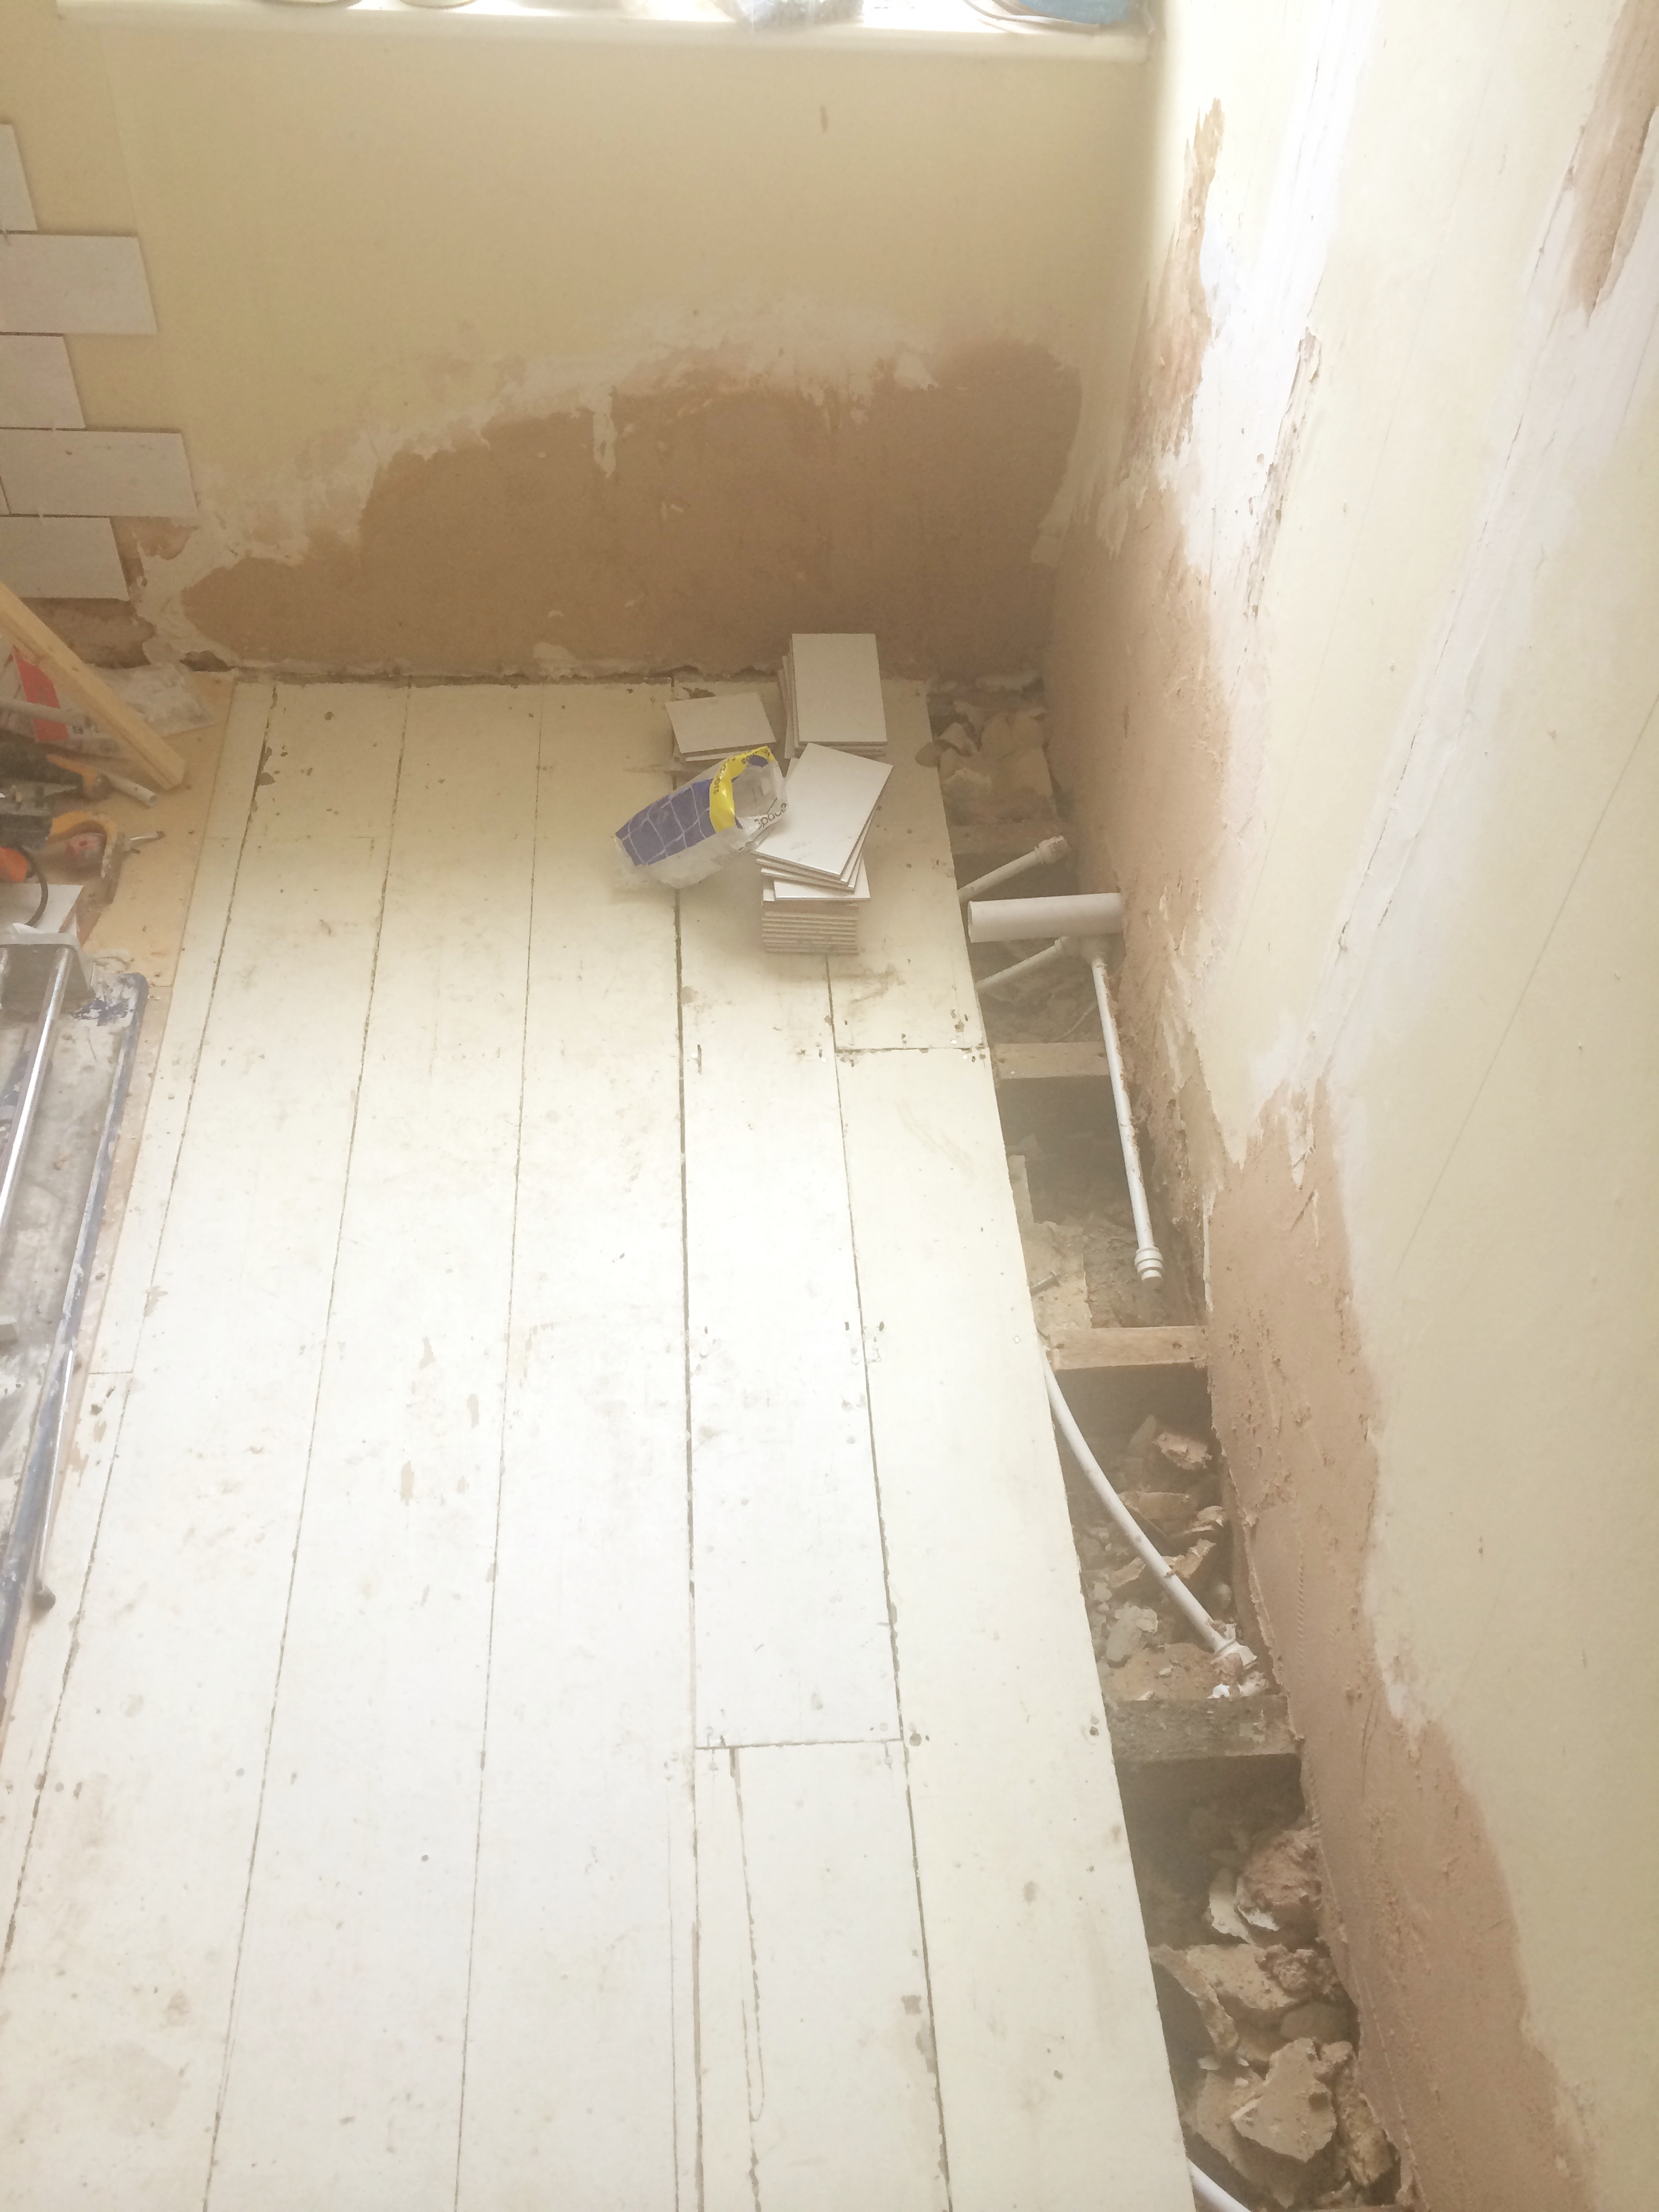
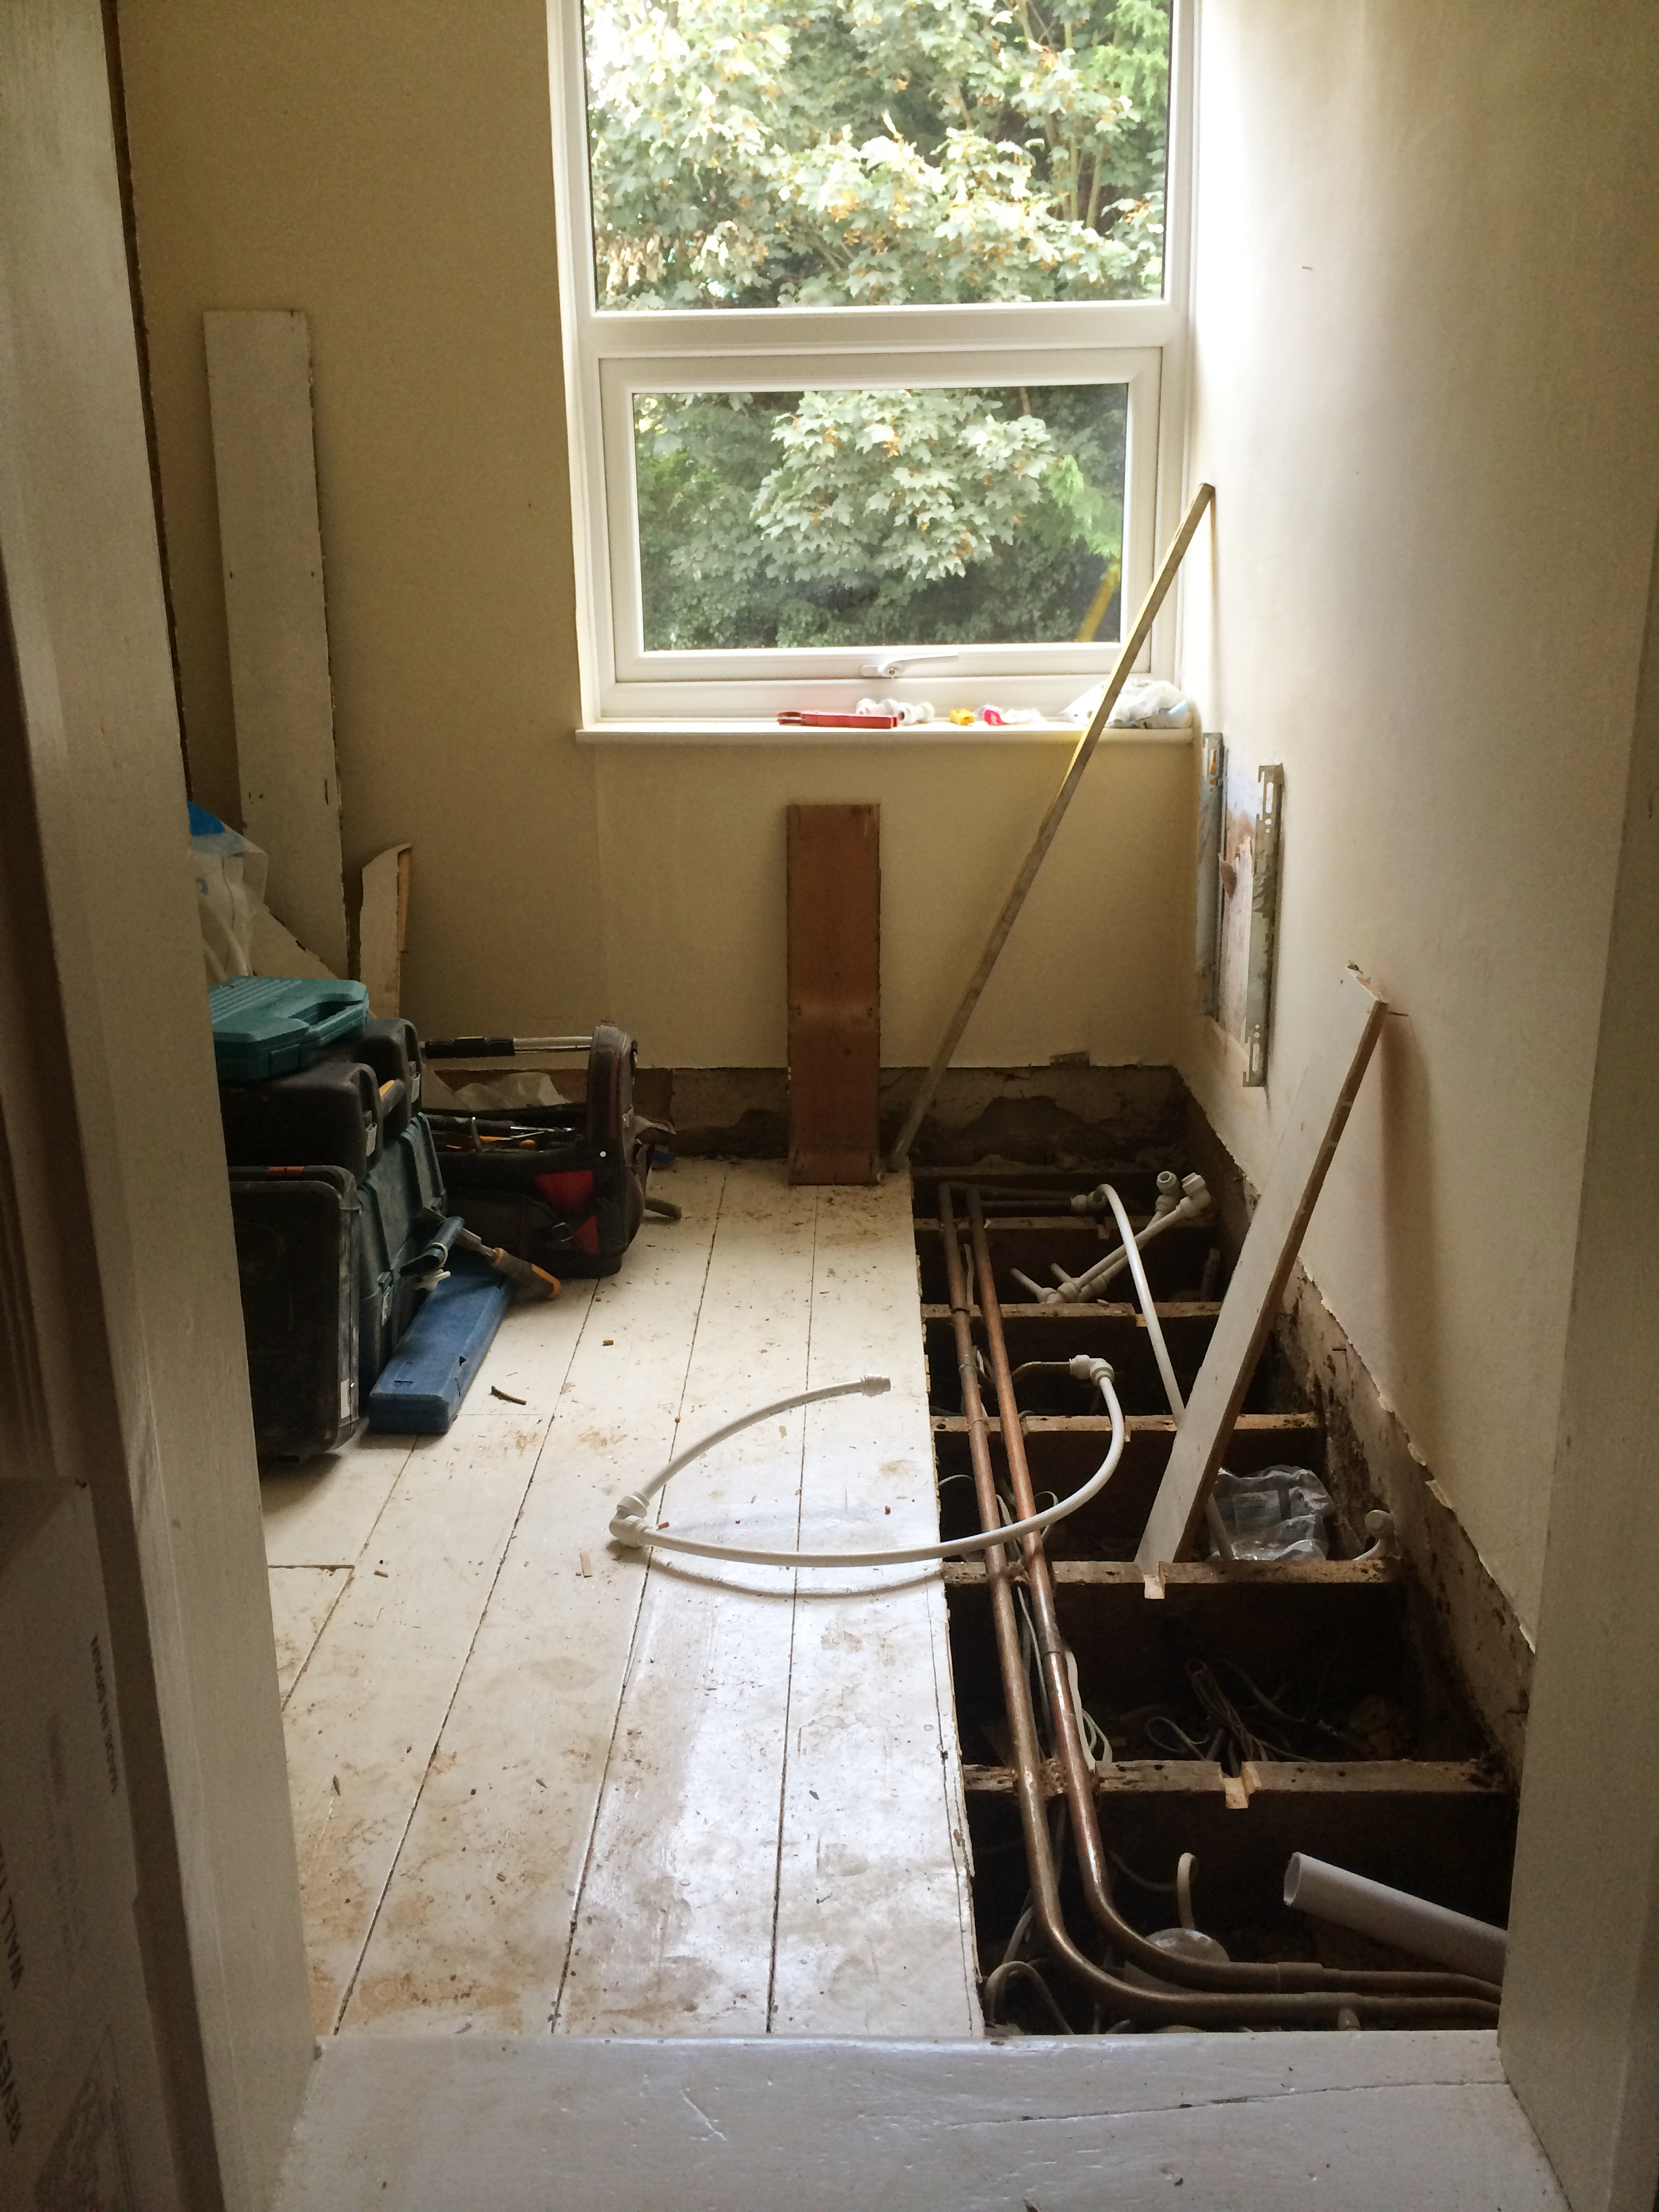
The electrics were a bit of a nightmare too. We’ve ended up with 3 unattractive boxes on the wall above and to the side of the door. One is an isolator for the fan and it’s in a fairly good place and not too prominent. The next one would ordinarily go the other side of the ceiling and you wouldn’t see it but that room’s loft space is almost inaccessible so it’s on the wall instead. A bit wonky, unfortunately, and not intended to be on display. Finally, there needs to be an isolator type box for the Saniflo and the volume of cables requires a big chunky box. There was an alternative suggestion, when I said it looked awfully messy and I’d like a better solution, to put all threee boxes in a single box. I said “Yeah! Let’s do that!” and then they said, “Except your bricks crumble as soon as you look at them and we wouldn’t want to have to make yet another channel through that space which should have a lintel but doesn’t.” Basically the ceiling might fall down… So that’s pretty much ruled that out.

I don’t like the placement of the extractor fan. It’s too prominent. Because the ceiling slopes on that side it means the fan is very much within eye-level range, so I’d have preferred it tucked a little more into the corner. But meh. I can live with it. (Qué remedio.)

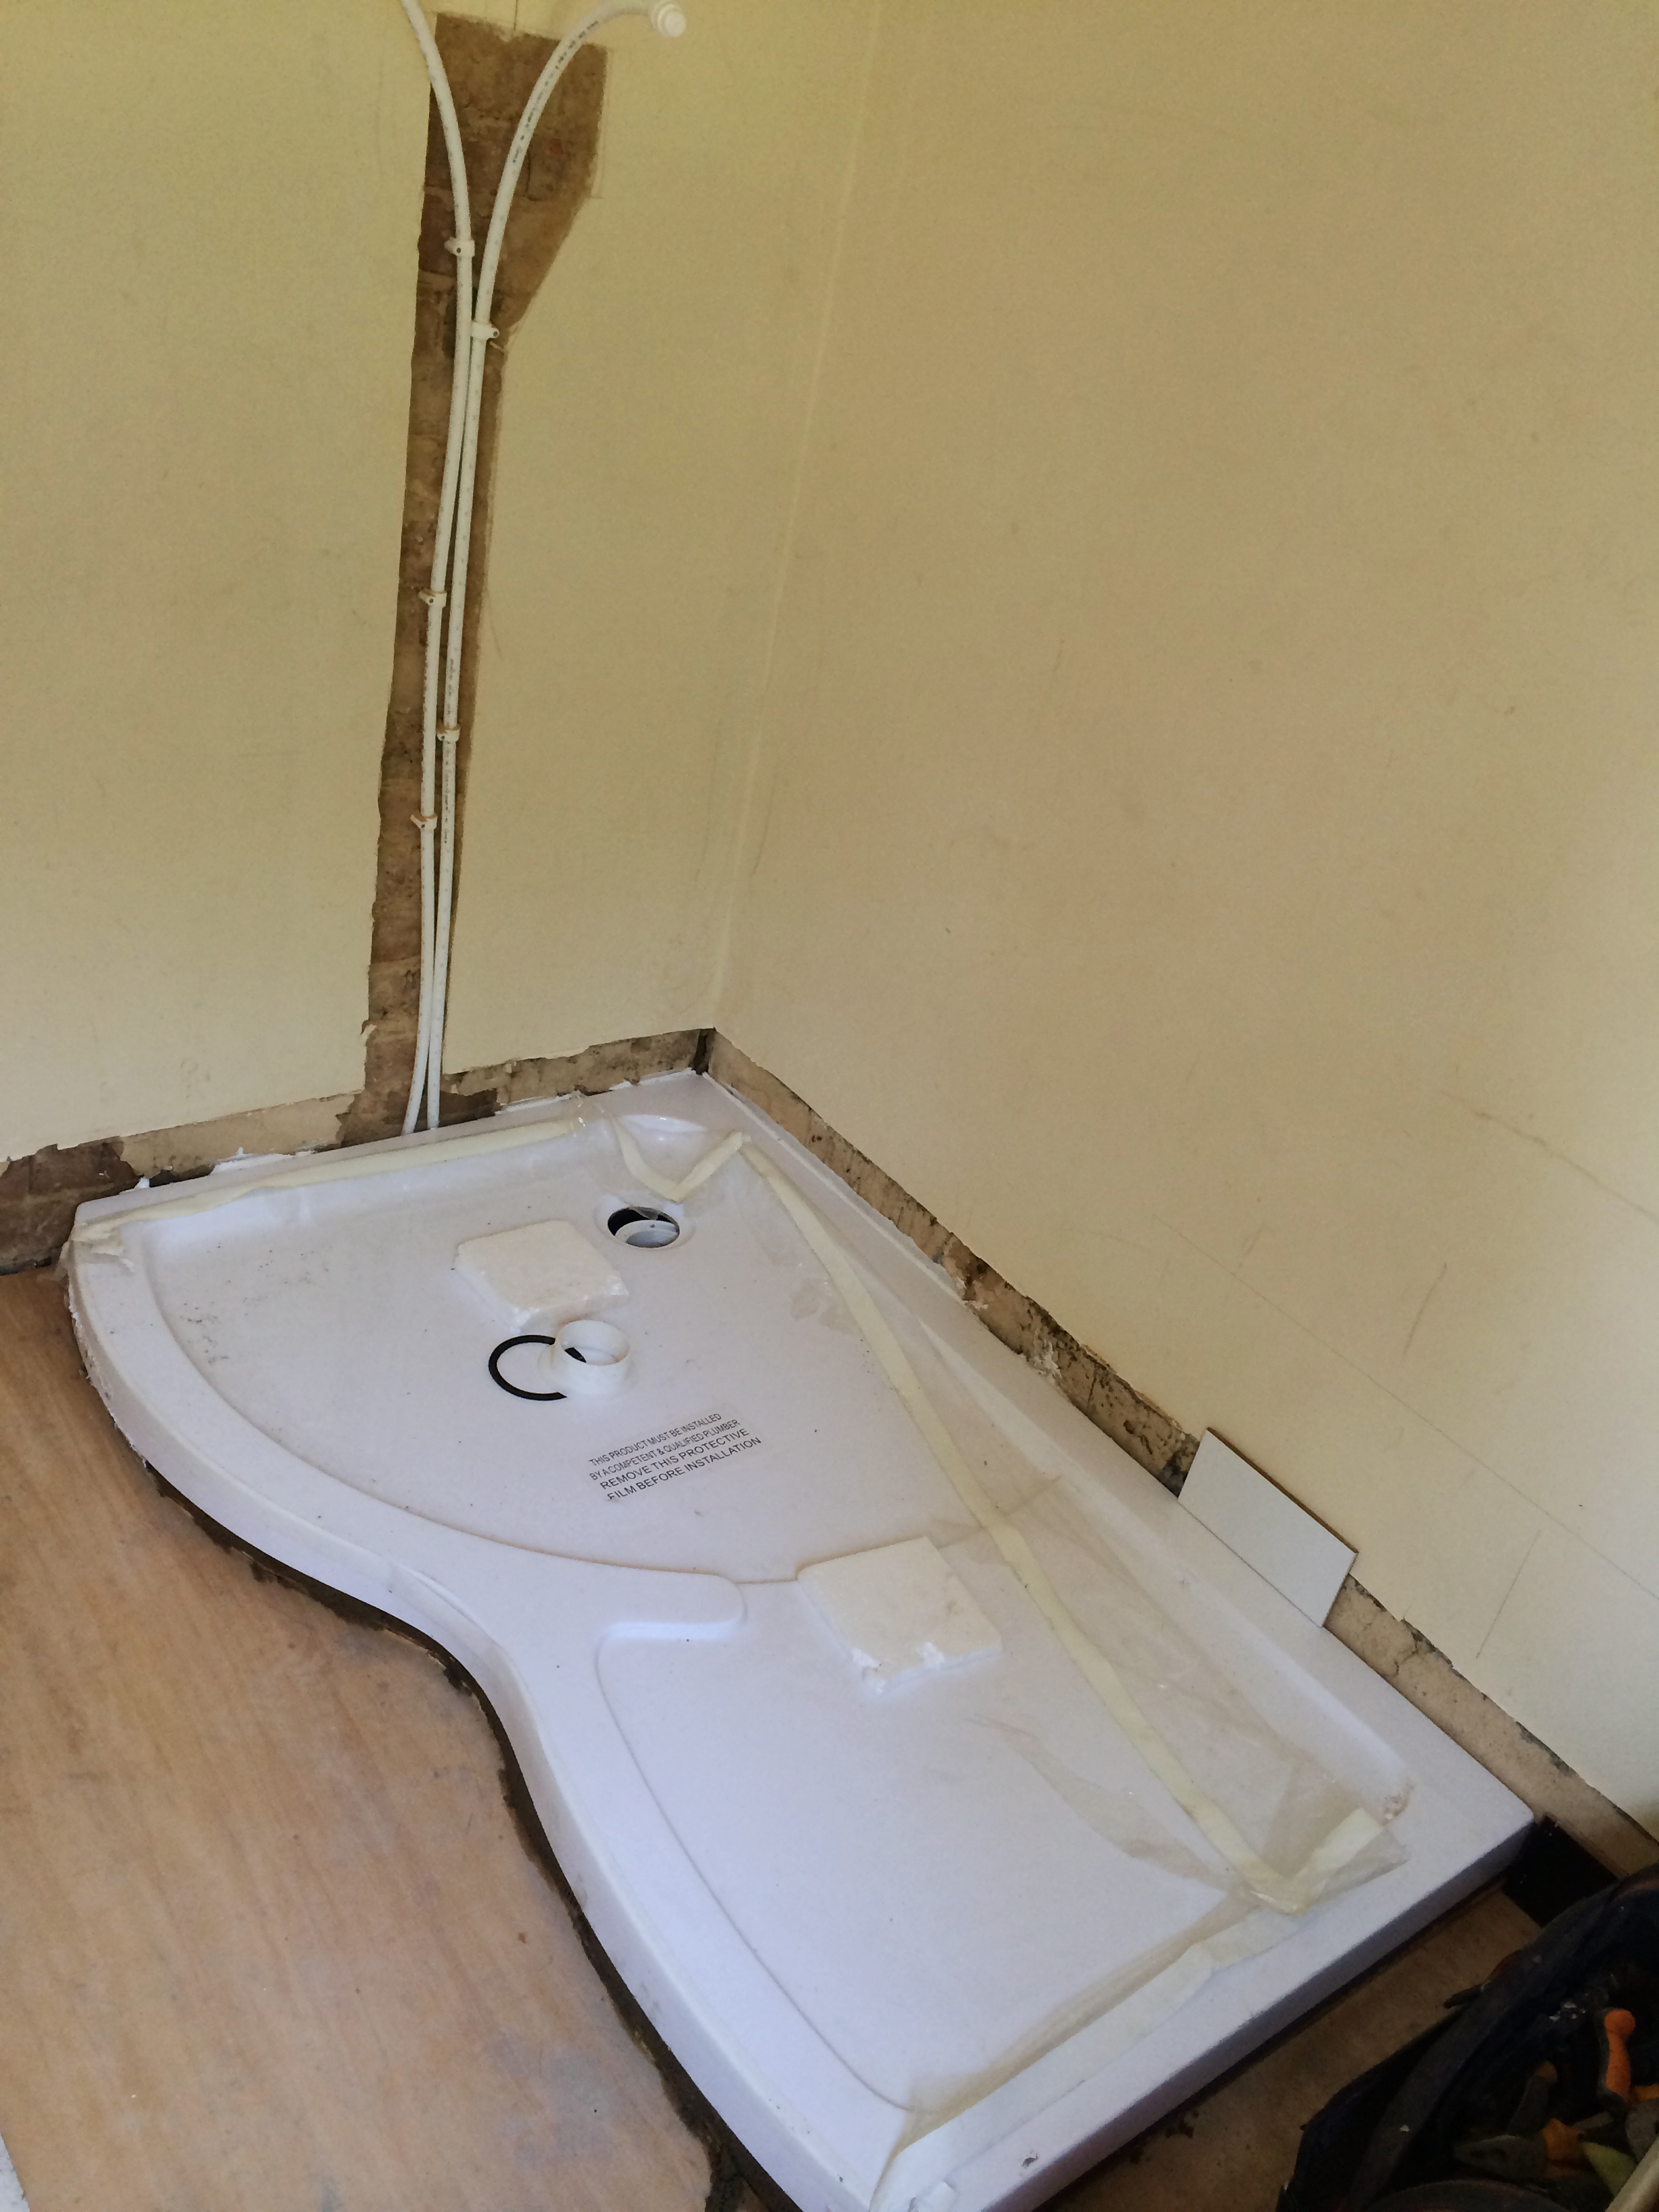
They didn’t fit a shower pump as there was a misunderstanding between the plumber and the project manager, and it’s not as cheap or straightforward as they’d led me to believe, so they want us to live with the shower and make our minds up later.

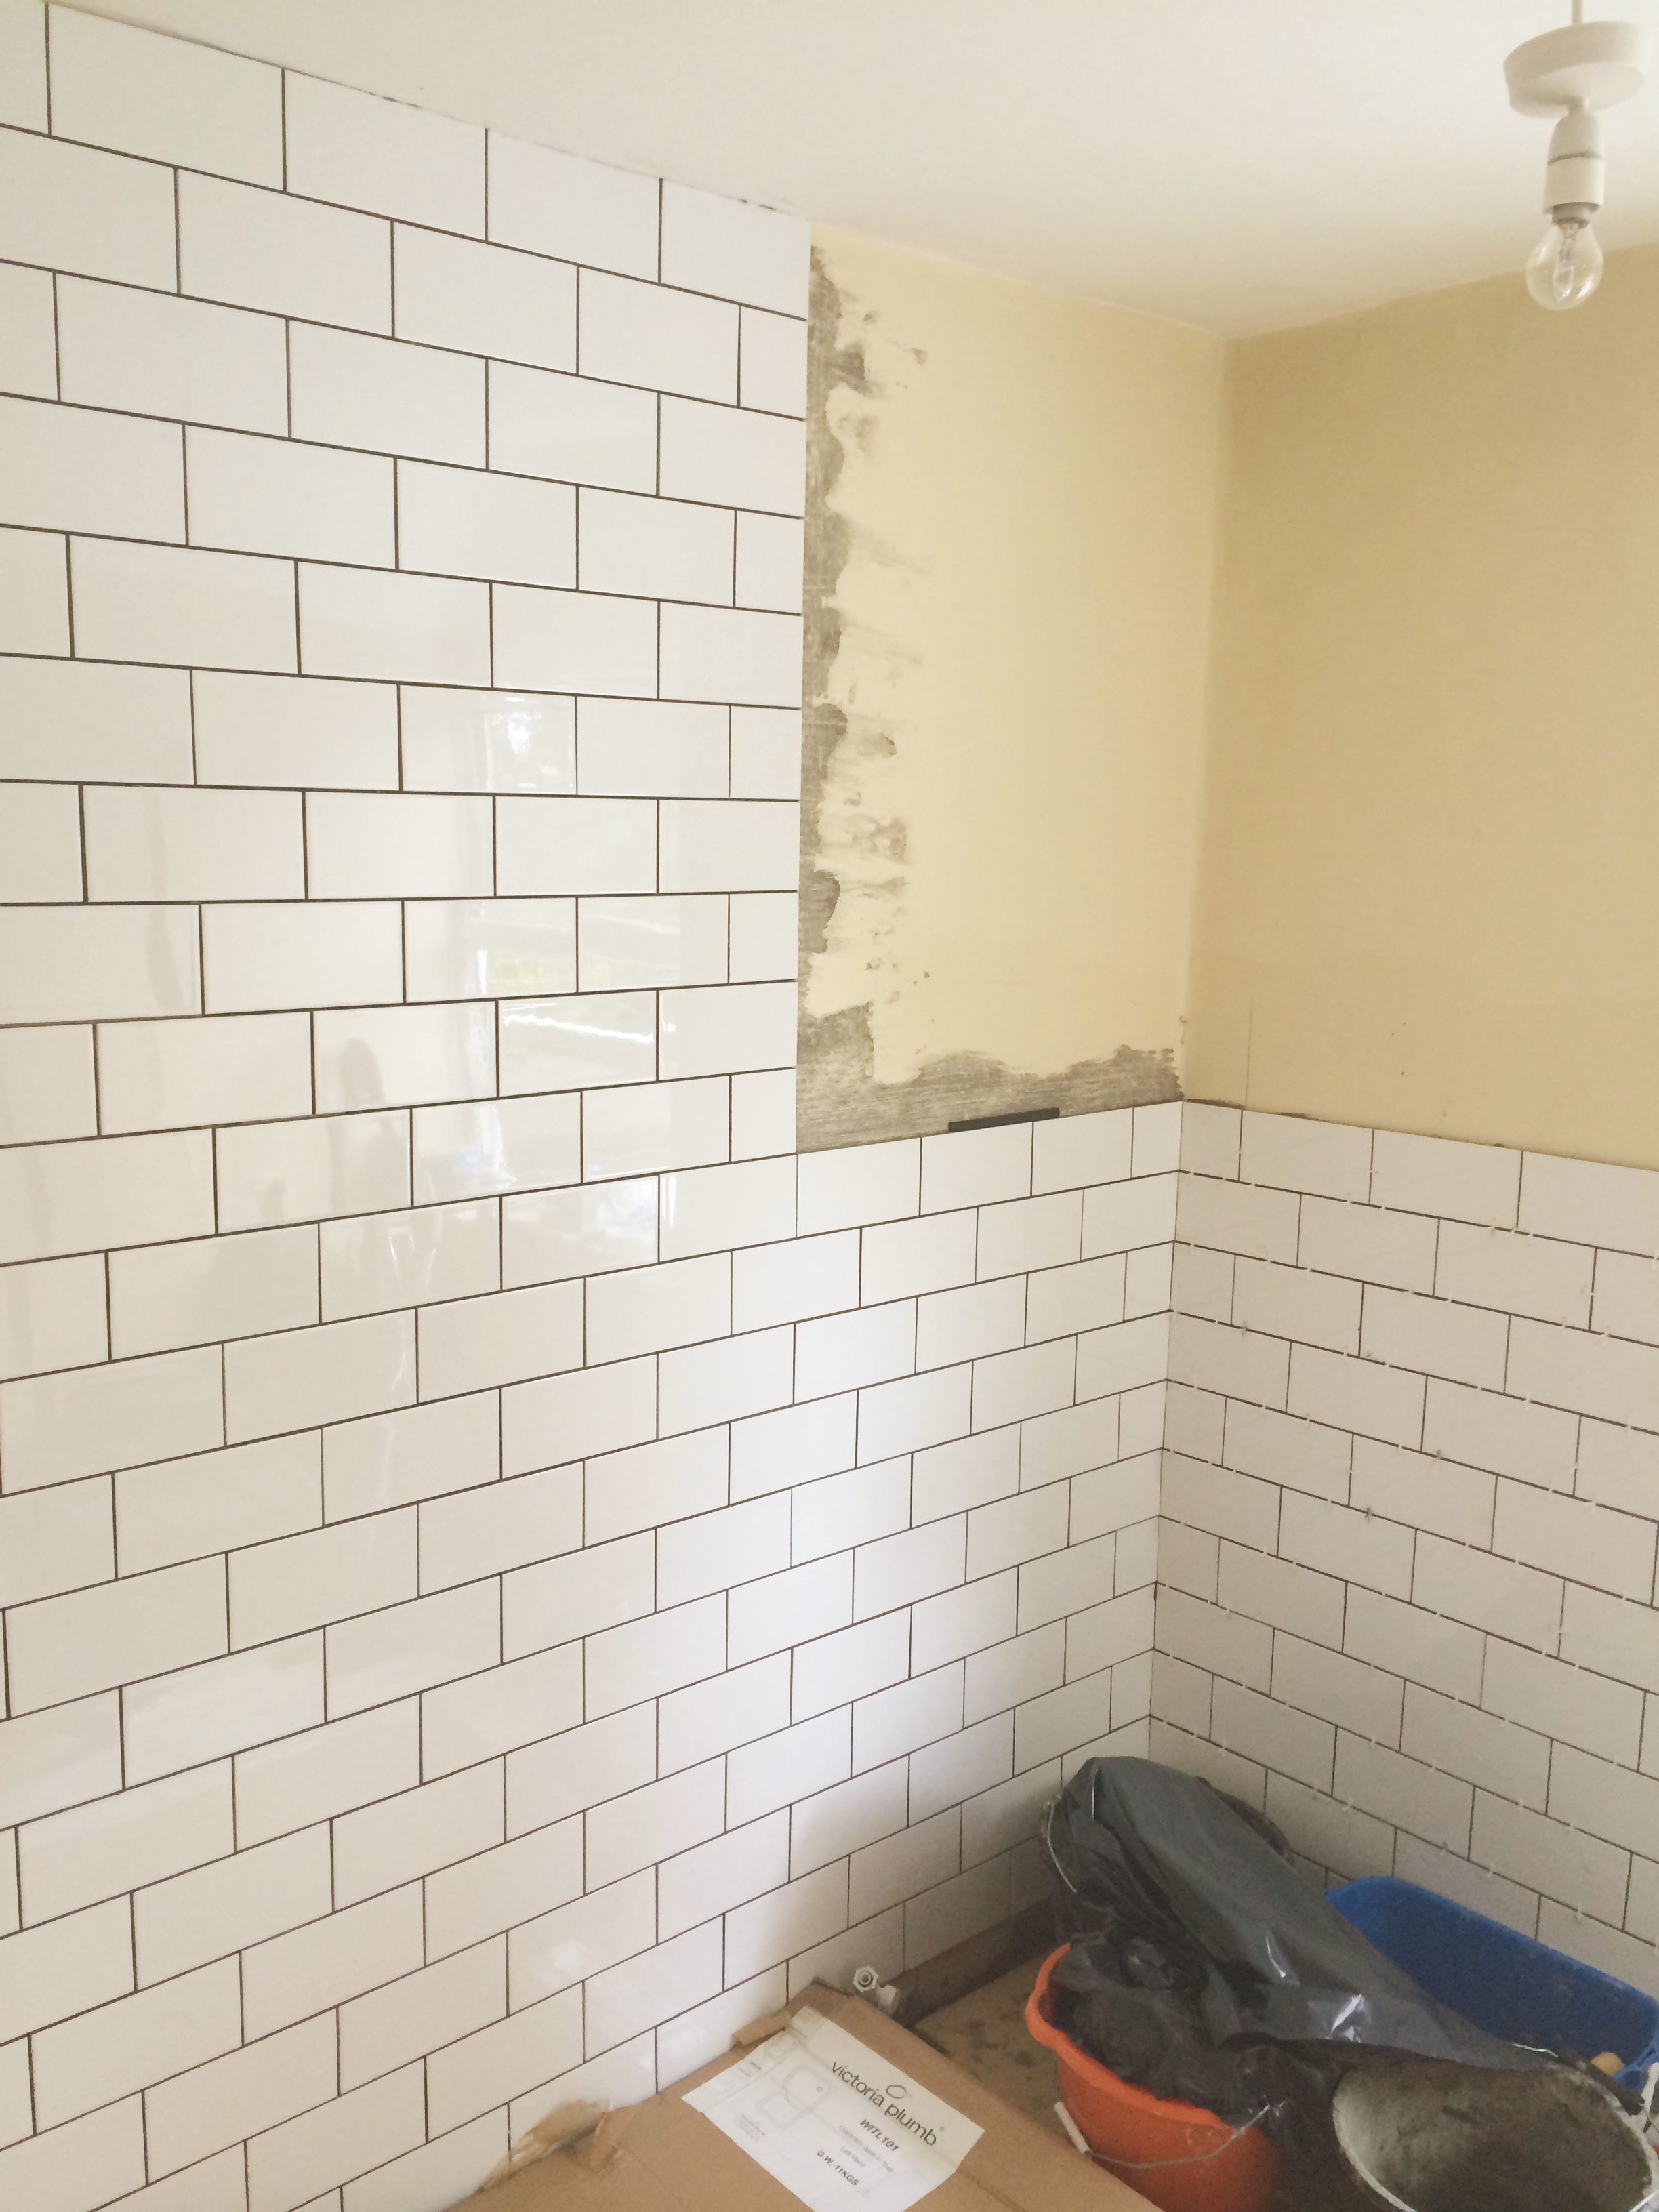
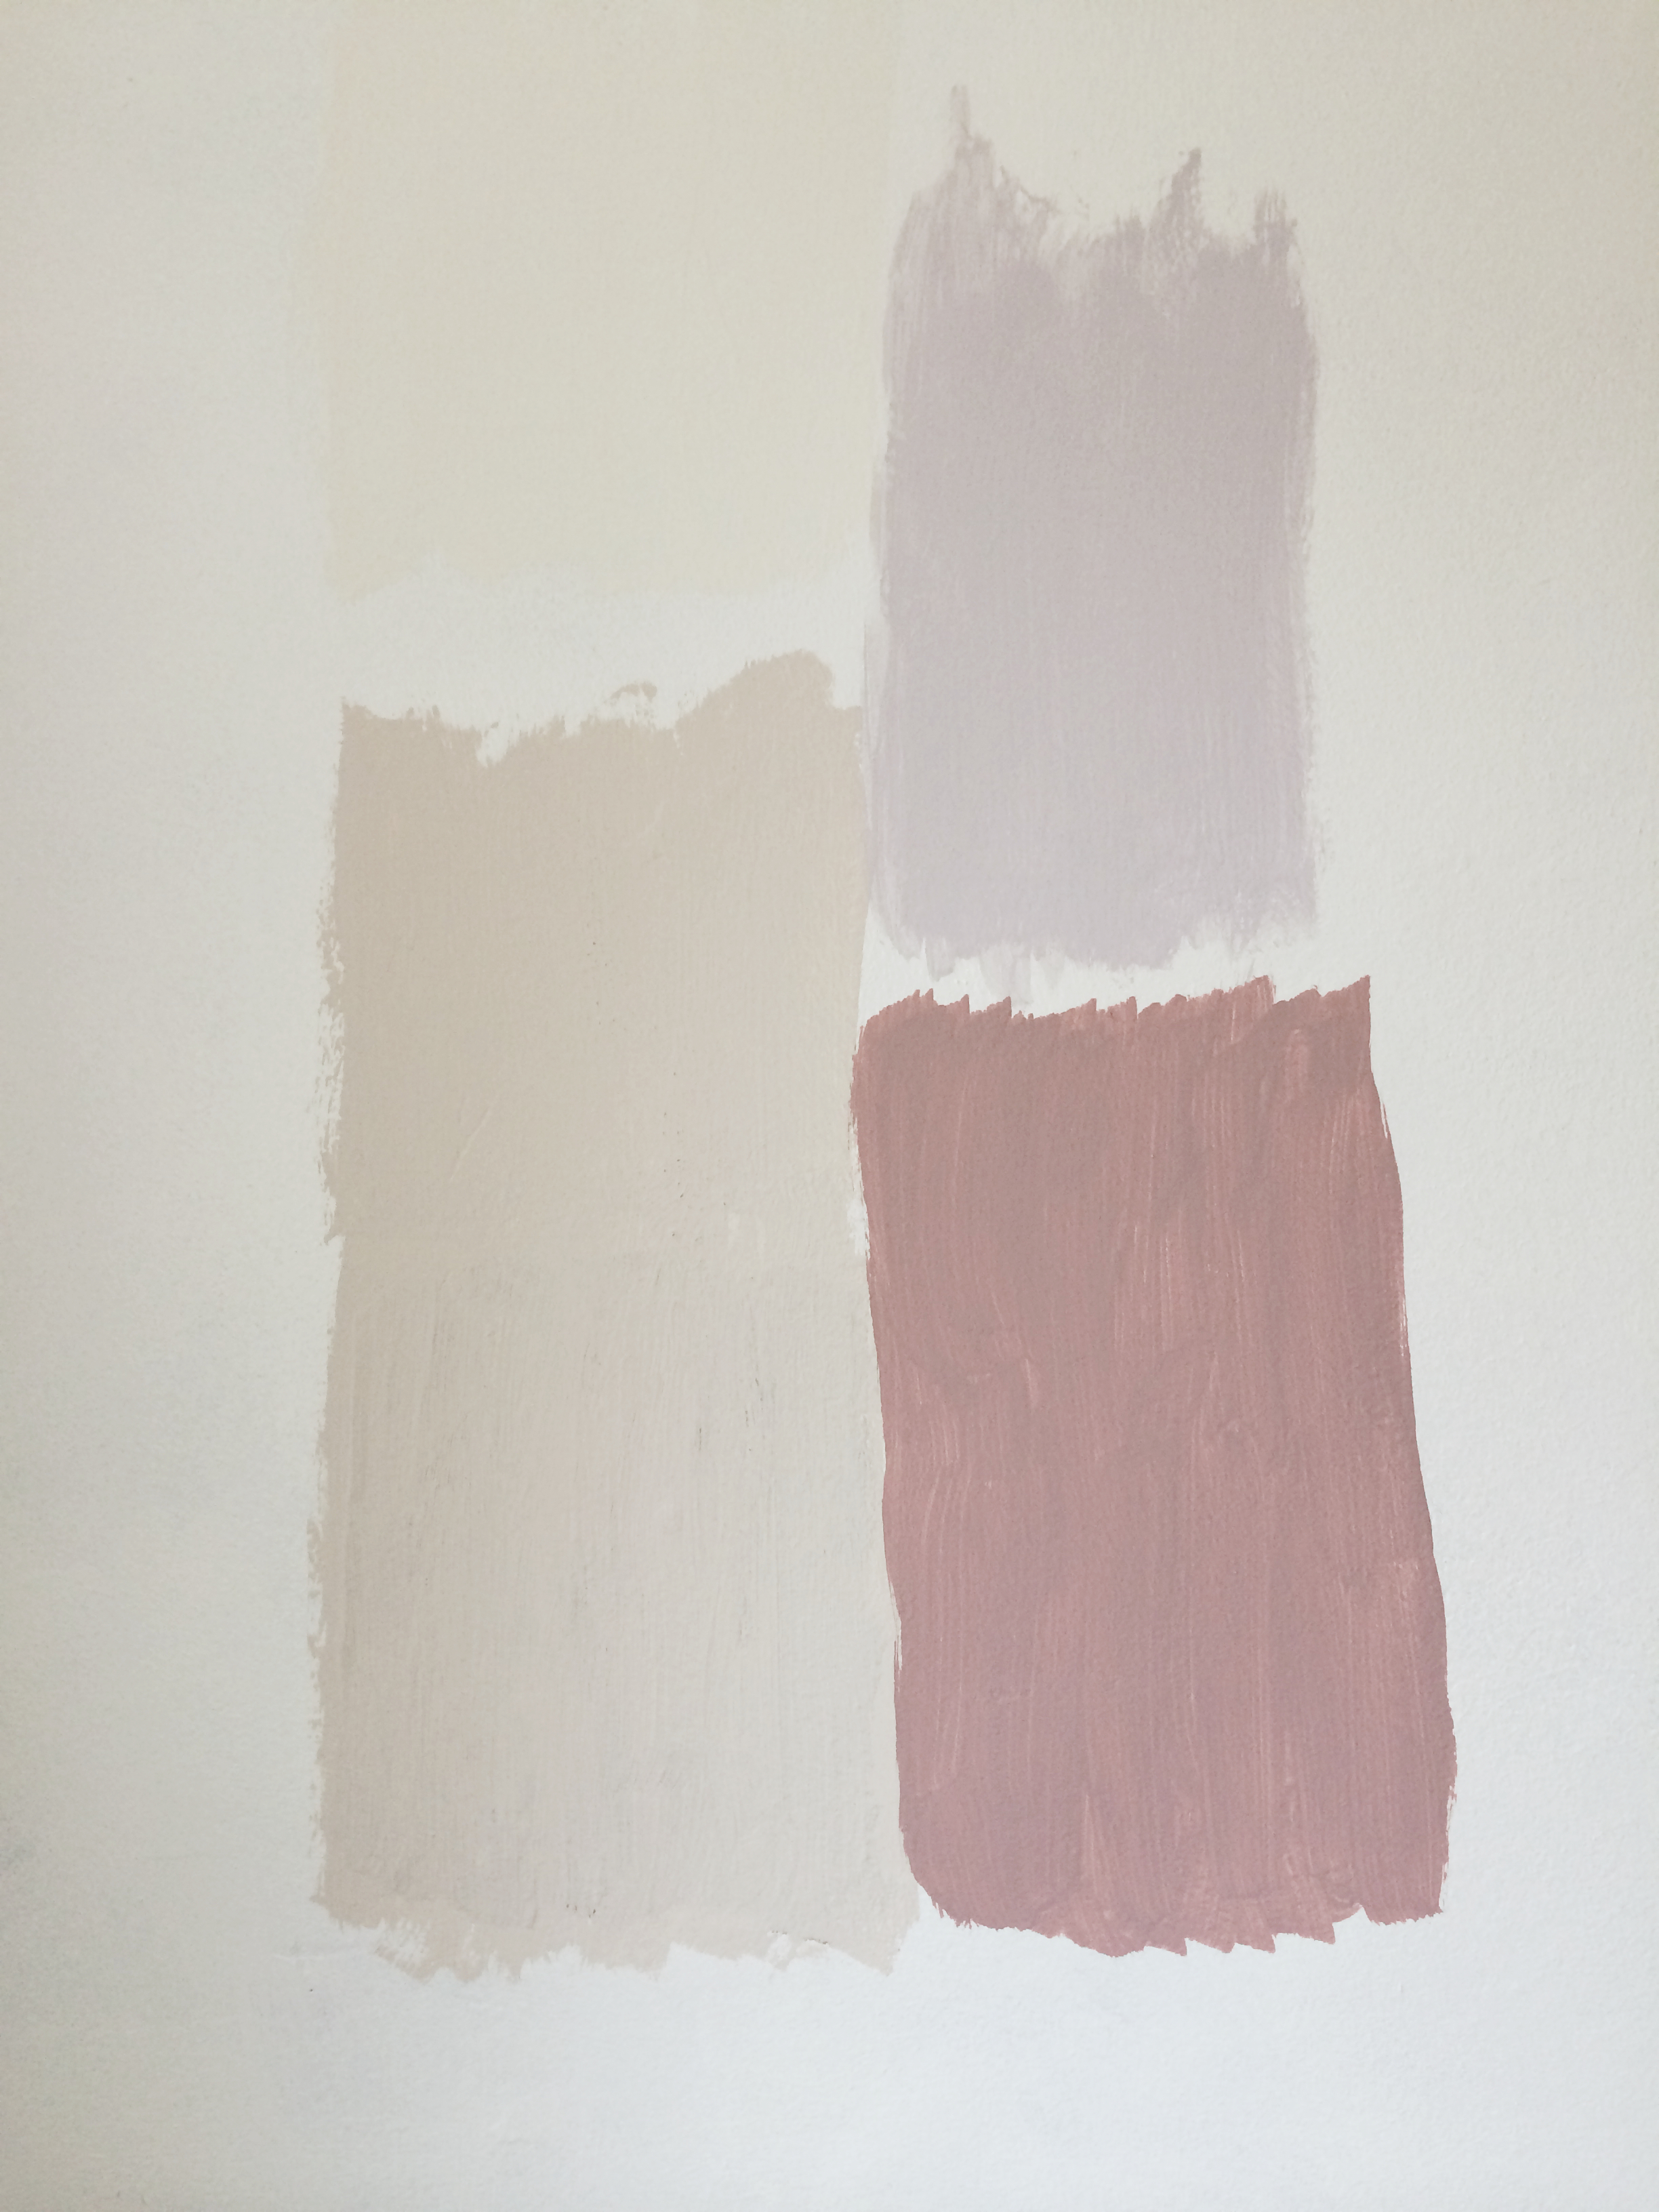
The floor needed sealing very last of all, and that happened on Friday. Since then we’ve started on the painting. booyaa spent hours on Saturday sanding down the plaster over the crumbled bits and channels they made for cables. That was quite a feat. Today he masked off the bathroom and did the first coat. We think the colour will turn out to be the right choice, but we’ll reserve judgement until the second coat is on and the accessories are in.

mid-painting, which is why you can see masking tape, and a pot of paint in the shower...

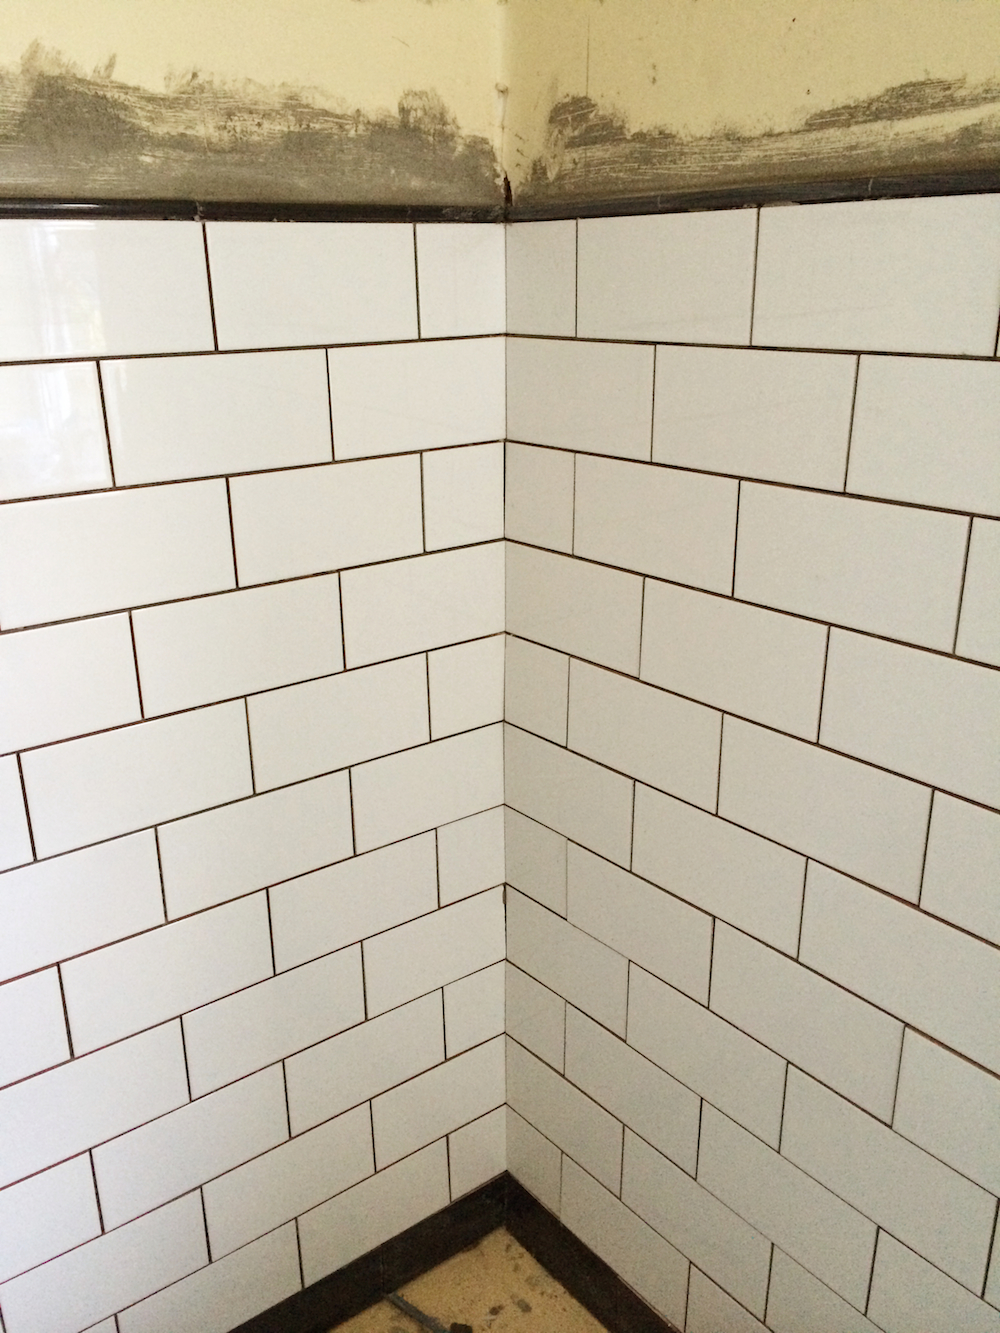
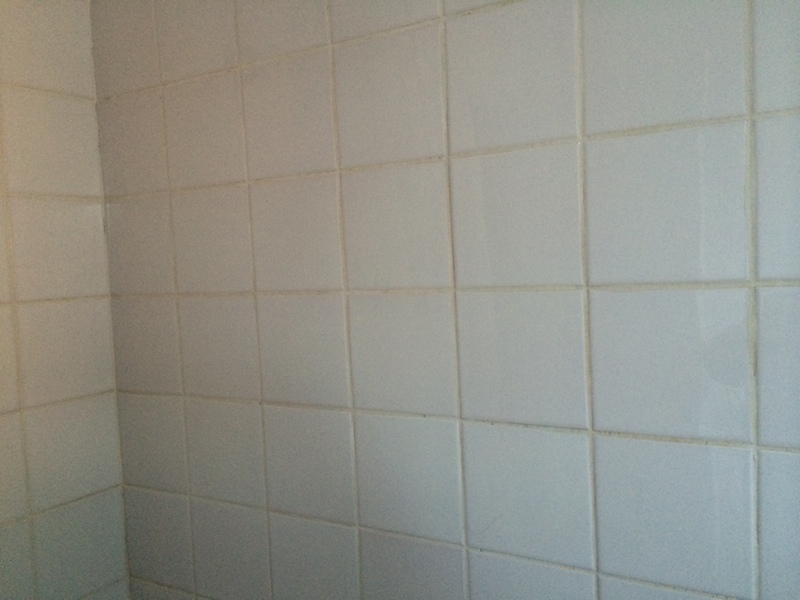
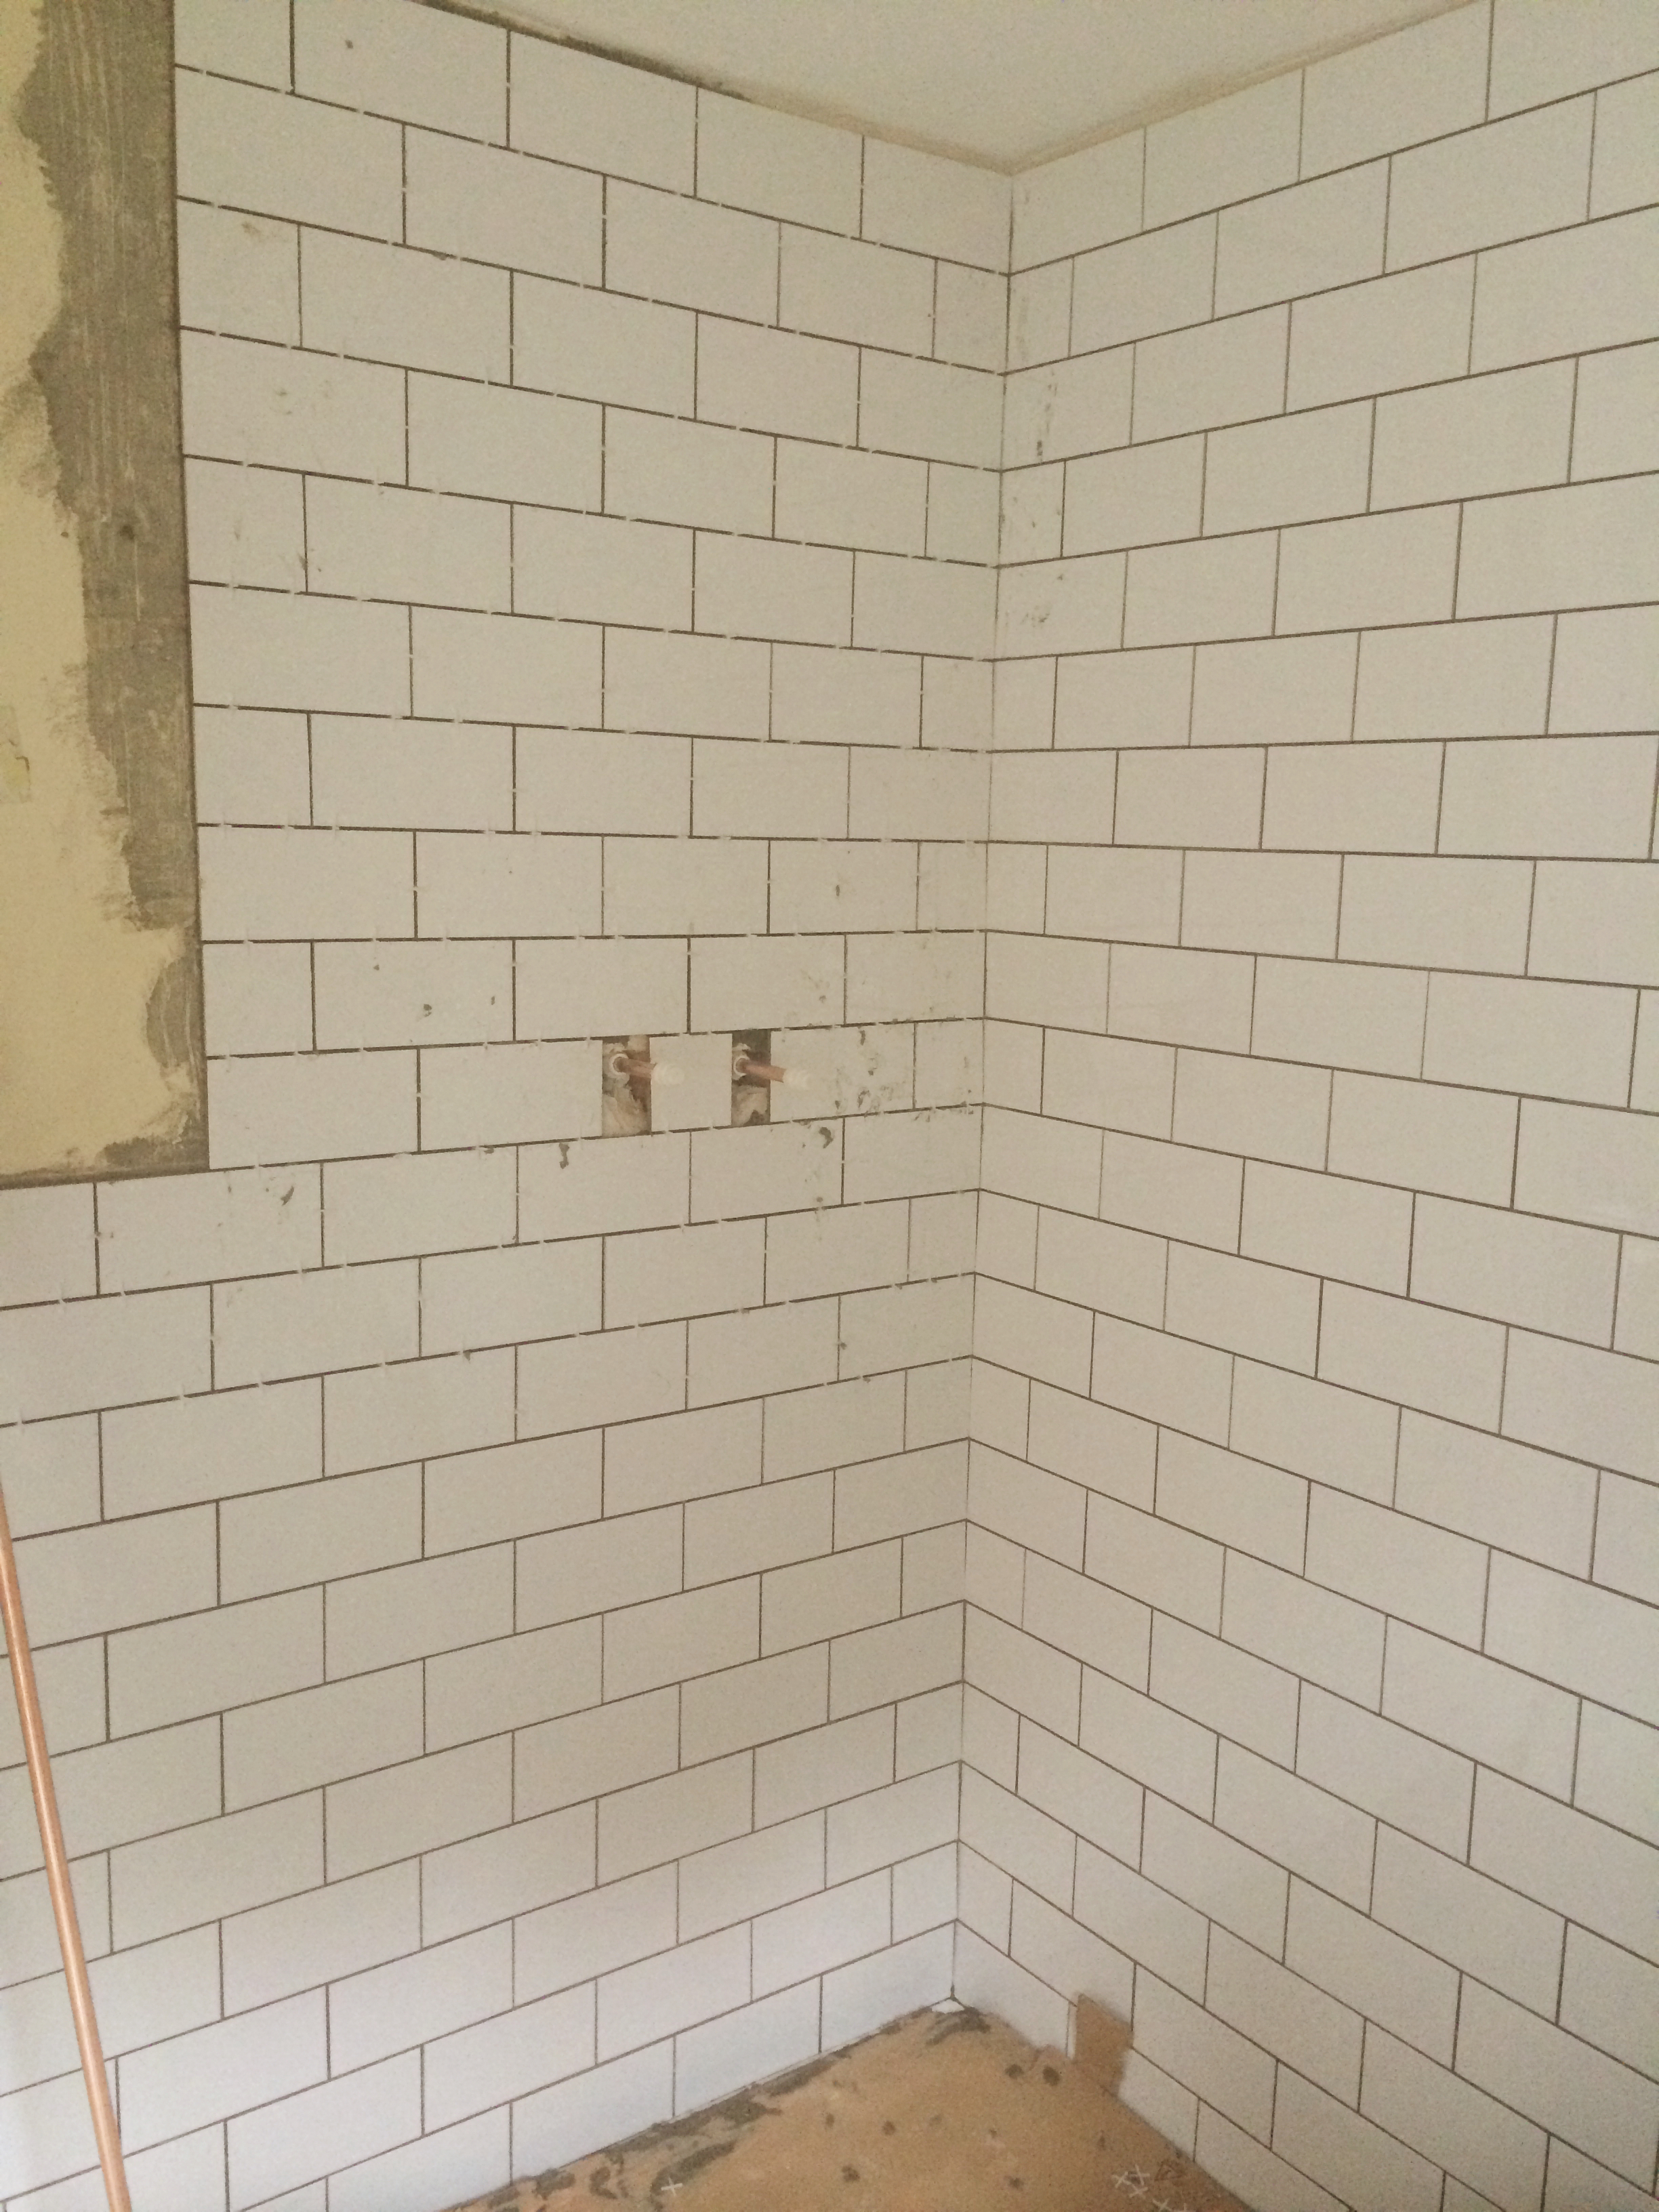
mid-painting, which is why you can see masking tape round the tiles, and a pot of paint in the shower…

One exciting thing is that we’ve both had middle-of-the-night trips to the loo without tripping down the stairs. Hurrah! And we’ve both tried out the shower. Hurrah! The shower is very nice. I love walking straight in with no doors. It also looks nice with its curves. And the overhead drench showerhead is just amazing. I’m so used to wetting my hair by tipping my head back but with this one practically your whole body is getting wet at the same time. The thermostat is great. You set it at the right temperature and it won’t go above or below it. We tested out the water pressure. While I was in the shower booyaa flushed the downstairs toilet and ran the taps. I noticed a drop of pressure but at least it didn’t turn cold. We think we’ll go ahead with the shower pump having experienced the pressure drop. In the mornings here the pressure is really low as everyone in the street is competing for water from the mains. I had cold showers for days on end because the pressure was too low for the boilet to kick in. No point having a fancypants bathroom if you can’t have a good strong shower.

bathroom-nearlythere-shower

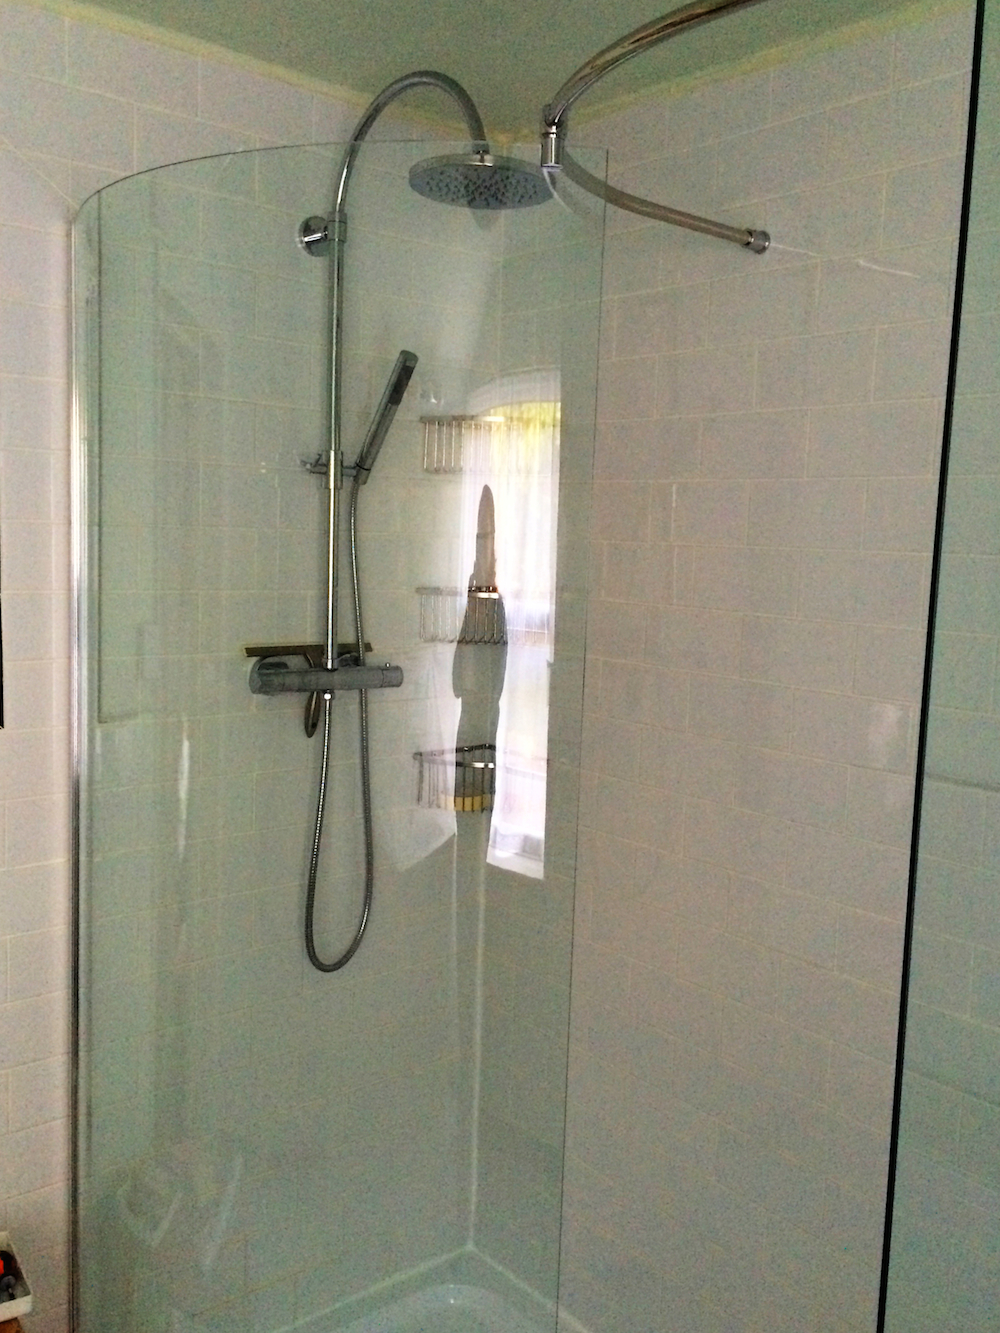
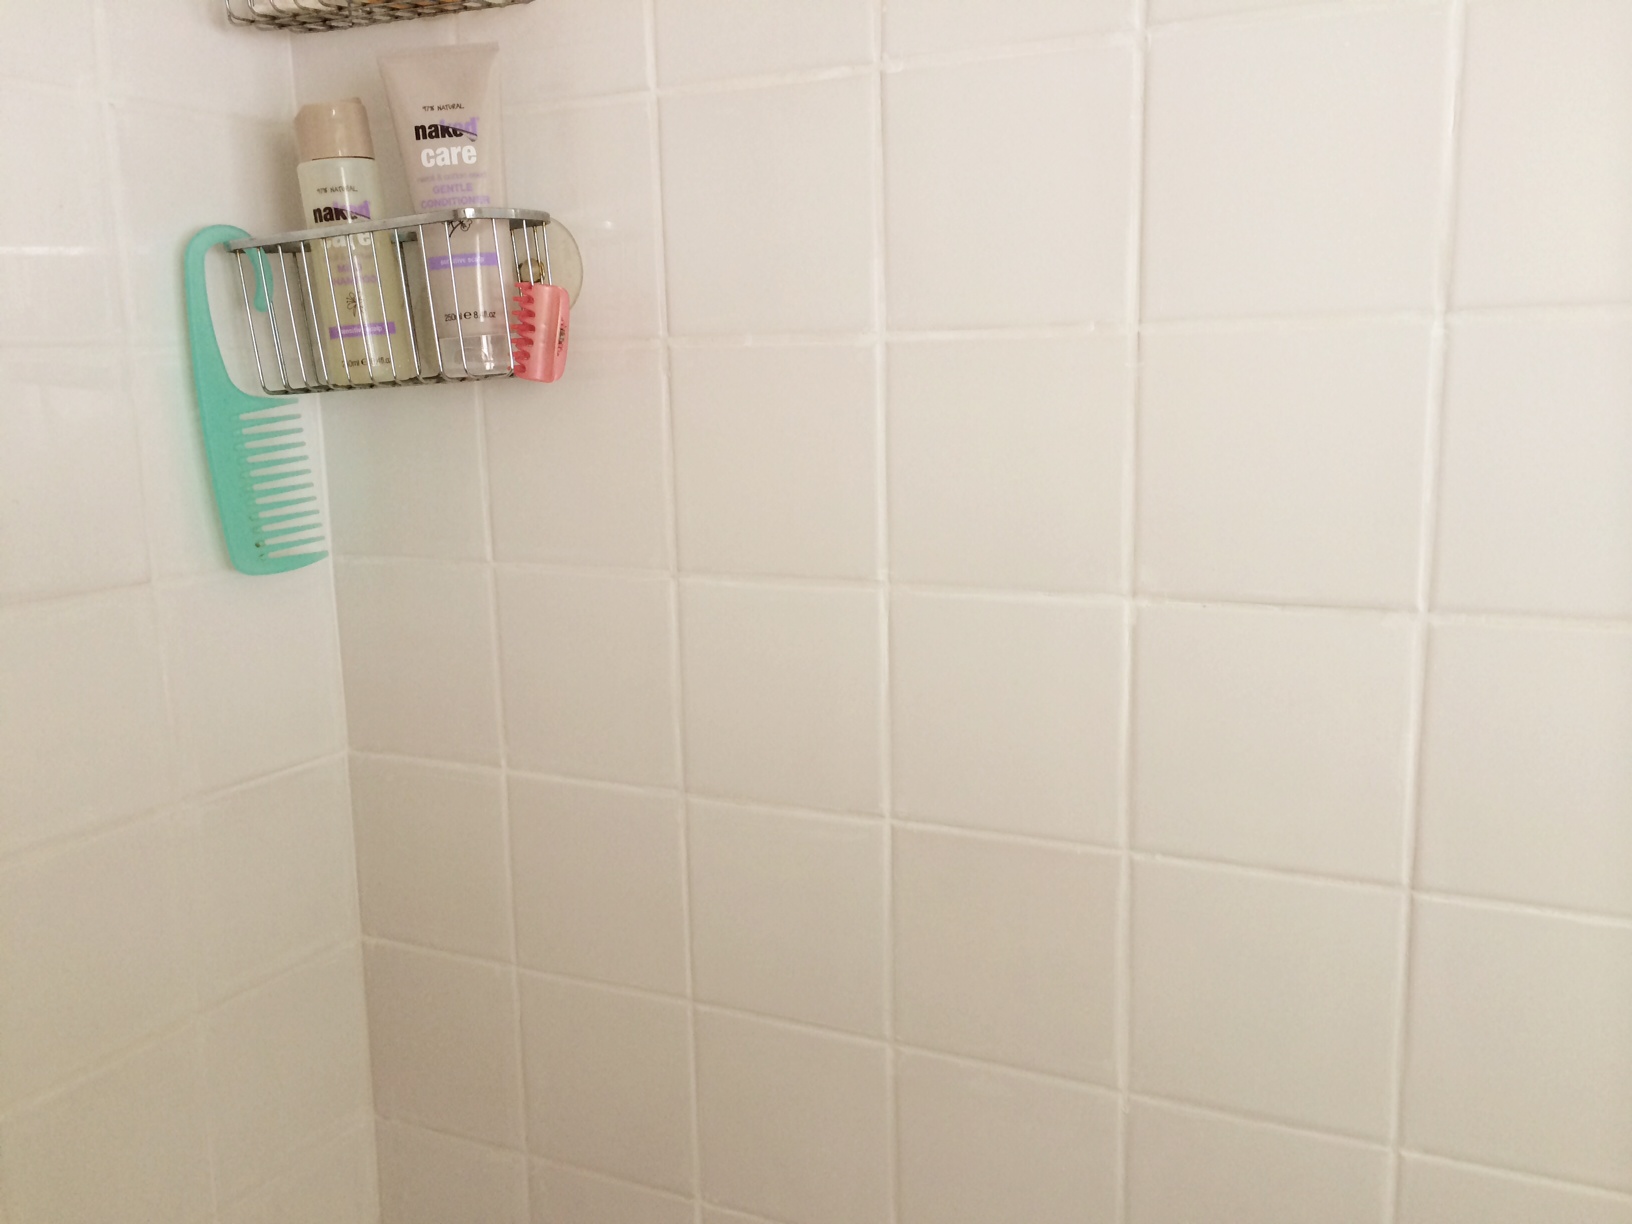
tricky getting a good shot of the whole shower but hopefully you can appreciate the beautiful curved glass, which is not that green in real life

THINGS I’VE LEARNED
What have we learned so far, now we’re near the end?
Have all the walls straightened before you start. I would definitely, were I to do this again, have the whole room reskimmed to get it as straight as possible.
Don’t go away, even when you think the builders have nearly finished. It’s so much easier to choose to do something a particular way than change it after it’s been done the way you wouldn’t have chosen.
The picture you have in your head is absolutely the Perfect World scenario. Dial down your expectations. If you don’t, you’ll be disappointed with the real thing when it’s presented to you.


bathroom building: week two

Over the weekend we cleaned up the fine layer of dust covering everything in the house. We swept and mopped the floors. We washed anything that wasn’t put away in a cupboard. It was a cycle of rinse the cloth, wipe it down. Rinse the cloth, wipe it down. So that was fun.

But we also walked in and out of the bathroom-to-be being very excited about our almost-bathroom.

DAY 5

Mr Plumber turned up with piles of bits and bobs for the day’s work. He got to about 11 am before things went a bit wrong. The plaster fell off the bottom 12 inches of the sections of wall that were so far untiled. He had to fill in the gaps and slowly build up the layers of plaster, which meant he couldn’t tile them today.

Hey, let's watch plaster dry.

Hey, let’s watch plaster dry.

However, he did manage to tile the corner of the shower and he did a bit more plumbing. I know this because he kept turning the water off.

Stand by with your loofah! We nearly have a shower!

Stand by with your loofah! We nearly have a shower!

DAY 6

Today Mr Plumber broke the bad news that we were going to run out of tiles. He dashed off to a local tile merchant but the nearest he could find was not near enough.

I ordered two more boxes of tiles from our online retailer and bit the bullet on the delivery charge. We’d bought enough in the first batch to qualify for free delivery. Bit annoying. My spatial awareness and/or measuring tape skills are obviously poorer than I thought.

Mr Plumber rearranged his plans so that he could make progress while waiting for the remaining tiles to arrive. And that means we now have grout! first row of black tiles! pencil tiles!

grout-no grout

grout-no grout

row of black tiles at the bottom, black pencil tiles at the top

row of black tiles at the bottom, black pencil tiles at the top

It’s starting to get that art deco feel we were aiming for. Even Mr Plumber’s boss commended my choice for creating something in keeping with the age and style of the house. proud face

DAY 7

Mr Plumber tidied up the last of the pipework ready to fit the towel heater and the basin unit and finished laying plyboard over the floorboards. Then he got on with laying the mosaic flooring.

He needs to finish the edges and do the grout. But still! Look! Floor!

fancy marble floor tiles

fancy marble floor tiles

DAY 8

The desperately-awaited spare tiles have arrived. Though they were delivered to the wrong house. I don’t know. Really. How hard is it? (The delivery company then made the mistake of sending me a request for feedback. So I called them incompetent. They replied with a grovelling apology and told me that the delivery driver will be ‘on probation’ for 3 months now. Which seems somewhat excessive, but if it teaches him to read instructions then so be it.)

So, the remaining tiles are on, some are already grouted. The mosaic floor edges were a pain. Mr Plumber had to cut each of those tiny hexagons in half to finish the edges. I felt so bad when I realised that was going to take him half a day.

Then he put the toilet in its place, ready to build the box for around the Saniflo and… it wouldn’t fit as expected. Usually, I’m told, there’s a cut out right at the back the toilet, where most of us don’t ever venture, and the macerator sits in there nice and tidy. Not our loo. The cutaway at the back isn’t deep enough. There was much gnashing of teeth. We’d need a big boxed in area and even if it was tiled, it would probably still look rubbish.

So – deep breath – we’ve ordered a back-to-wall toilet with a concealed cistern unit. Now, I was considering one of these when I first started looking at bathroom suites, but it didn’t seem worth the extra expense. But there you go. Concealed cistern, slimline unit to match the basin unit and a very modern back-to-wall toilet are all now on order. The earliest regular delivery was next week so me and the bathroom fitting company are going halves on next-day delivery instead. They’re also going to buy the no-longer-required toilet off us at cost price, which leaves us not so terribly out of pocket.

It will look a lot better this way, I know, but I keep thinking we probably could’ve avoided the extra expense, not to mention stress, if things had been measured more precisely right at the start.

Let’s cheer ourselves up with some photos of the rest of the bathroom being tiled and the floor edging looking all smart and ready for grouting.

that's it, we're all tiled!

that’s it, we’re all tiled!

yesterday's corner, now with added grout!

yesterday’s corner, now with added grout!

DAY 9

Mr Plumber spent a great deal of time cleaning the floor tiles of excess grout so they’re ready to seal. There’s still a fine coating of grout on them, so they’re going to need another good scrub once the grout has set properly. Poor Mr Plumber.

But, tada! We very nearly have a finished bathroom!

Look at all that space! I love the floor. Can't wait to see it properly cleaned of grout.

Look at all that space! I love the floor. Can’t wait to see it properly cleaned of grout.

The new toilet plus unit arrived early afternoon and it’s in place but not yet plumbed in. It will look very smart, it has very clean lines. (Talking of clean. Has anyone else thought about being the first person ever to use a toilet? That little gem thanks to a friend from work [Hi Dan!].)

Meet the toilet of doom, or at least frustration. Fancy shape, though, isn't it?

Meet the toilet of doom, or at least frustration. Fancy shape, though, isn’t it?

The basin unit is in place, but again, there’s some plumbing left to do. The basin is a cute shape with a straight lines AND curves thing going on. Much like the loo. So that’s a nice but unexpected outcome, the matching, sort of, styles.

Basin and unit by the window – handles yet to fit

Basin and unit by the window – handles yet to fit

Square but curved, see? Modern-with-a-nod-to-Victorian tap.

Square but curved, see? Modern-with-a-nod-to-Victorian tap.

Still to do are a few bits of plumbing and electrics. Downstairs, the shower pump needs fitting and the pipes that come out of the boiler still need fixing to the wall and/or boxing in, depending on where they are. In the bathroom itself the lights and the extractor need fitting. The towel heater, shower fixture with the thermostat and riser and whatnot, and the shower screen are all still to fit.

Nearly there…

bathroom building: week one

The bathroom building begins! Here’s how week one went.

DAY 1

The plumber pulled up the floorboards, and investigated the existing pipework from the heating. He dismantled the boxing round the boiler and attached pipes to take the water upstairs.

First gotcha came along, with a problem of how to get the pipes from our main water entry point through the floor. An error of judgement during the planning stage meant they thought the boiler was under the bathroom-to-be, but it’s not. Directly above the boiler is the flat roof. A phone call to the boss resolved the issue. There’ll be some more pipework on show in the back lobby, but we care not a jot. It’s a place of passage, we won’t notice it. There’s going to be a small box in the kitchen to cover up where the pipes go upstairs, but again, we don’t mind. It’ll be fine once it’s painted. Plus, hopefully we’ll have the kitchen redone in a couple of years and we tackle hiding pipes neatly then.

We had to duck under dangling pipes to get into the downstairs bathroom, which was interesting. They’re now partly hooked up, so we’re free from accidental middle-of-the-night garotting.

pulling up floorboards

pulling up floorboards

DAY 2

3 men with drills, stone cutters, hammers and chisels took the house apart. We have gaps in the brickwork, pipes dangling out of internal and external walls, great chasms cut into the walls of the bathroom.

There’s dust EVERYWHERE.

starting to make holes in walls

starting to make holes in walls

DAY 3

The plumber spent the day finishing off the pipework. All the pipes are now in place and joined up. They’re not all fixed down, but we have water upstairs now. high fives

The electrics are half done with cables ready for the extractor fan and the mirror light. The socket and light switch have gone.

The floor is partly covered in ply, there’s a layer of cement and the shower tray is set into it. My first purchase to be used. Have I made the right choice? It looks smaller than I thought. minor panic

An hour later booyaa came home and said something along the lines of, “Whoa, that’s huge.” So maybe it was just bathroom planner’s nerves.

shower tray sitting on its cement base

shower tray sitting on its cement base

DAY 4

The tiles are going on! It’s really starting to look like a bathroom. There’s a wall and a half done so far. They’re not grouted yet, so it’ll look cleaner with white grout instead of grey adhesive.

tiles!

tiles!

It’s very tempting to sing Down in the Tube Station at Midnight in here.

And that’s it until Monday.

THINGS I LEARNED

Smaller tiles are fiddly and take longer to fit. Which is obvious when you think about it. But if we’d chosen large format tiles, as is the trend these days, they would have looked horrendous because of our wobbly walls. The plumber, with his tiler’s hat on today, said we’re much better off with smaller tiles. He’s able to compensate for the bumps and lack of square corners. If we’d used large format tiles they would have been wonky, or, presumably, we’d have to have the walls replastered first.

showered up

We decided we wanted a bathroom upstairs. We had no idea how much it would cost, but going to the loo in the middle of the night with the perilous staircase we have, well, it’s not much fun. Having a shower in the bath? I’m so over it. Time for a real, walk-in shower. We considered upgrading the downstairs bathroom to have a decent shower in it which would have been a relatively cheap upgrade, but that wouldn’t fix the coming-downstairs-half-asleep issue.

So we got some quotes from bathroom fitters, took the one who actually turned up when he said he would, and got planning.

We didn’t go to a one-stop bathroom shop as I expected that to be really expensive. It’s undoubtedly more stressful doing it yourself, but it means we got to choose our products from the places we wanted them from, rather from the range a high street bathroom shop offers. I felt like the bathroom fitters were advising me on the best I could have for my situation, not on what would cost the most, because they would only get paid for the work they did. It made no difference to them what type of taps I wanted.

Going through our requirements and wishes with the bathroom fitters meant changing a few things I’d chosen as they wouldn’t work. There were a couple of issues I hadn’t considered. Things I learned:

WATER IN-WATER OUT

If you currently have a bathroom downstairs in an extension added on to the kitchen, and you’re planning on installing a brand new bathroom upstairs you need to consider how to get the water up there and the waste back out again. You will probably need to put pipes up from the kitchen or wherever your boiler is through the ceiling and into the room above. You might end up with a few pipes running up the wall in your kitchen or new boxing inside a kitchen cabinet.

There’s a minimum ‘fall’ required for waste. So you can’t have a straightforward horizontal pipe from your shower running under the floorboards to join the pipes that run down the outside wall, as it’ll just clog up. And without putting you off your breakfast, the toilet is an even more tricky matter. We were persuaded that a Saniflo was our only option without having to cut the backs out of kitchen cupboards to accommodate some considerable boxing. We plan to renovate the kitchen and remove the existing bathroom, but we can’t do that yet, otherwise we could combine the two projects and resolve the waste issue. Never mind. Saniflo it is. (Don’t read the Mumsnet thread on the joys/horrors of fitting a Saniflo if you’re remotely squeamish.)

TILING

The floor is at a slight angle in that room – great for shower waste, not so great for getting nice neat rows of tiles. Equally, wobbly walls with crumbly plaster. Fun tiling times! The tiler tells me that smaller tiles are more accommodating for getting a good finish on wonky walls. Big tiles are quicker to fit. We’ve got brick tiles which he says are fairly forgiving, as long as they cut well. Another “who knew!” moment – different tiles are more/less easy to cut. It’s obvious when you think about it, but some are fragile and will crack raggedly. Others make a good clean break. Our marble mosaic tiles are probably not cuttable, so let’s hope the hexagonal form fits round the curved shower tray.

FLOORS

Despite it being an old house we don’t need to strengthen the floor before we put in the sanitary ware. I had assumed we would. There’s a lot of very heavy stuff going in that room. But two different plumber-builders said it’s not necessary, so let’s trust them. They will seal the floor with plywood sheets before they tile, but we could have had that done under the floorboards and not had floor tiles. That would have been a much cheaper option, so consider that if you like the painted floorboards look and are on a tight budget.

SHOWER PUMP

I want a super-drenchy shower so we need a pump. In our case it’s getting installed next to the boiler downstairs and will kick in automatically when the hot water is turned on in the upstairs bathroom. The pump is a pricey piece of kit, but unless your house is blessed with amazingly high pressure water flow, you’ll need one for a decent shower experience. Especially if the boiler is downstairs. If you have a water tank in the loft you might be ok. Aah, gravity.

So that’s what I learned. Here’s what we had to do to get this ready.

PRE-PLUMBER PREP

The study never really finished becoming a study. I worked in there a few times but thanks to foot-thick walls (sturdy house, this) the wifi signal collapsed before it got to my desk. So I mostly worked at the dining room table. I never finished unpacking and sorting everything out. It became a bit of a dumping ground for things that didn’t have a home. When we made the decision to install the bathroom we started creating a study corner in the guest room, but never dealt with the random stuff left in the ex-study.

The week before the bathroom fitters were due to arrive we finally faced our demons. We opened the boxes and sorted them into bin/recycling; find a home for them in the house; repack and put the box in the loft. We tidied the guest room and organised the boxes of bathroom stuff so that the plumber and tiler and whoever could actually get in and do their work.

empty room, ready for bathroomising

empty room, ready for bathroomising

boxes of sanitary ware and fittings

boxes of sanitary ware and fittings

piles of tiles

piles of tiles

NEXT: bathroom fitting, day by day.

white lines (don’t do it)

We’re in the bathroom again.

The grouting between the tiles is an off-white shade. At least, where it isn’t dank and in need of some good old-fashioned bleach, that is.

I can’t bear dank bathrooms. Ours is really uninspiring in the mornings. What with me still faffing over the paint colour and the tester pot blotches of every colour on the wall, well, it’s not the best place for your wake-up shower. So, it’s time to see how well this girl scrubs up.

bathroom-tiles-before

I washed all the tiles and the grout with bleachy water and let them dry. Then I used Unibond Grout Reviver in Ice White to touch up the grouting. The grout whitener comes in a tube with a sponge applicator, much like the white stuff you used to put on your tennis shoes all those years ago. It’s quite a task to rub the sponge over every line of grout over a wall and a half of tiling, but I put on the radio and listened to Iggy Pop on 6 Music and that kept me focused.

The instructions for the product suggest you leave it to dry for 30 mins before wiping off the excess with a damp cloth. Don’t make me laugh. If you leave it for 30 minutes you need to get a scourer and scrub every single tile. Which is what I did…

I also decided that it needed two coats. Some lines were super white straight away, but others looked a bit cleaner, not white.

bathroom after

The finished look is a vast improvement. The slight grey cast to the tiles seems to have gone since they’re no longer sitting alongside yellowing grout. You can still see where some grout lines are whiter than the others, but it’s still better than before.

My tips:

  • If you have yellowing grout just one light coat of grout reviver will knock back the yellow.
  • If you have frankly manky grout try a good scrub with a bleachy toothbrush then use two coats of the reviver to get your grout sparkling white.
  • Keep your application very even or you’ll end up with bright white blotches here and there, and you’ll have to touch up.
  • Wipe down the tiles within just a few minutes of application using a cloth and a flat hand to take the excess off the tiles but hopefully skim over the grout in between.
  • If like me you end up with dried white stuff all over your tiles use a window scraper to get the worst off and a green kitchen scourer to tidy up the rest.

If I were to do this again I think I’d go for the grout reviver pen, which is a more expensive option (you get less product for your money) but faster. You draw over the grout lines and don’t have to clean up the excess afterwards.

The bathroom is starting to come together. We’re missing a blind and some accessories but we’ll get that done once we’ve painted. What? No. No, I haven’t decided on a paint colour yet.

tricks of the light

The bathroom is a really cold room. It’s physically cold. It seems when the extension was built in the 70s they didn’t bother to insulate the walls or the floor. The encaustic tiles, though very trad and perfect in a utility/boot room, are just awful for a bathroom. The room feels cold psychologically too. There’s a slightly grey cast to the tiles (cheap tiles, I’d wager), the painted walls are finished in a high-sheen paint and the garden facing ours has the hugest conifer trees which mean the light coming in has a bluey-green cast, then reflected around the room by the shiny tiles and shiny walls.

I’ve tried four different tester pots of warm colours on the walls. I don’t like any of them. Warm white, I thought. That’ll do the trick. Boring. Beige with an undertone of lilac? Also dull. Grey-lilac? Still cold. Truffle? Ugh. Not for a bathroom. So we might work with what we’ve got and go for my first choice, which is a greeny-blue. And then I’ll cross my fingers that I don’t shiver every time I walk in the bathroom.

Update: I got my F&B tester pot haul yesterday. I bought a pink colour to use in a renovation project. Since the wall is already a mess I splodged some on the wall alongside the other tester patches. Here is the whole scary mess.

paint testers

Clockwise from top left: Dulux Jasmine White, Wilko Stardust, Farrow and Ball Cinder Rose, Dulux Walnut White.