Oh boy. This was finished months ago but I haven’t revisited the blog to update it.
The living room is a small room with one sash window which gets no direct sunlight all day and the front door which opens directly from the street. There’s a boarded-up fireplace which we intend to open up when we can afford to get the chimneys repaired and install a woodburner. One alcove to the side of the chimney breast has a low-level built-in cupboard and three shelves. The room was painted pale blue when we moved in, with woodwork in the usual white. It always felt cold and fairly unwelcoming.
When we were deciding how to decorate in here we had two main concerns. One was the front door sticking out like a sore thumb. See Exhibit A:
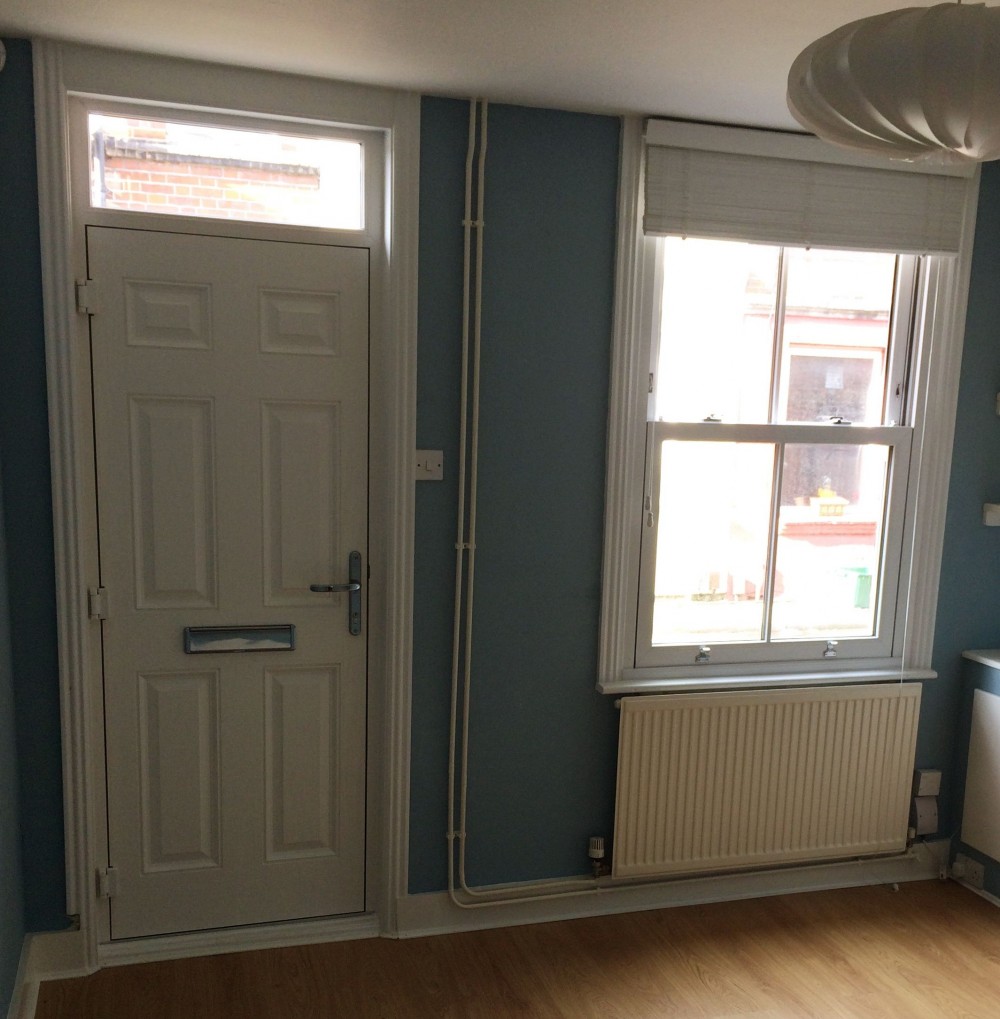
white door and plasticky frame
The other was that it’s dark and cold all the time. We decided the best way to deal with is was to make it a dark but warm room. We never get sunlight here. A tiny shaft of setting sun comes through the fanlight just before sunset. That’s it. So, after raking through magazines and books (boy is Pinterest helpful here, even if it is a bit of a pain to use these days. Thanks spammers!) we bought some dark paint testers. We both adored the charcoal grey but decided it might be just a bit too dark, and opted for what my mum calls “battleship grey”.
Next was to find a solution for the front door and its shiny whiteness. It’s a new door, with pvc mouldings and a fake wood grain effect. Looks fine from the outside and from a distance, but close up it’s pretty ugly. I found a special (and non-scary) primer which we could then paint an undercoat and eggshell over. It’s designed especially to prime pvc windows and — somewhat bizarrely — block smoke stains from coming through subsequent coats of paint.
So, I picked a week when I had reduced commitments workwise and got stuck in. The room was empty as we’d just had the floor fitted, so a few plastic dust sheets went on the floor and I spent hours fiddling with masking tape, then up and down the step ladder, nervously applying the specialist primer, then an undercoat to the door, window and shelves. The undercoat was so very dark and even after two coats it still looked horrendous. I know that next time I do this I’ll get the primer tinted, too, as that will help.
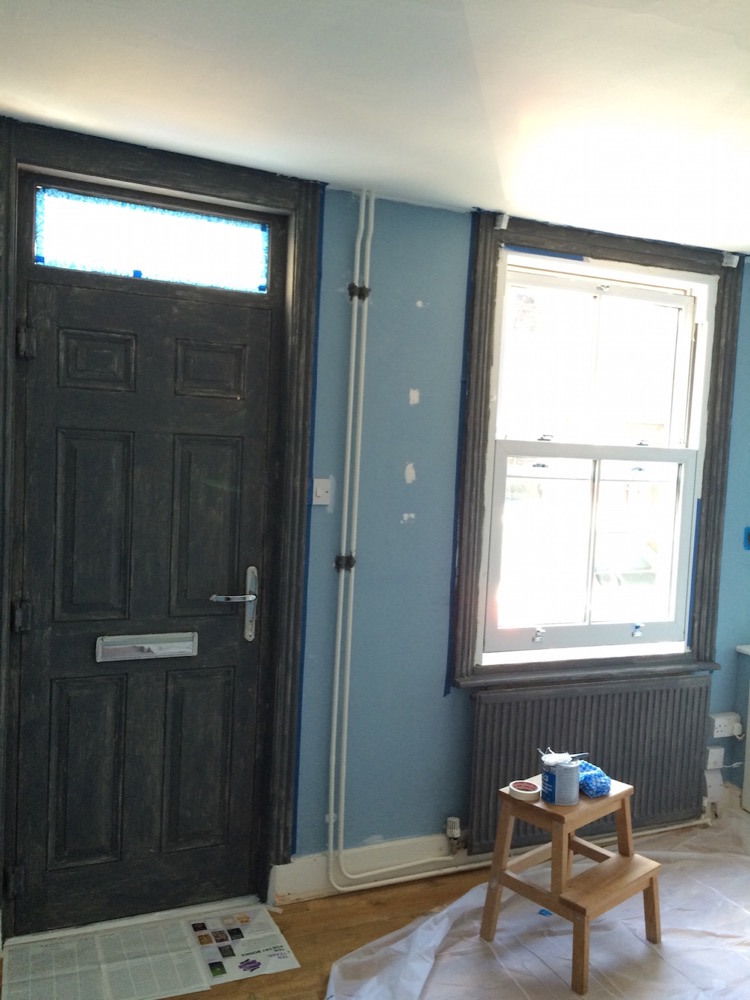
special primer plus two coats of undercoat
We painted the ceiling F&B Wimborne White. To look at it you’d probably think it was just white, but I know it looks less harsh than a brilliant white would. I swear I’ll never use ordinary white paint again. Then I finished the woodwork, all of it: door, window, radiator, shelves, cupboard, skirting in F&B Plummett eggshell. Two coats of eggshell went on like a dream, despite our unprofessional approach to painting, and the finish is just beautiful. Smooth as silk.
The walls were done in the same colour, Plummett, in Estate Emulsion, which gives a very flat matt finish. We cut in quite generously with a good quality angled brush then two coats with a roller. There was one patch that needed going over where the first coat went on a bit too thin, but the bulk of the work was done in a day.
Having the walls and all the woodwork in the same colour means we were able to cover up some “irregularities”, like where there was a weird gap in the skirting, the door now blends in and at night seems just like part of the wall. I love that the less broken up space feels tidier, uniform.

yay for the door blending in
Depending on the time of day the room varies from a mid- to dark-grey. But it’s beautifully rich and has tones of blue and purple in it. Yes, it’s quite dark, but it’s not a room we use much during the day and it really comes into its own in the evenings, with the warm, cosy feel of dark walls.
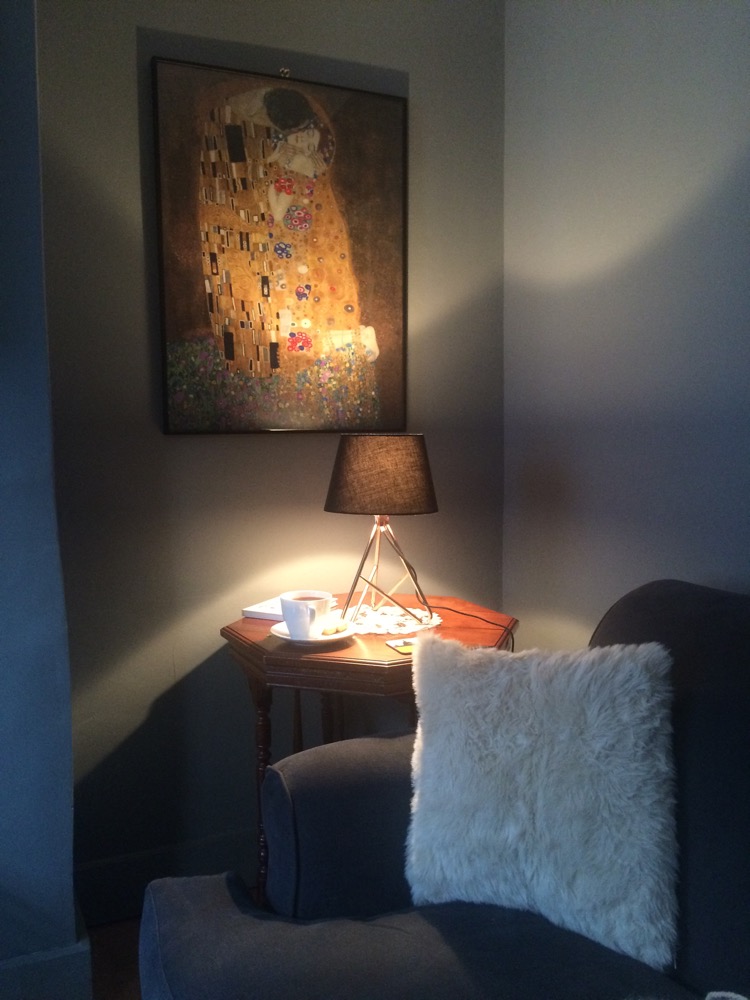
my corner, being all cosy
We’ve chosen a few copper accessories and some strong ochre/gold colours around the place. I knitted a cushion including ochre, copper and a teal blue and we’re slowly increasing the colour in the room. Putting pictures on the walls really helped to bring the room together.
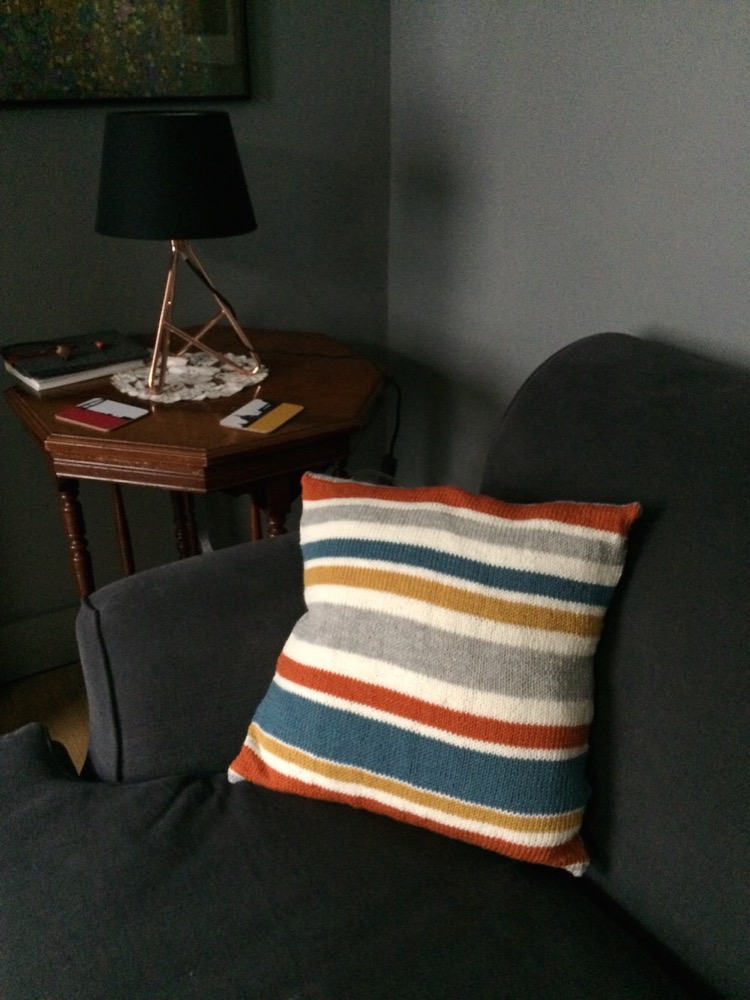
I made that!
I painted the old hallway shoe cupboard (separate how-to post coming up) in an even darker grey with a bright gold inside, and that’s got a new lease of life since I still can’t quite conscience £280 for the console table I want. Mum and Dad brought me the octagonal table that had been sitting in the spare room with the second tv on it for the past 15 years. It’s now tucked in the corner at my side of the sofa. It’s nice and high to give me plenty of light when I’m knitting. The light was a bit of a find. A copper tube base twisted into a tripod and a plain black shade from John Lewis for a bargainous £40.
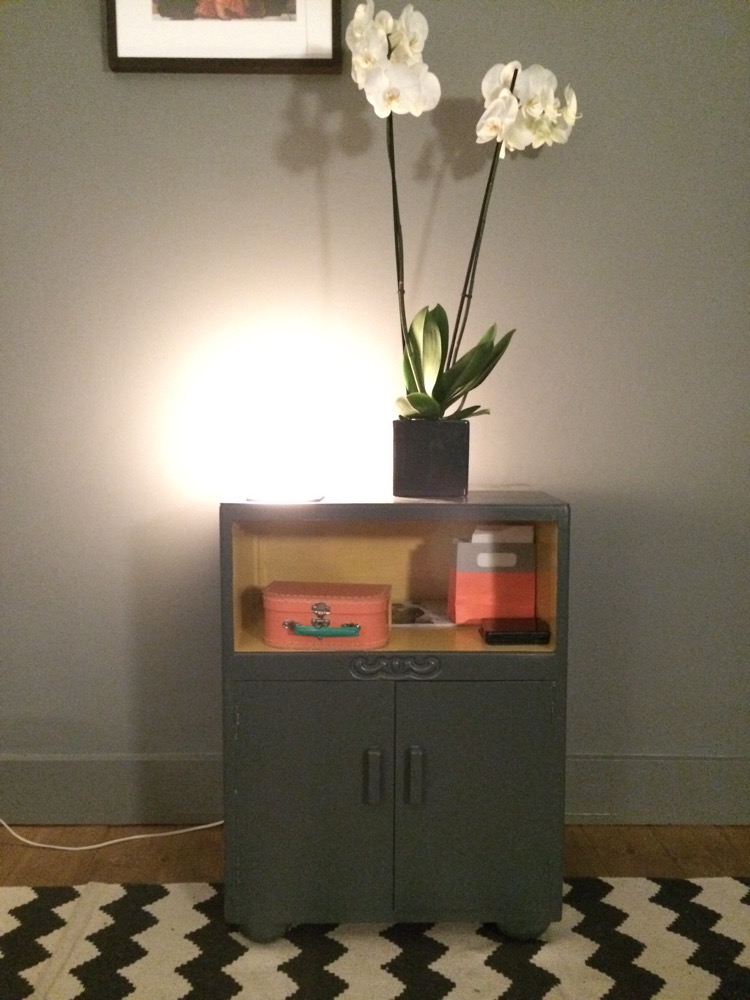
old shoe cupboard looking smart in its new clothes
The sofa was a bit of a push-the-boat-out. It was expensive but it’s lovely. It’s comfy, hardwearing, elegant and has a big gap behind the curved back where Tinker can hide. I knew she’d love it, and indeed she did, sneaking treats and hiding behind the sofa when she visited. Someone managed to not get a photo…

new sofa looking welcoming
Still to do: find or make a cosy rug. The chevrons are excellent but it’s not a very easy rug to look after, plus, despite insulating the floor in here, we could do with a warm rug on the floor. I’m seriously considering making one, something like this. I’ve got some yarn to make a pouf-footstool type thing. It’s a rich ochre and will look great next to the greys. Then we need new curtains. We’re going to have a set of curtains covering the door and the window, pretty much wall-to-wall, so it keeps the warmth in during the winter. It’s pretty pricey to get curtains that wide and I’m not up to making something like that, so we’ll have to wait a couple of months before we can do that. In the meantime, we’ve got some lightweight silvery-coloured curtains from Wilko’s for about £20. They don’t do much for the temperature but they do add to the cocoony feel late at night.
We were both somewhat apprehensive about the colour scheme in here. It made sense, but we still weren’t sure it would work. Luckily, we both love it. We’re really proud of the change we’ve made to what was an uninteresting and not very welcoming room. Random visitors (delivery lady, broadband engineer) have commented on how lovely it is. Friends and family have also complimented us on how well it works. It feels great to come in and here and feel the welcoming vibe. And it’s us. I feel very strongly that this house should reflect us and our way of life. I don’t want an identikit of whatever the high street thinks your house should look like. I want it to be different, welcoming and very clearly ours, and I think we’ve achieved it.