Well, this has been a long time coming. Loooooooong time. Little Betsy is the reason. See, we’ve had the paint for months, but how do you paint a room (clear out the furniture, both get stuck in with painting, don’t use the room for the duration and avoid the woodwork for 4 hours at a time…) when there’s a small, hairy thing bouncing around the place wanting you to throw Mr Hedgehog for her?
We’d planned on doing the kitchen and dining room in one go, and even, if booyaa could take a day off work, possibly adding in the hallway to the same mammoth painting session. I reckoned 3 days would cover us to get the whole lot, start to finish, done. But we just can’t do that with Betsy around. For a start, she barks and cries if she’s shut out of the room we’re in, so you can imagine her being locked away for the entire day, three days in a row. Well, we finally had a breakthrough. This is another of booyaa’s “this might be a really stupid idea but what if…” absolutely brilliant solutions to a problem we’d been stuck on for weeks. We’ll do it all in tiny bits. It’ll take three weekends or more, and it will be harder work, with all the getting out/putting away and tidying up in between, but at least we’d get it done. So that’s what we’re doing.
weekend one
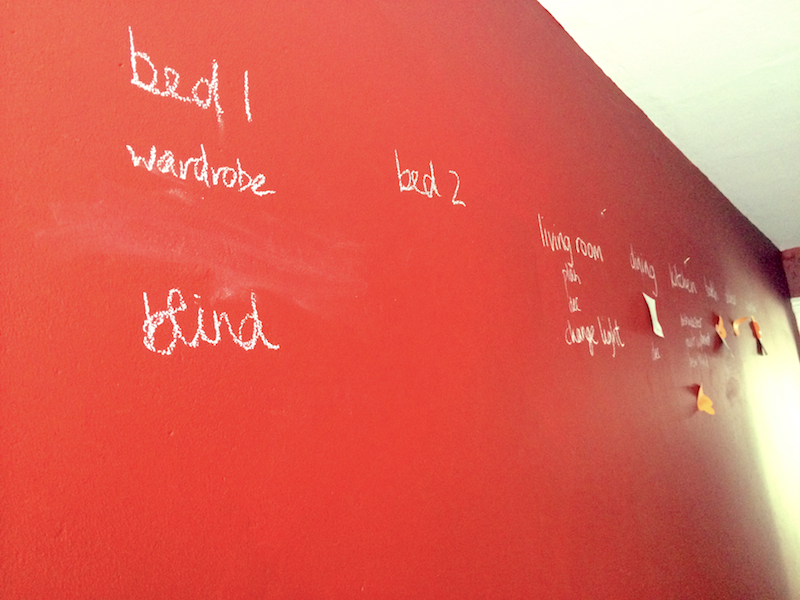
We started with the kitchen. On Friday evening we planned our strategy and after breakfast and a long walk in the park to tire out little Betsy, we got stuck in. We took down the last bit of broken blind fitting and all the pictures, filled some holes and repaired some massive dints in the corners at the edge of the kitchen. Then we cleared some of the bigger items in the kitchen, and moved the rest all on to one of the worktops. booyaa took some of the cupboard doors off, to make it easier to paint in the tiny gaps between the end cupboards and the wall. We covered the other worktop with a pile of old plastic dustcovers, and got to work with the basecoat.

Covered up kitchen, featuring blotchy basecoat in the background there
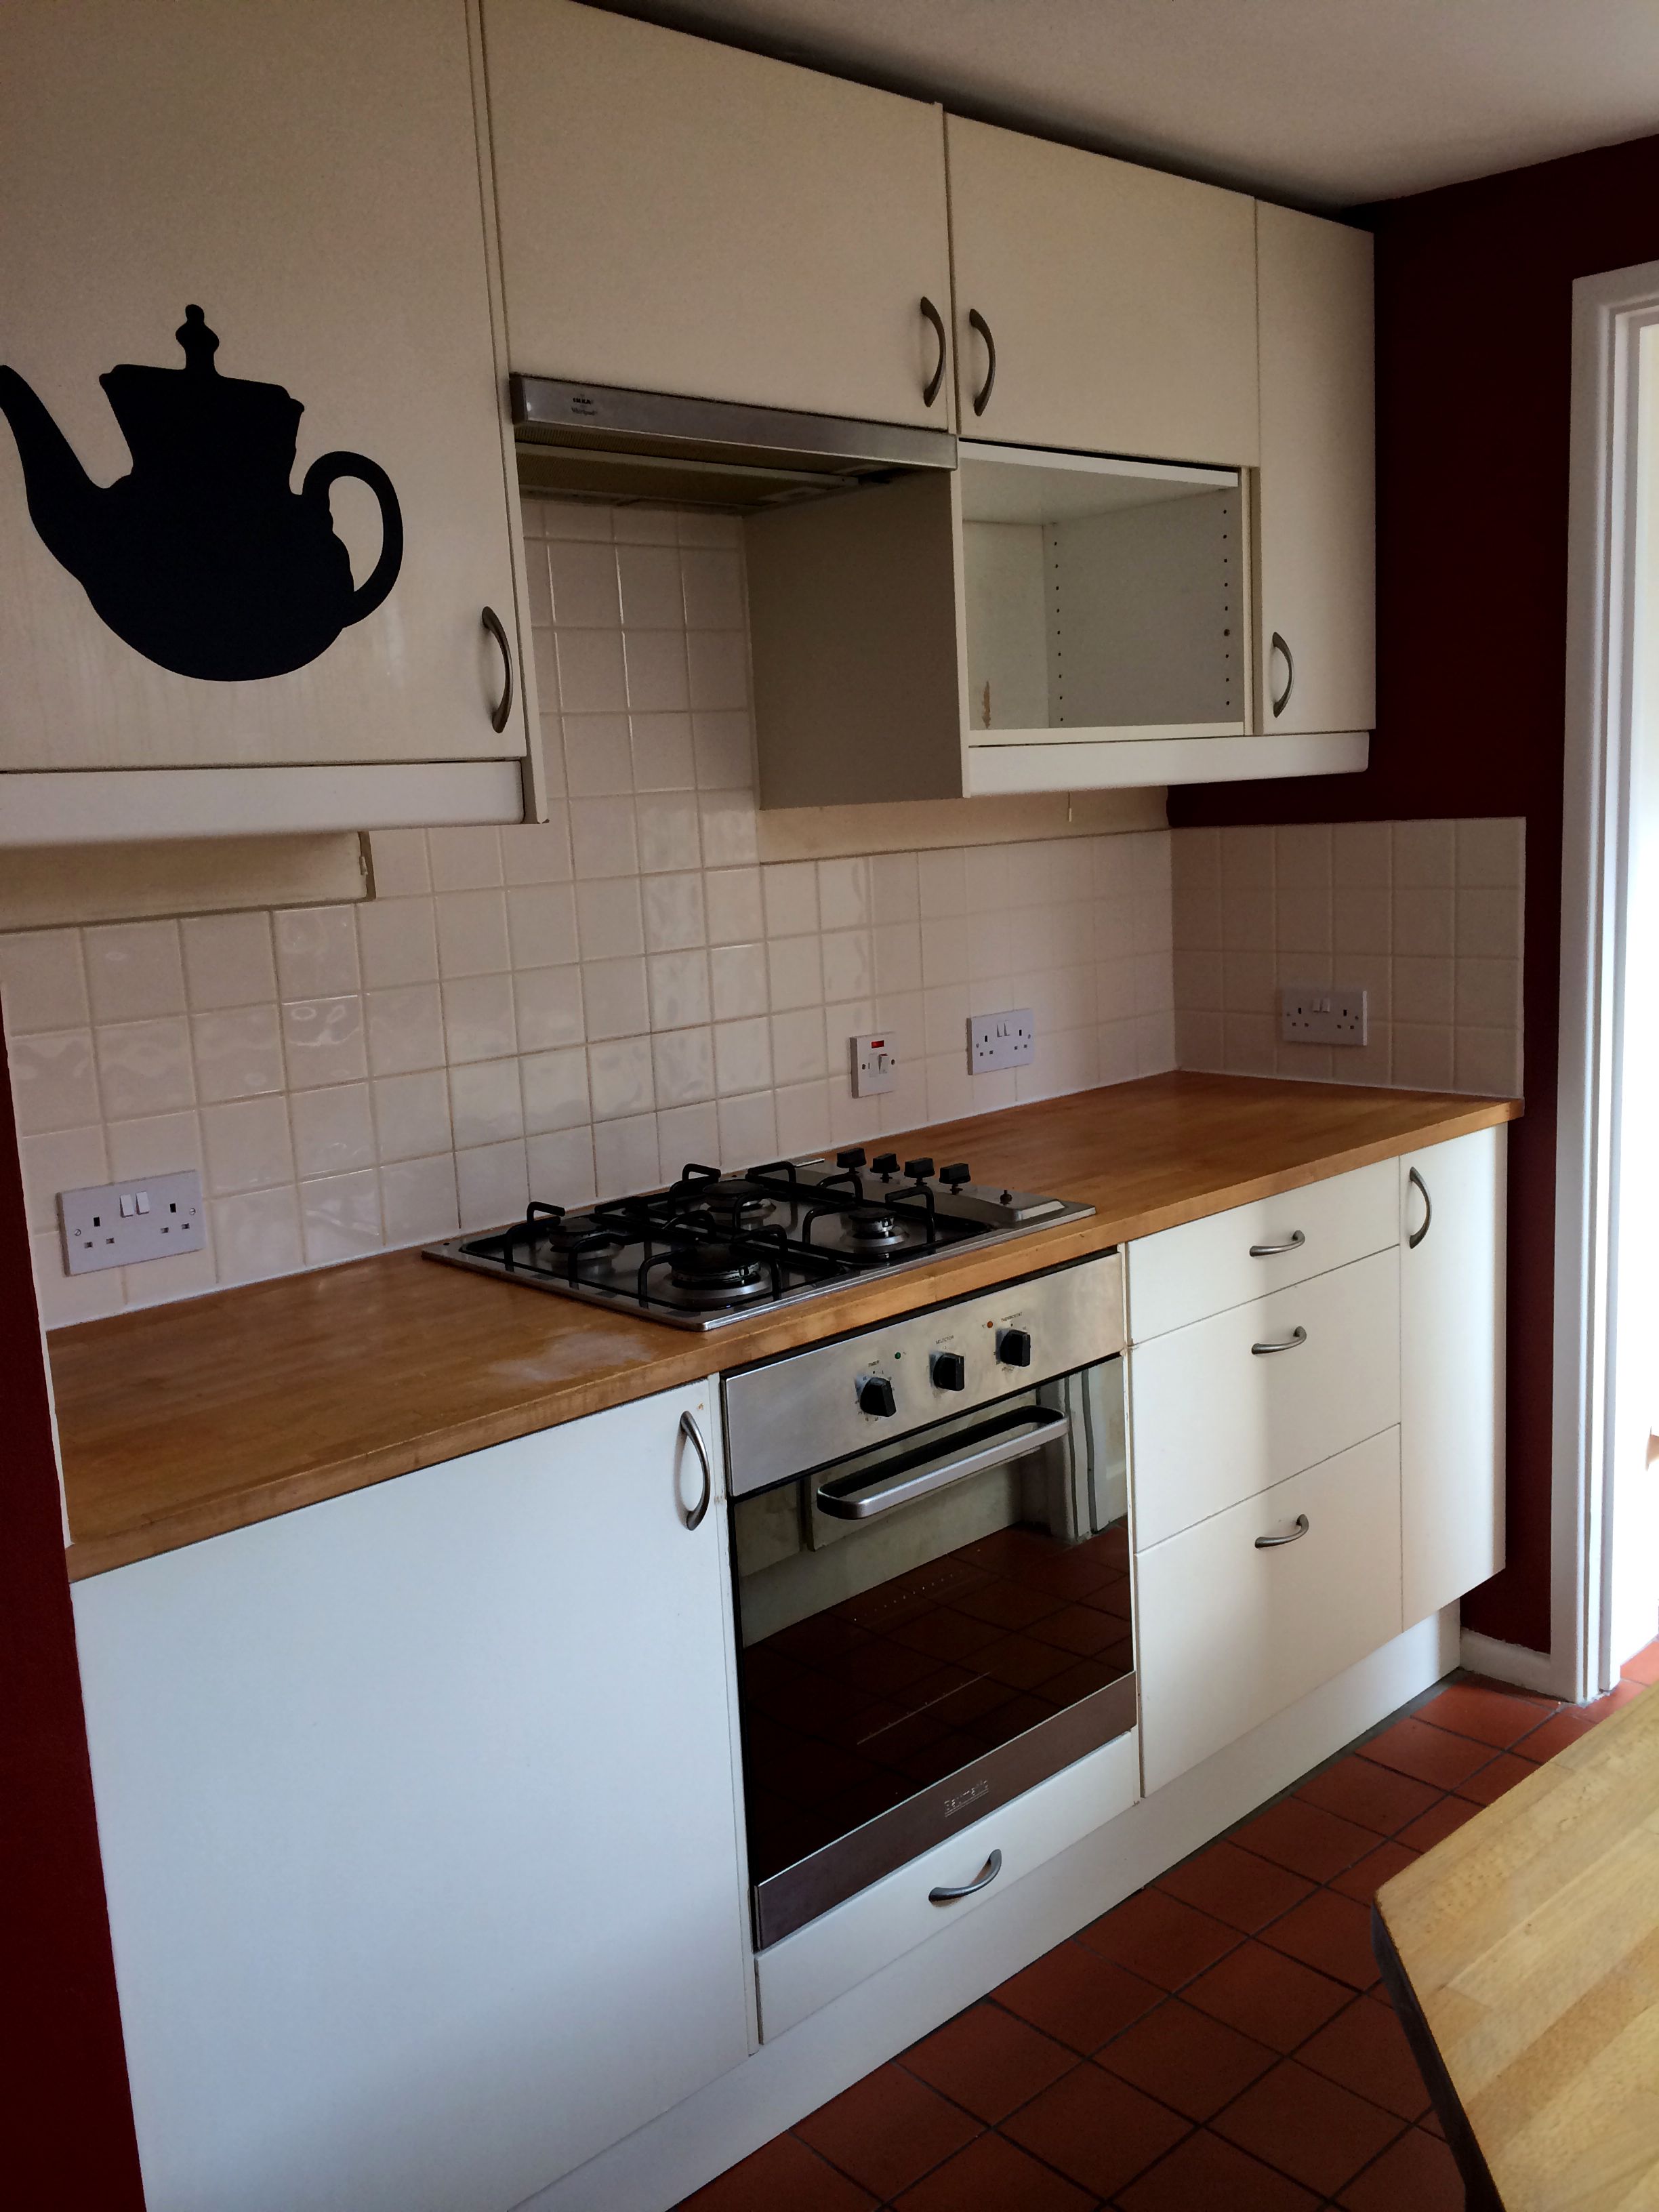
The basecoat, bought on special offer from Wilko and an absolute bargain, is designed to cover strong colours and smooth over fine cracks. We figured it would be a good base for painting over the horrendous ox-blood colour in here before repainting in the very light colour we’ve chosen. I hoped it would also deal with the satin finish of the existing paint. Have you ever tried painting over satin paint? The fresh paint smears all over. It’s a real pain. And of course there’s also the grease that’s bound to have accumulated over time on all the surfaces. Did it work? Why yes, it did. It’s quite tricky to apply on rough plaster like ours, and you need a fairly stiff brush to get in all the little pockmarks. If you have crisp, smooth plaster then I expect it would go on fine with a roller. But then you probably wouldn’t need a crack-filling paint… Because the basecoat is so thick (it’s basically Polyfilla plus white paint, let’s face it) you have to leave it for 6 hours to dry. We tidied up and left it overnight.
Next day I decided it looked like it had covered enough of the dark red to start painting the light grey emulsion I’d chosen, so after breakfast I got started with my favourite cutting-in brush. For such a small area – most of the kitchen is cupboard or window – it took me forever to paint it. But I still managed to get the first coat finished with time for it to dry so that I could do the second coat before dinner. All this time booyaa was trying to keep Betsy entertained. She spent most of the weekend sitting at the baby gate and crying for me. I’d go over to say hello every now and again but she was quite seriously put out. She might have had a few more treats than are good for her this weekend, just to keep her sweet.
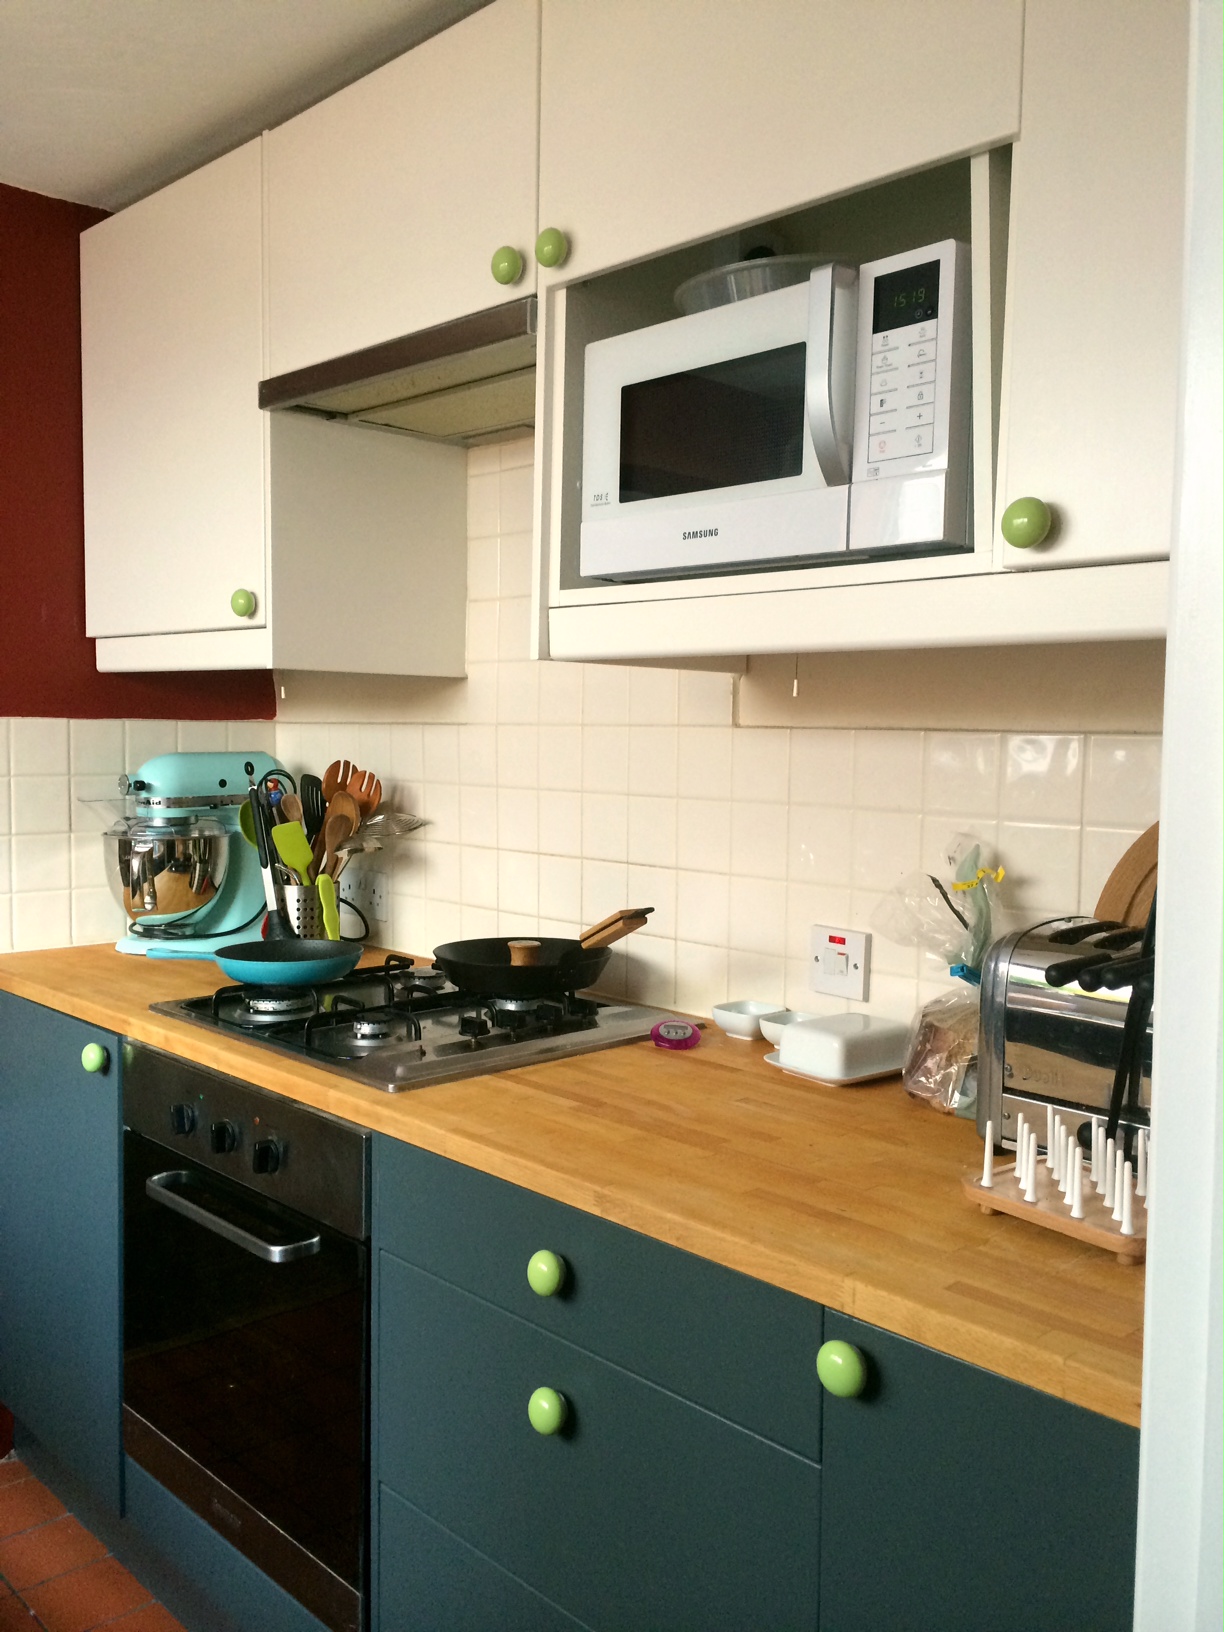
After a very welcome hot shower and lovely dinner I sat down for a rest/play with Betsy while booyaa tidied everything away. On Monday morning we marvelled at the brightness of the kitchen. On Monday evening we kept turning the lights down because we don’t need them on full now that the red isn’t sucking the light out of everything. Remarkable. We had to rehang the cupboard doors because you know once you’ve moved them you’ll never get them to sit quite the same ever again… and put the clock back on the wall, moved things back how we’d had them and so on. And then I really looked at the new wall colour and decided that yes, it works really well with the cream tiles and the cream/dark grey cupboards. Yes, it’s the colour I wanted and it’s going to look great in the dining room. It’s so very much brighter, lighter, cleaner in here, it’s great. But… I don’t know, there’s something I can’t put my finger on. After living with it for a week I think that it’s a bit too cool (not as in not warm, though it’s that too, but mostly I mean chic, grown up) and it looks like something out of Living etc rather than my house. Bizarro.

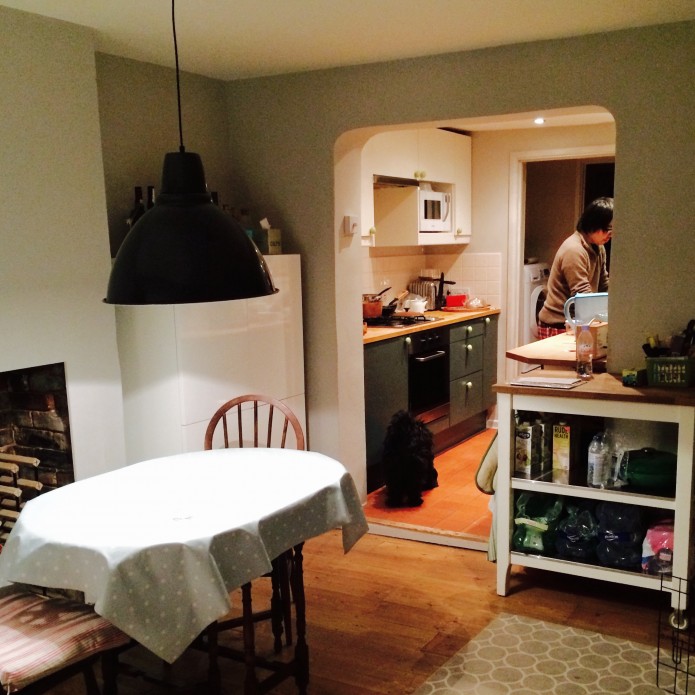
Hipster kitchen
I’m looking forward to seeing the transformation of the dining room. It’s going to give so much light back to the room. Which is a good thing, really, since the low over-the-table light means it’s generally dark even with the light on.
weekend two
booyaa has taken the Monday off, so we have a whole three days to tackle the dining room. We’d originally said we’d do the dining room over two or three weekends. We’d get the ceiling done first and then do two walls at a time. This is to reduce the amount of furniture-moving we need to do. It’s mostly down to not having somewhere to put everything while we’re working, since we need the living room free so Betsy has room to play. But also the sideboard is absolutely chock-a-block with glassware and crockery and you have to empty it before you can move it. Where do you put all that stuff? You can’t just leave it on the dining room table for two days or you’ll be eating off a tray on the kitchen floor…
Saturday morning: same ritual as last week. Homemade bread for breakfast then a long, fun walk in the park so that Betsy Boo is happy and tired out, and therefore easier to look after for the rest of the day. Move things all over the place. Into the garden, the downstairs bathroom, in the spare room, fold this away, put this back in the loft, and so on. Cover everything with dust sheets.
I’d planned out how to maximise the time working versus waiting for things to dry, so we’re doing things in possibly an unorthodox manner. We start by painting a border of basecoat around the join of the ceiling so it can start drying to let us do the ceiling today, then onto the rest of the basecoat cutting in. While I’m cutting in booyaa is using totally cheating liquid sander on the woodwork. Then I sit in the garden enjoying the lovely afternoon sun with Betsy while booyaa rolls the walls with basecoat. We have to go over it in places because the basecoat is so thick it’s hard to apply and the pockmarked plaster is quite deep in places and needs stippling to cover it up. Yet again I’m wondering just how much effort to go to now to avoid seeing tiny red dots on the wall later.
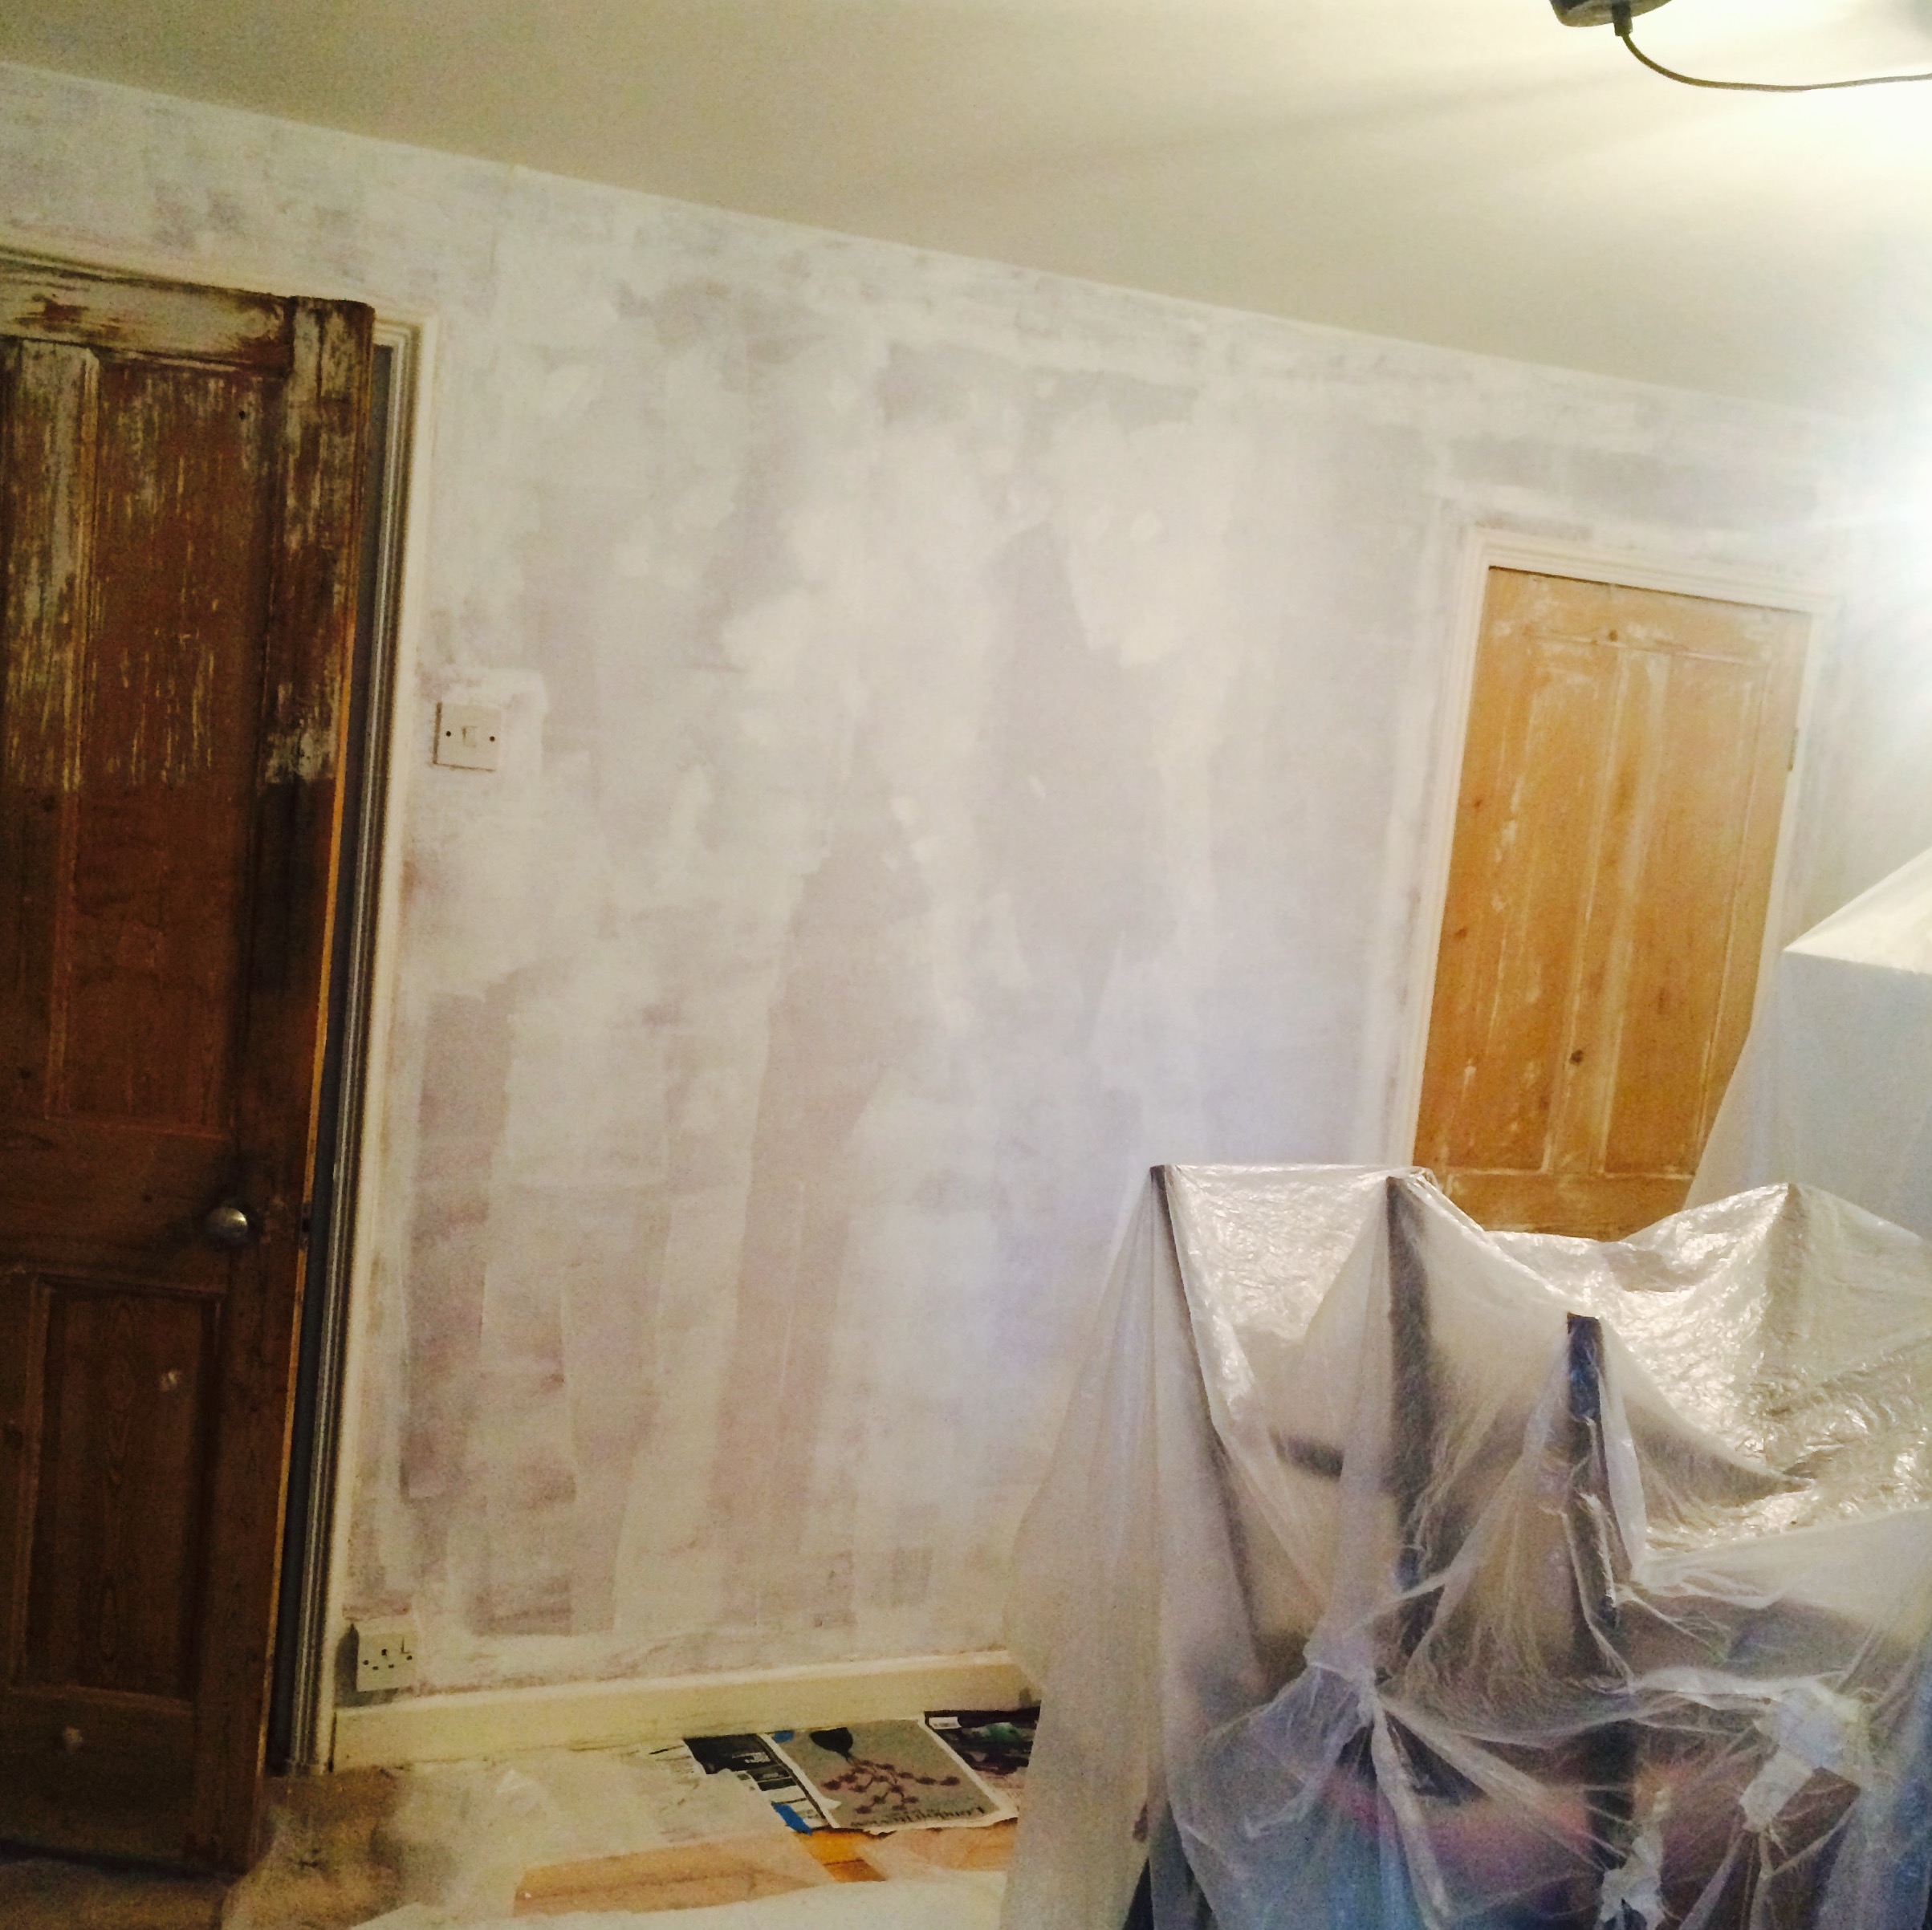
More blotchy basecoat (see also: grotty dip’n’strip doors)
Next up I do the cutting in on the celing before booyaa rolls the rest of it. And that’s day one of this weekend pretty much over. We’re both exhausted and after cleaning brushes and washing rollers we opt for pizza from the local takeaway and an early night.
Sunday: up with the lark (that’s the Betsy alarm for you) so after breakfast, booyaa takes Betsy for a walk while I go straight back to the painting. I start on the cutting in and discover that I’ve completely lost my cutting-in mojo. I discovered while doing the living room that with a good angled brush and some patience I can paint a pretty good neat line freehand. No more low-tack tape that peels off your paint when you remove it. No no. But today I can’t paint a straight line. Panic! I decide to go as close as I can to the ceiling join and recognise that I’ll just have to go round with a tiny paintbrush later. While I take my turn to Betsy-sit booyaa comes in with the roller and gets the first coat of emulsion on the whole room before lunch. Whoop! While we’re waiting for that to dry we also do a coat up the stairs. We’re just doing up to the bannisters where the walls are pretty scuffed, so it’s pretty fast work. Then we get a couple of hours downtime. We get dinner ready to go in the oven. Early evening we get the second coat on in time for the dinner coming out of the oven. We are super impressed with ourselves.
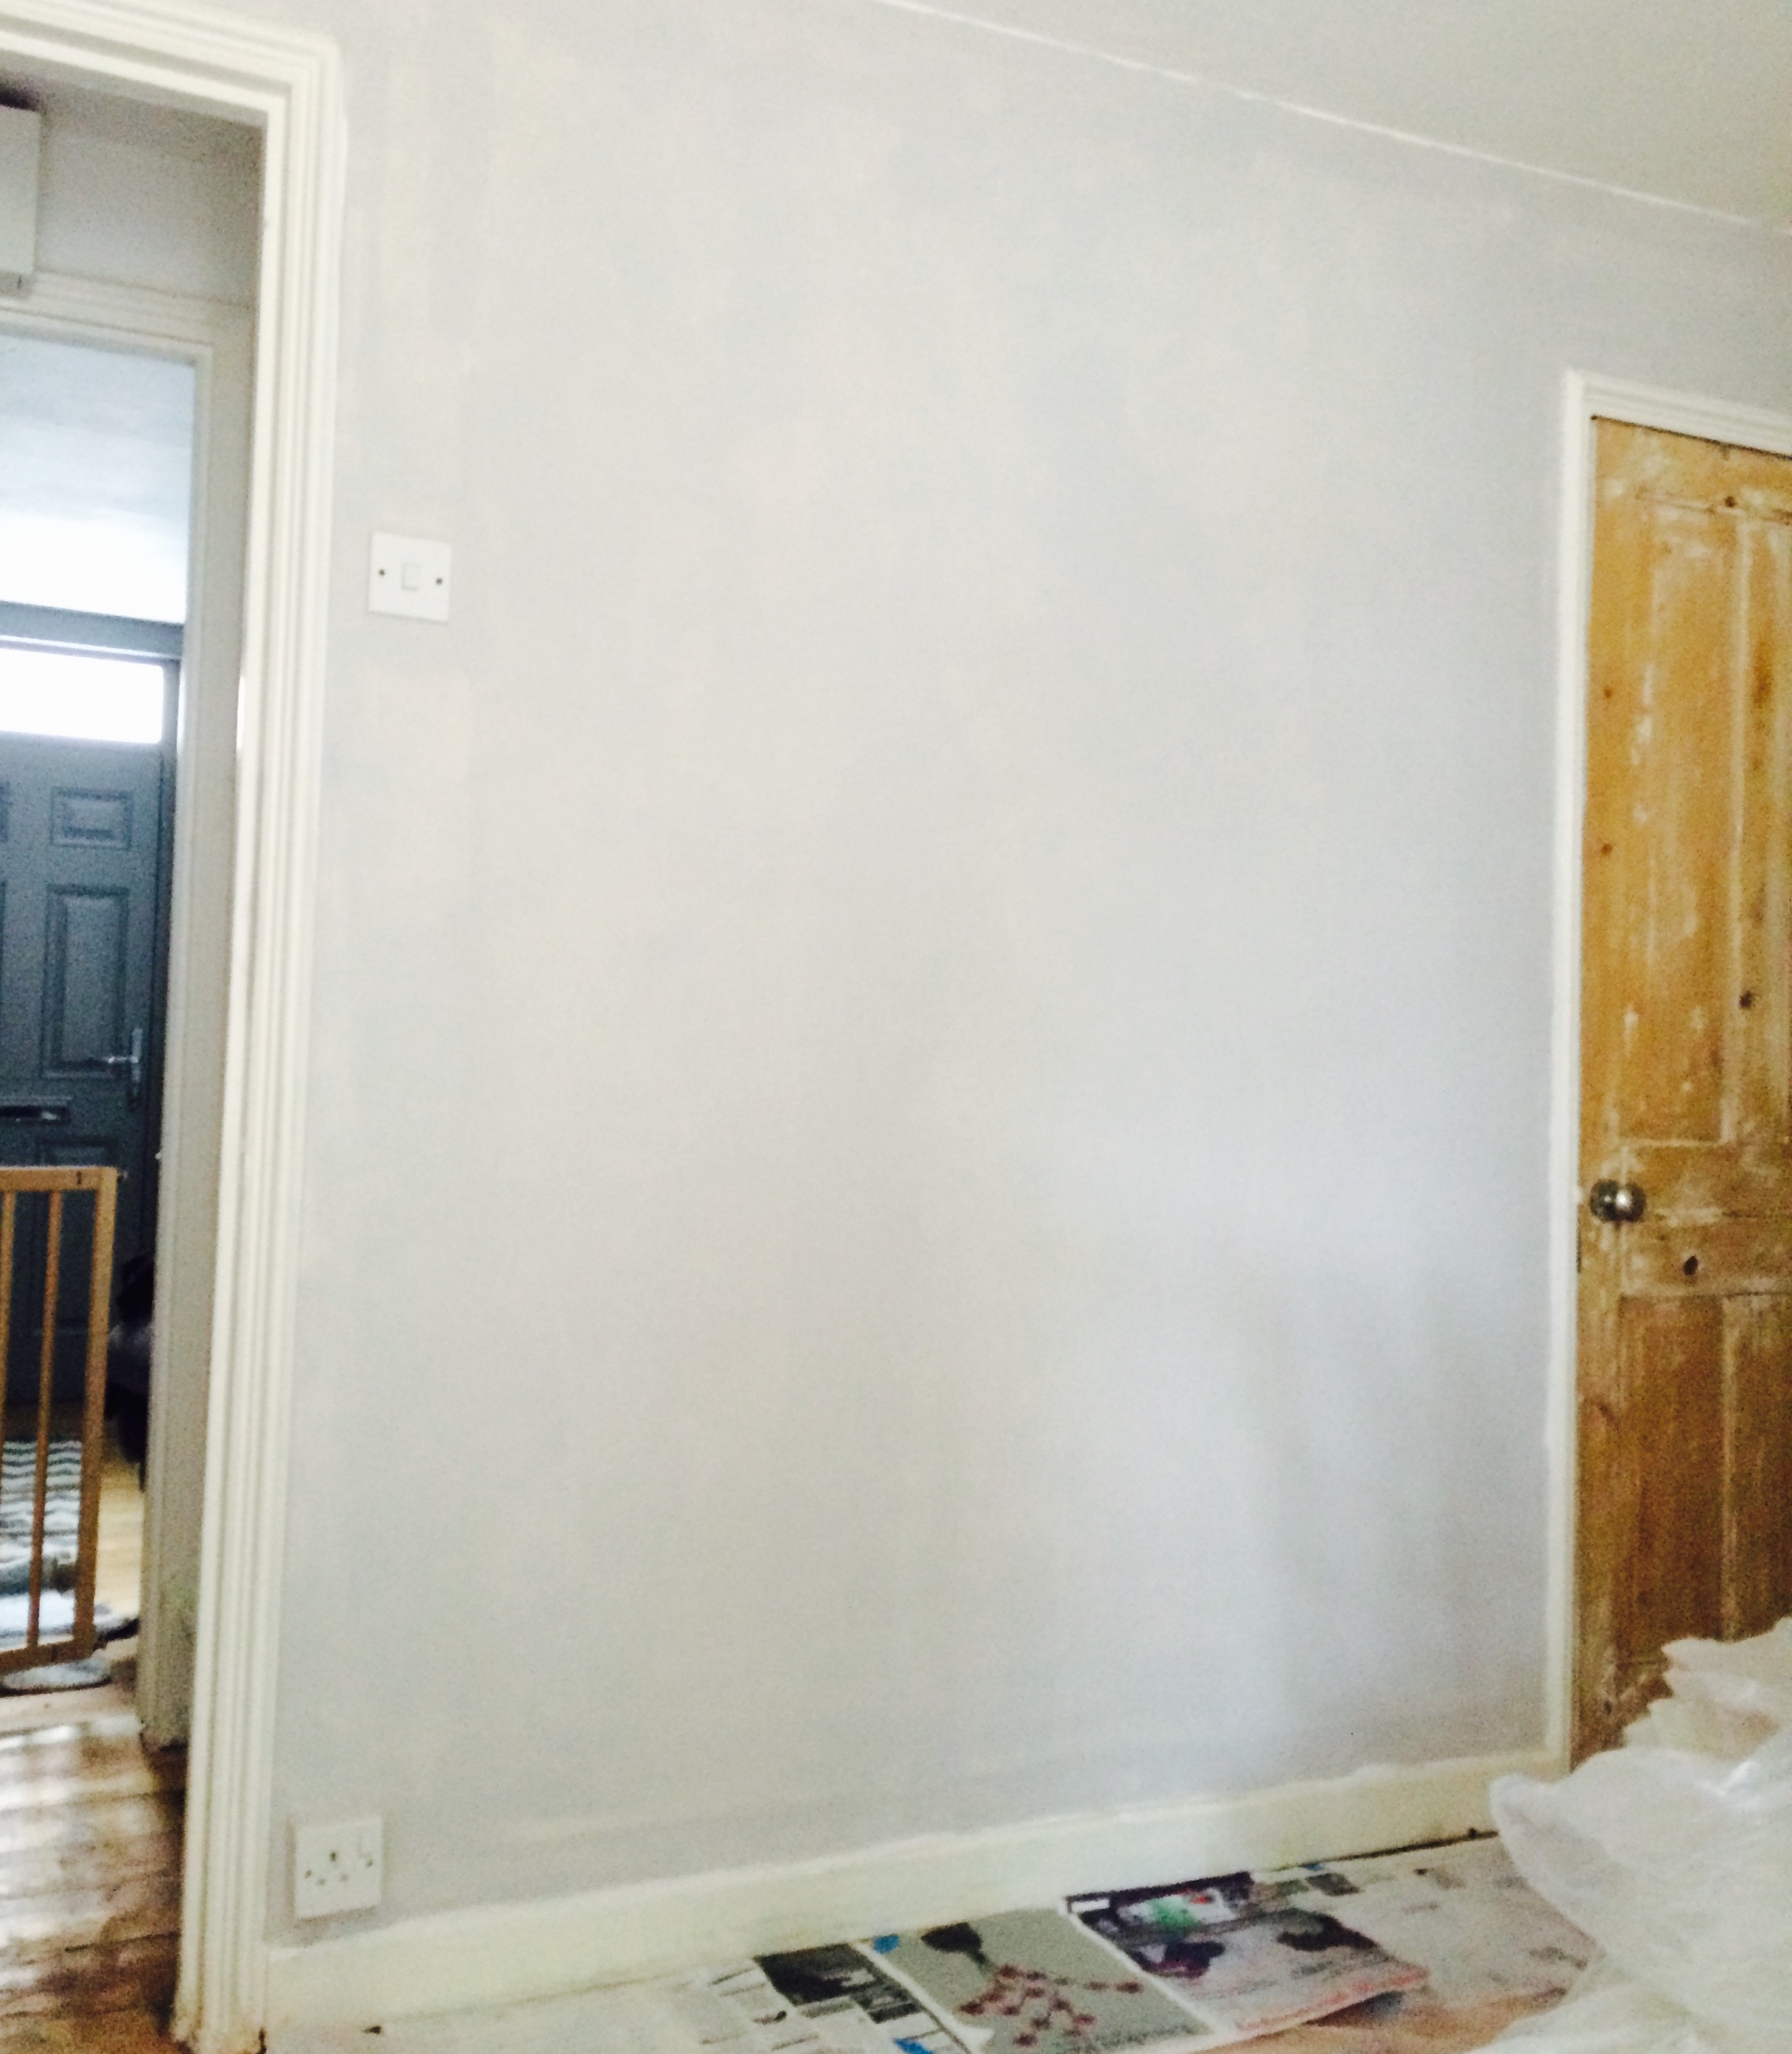
Same wall, with one coat of paint on (Betsy’s jail through the door on the left)
Monday: going to be tricky today. I’ve set my out-of-office so we can both concentrate on getting the woodwork done. We do the first coat of eggshell and true to our experience of Farrow and Ball eggshell elsewhere in this house the first coat looks awful and ohmygodthiswillneverwork. We have a four-hour wait before we can do the second coat but Betsy has very definitely Had Enough. She sits and cries through the bars of her little prison. I’m aching and fed up too.

Dining room and kitchen at dinnertime
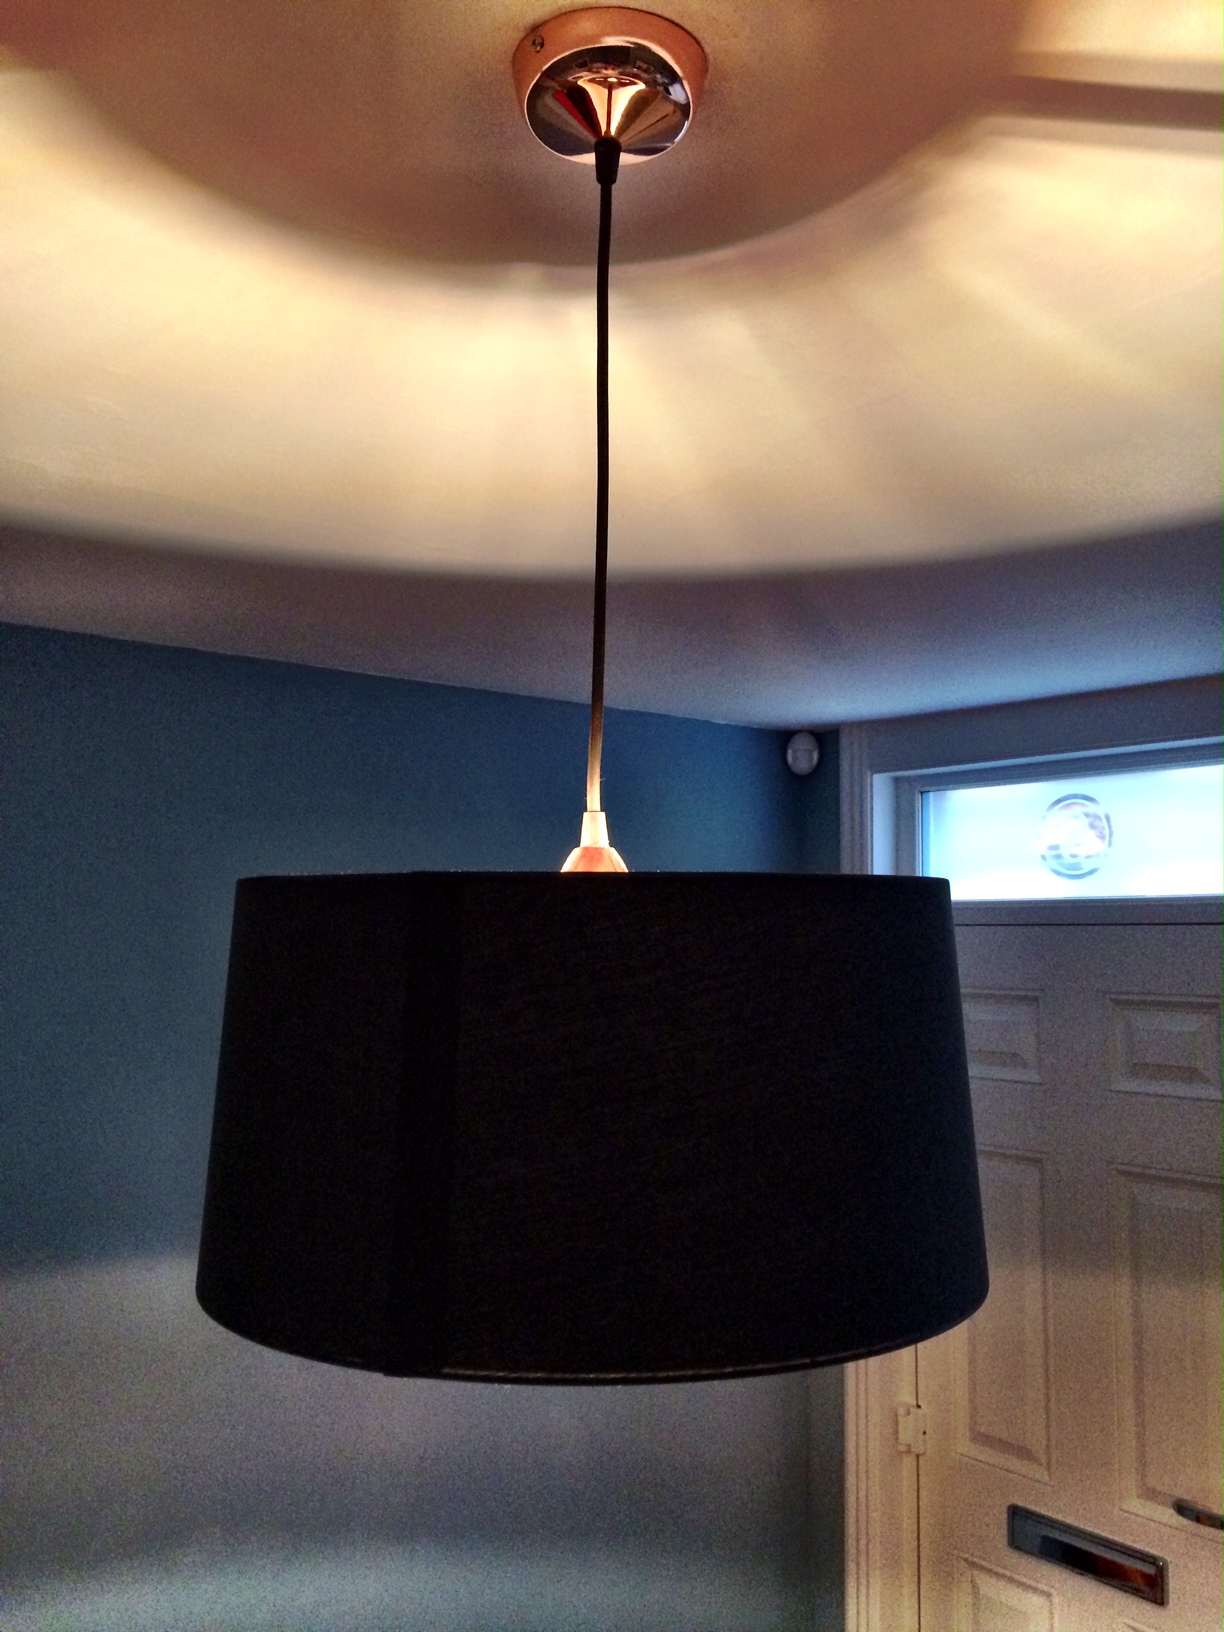
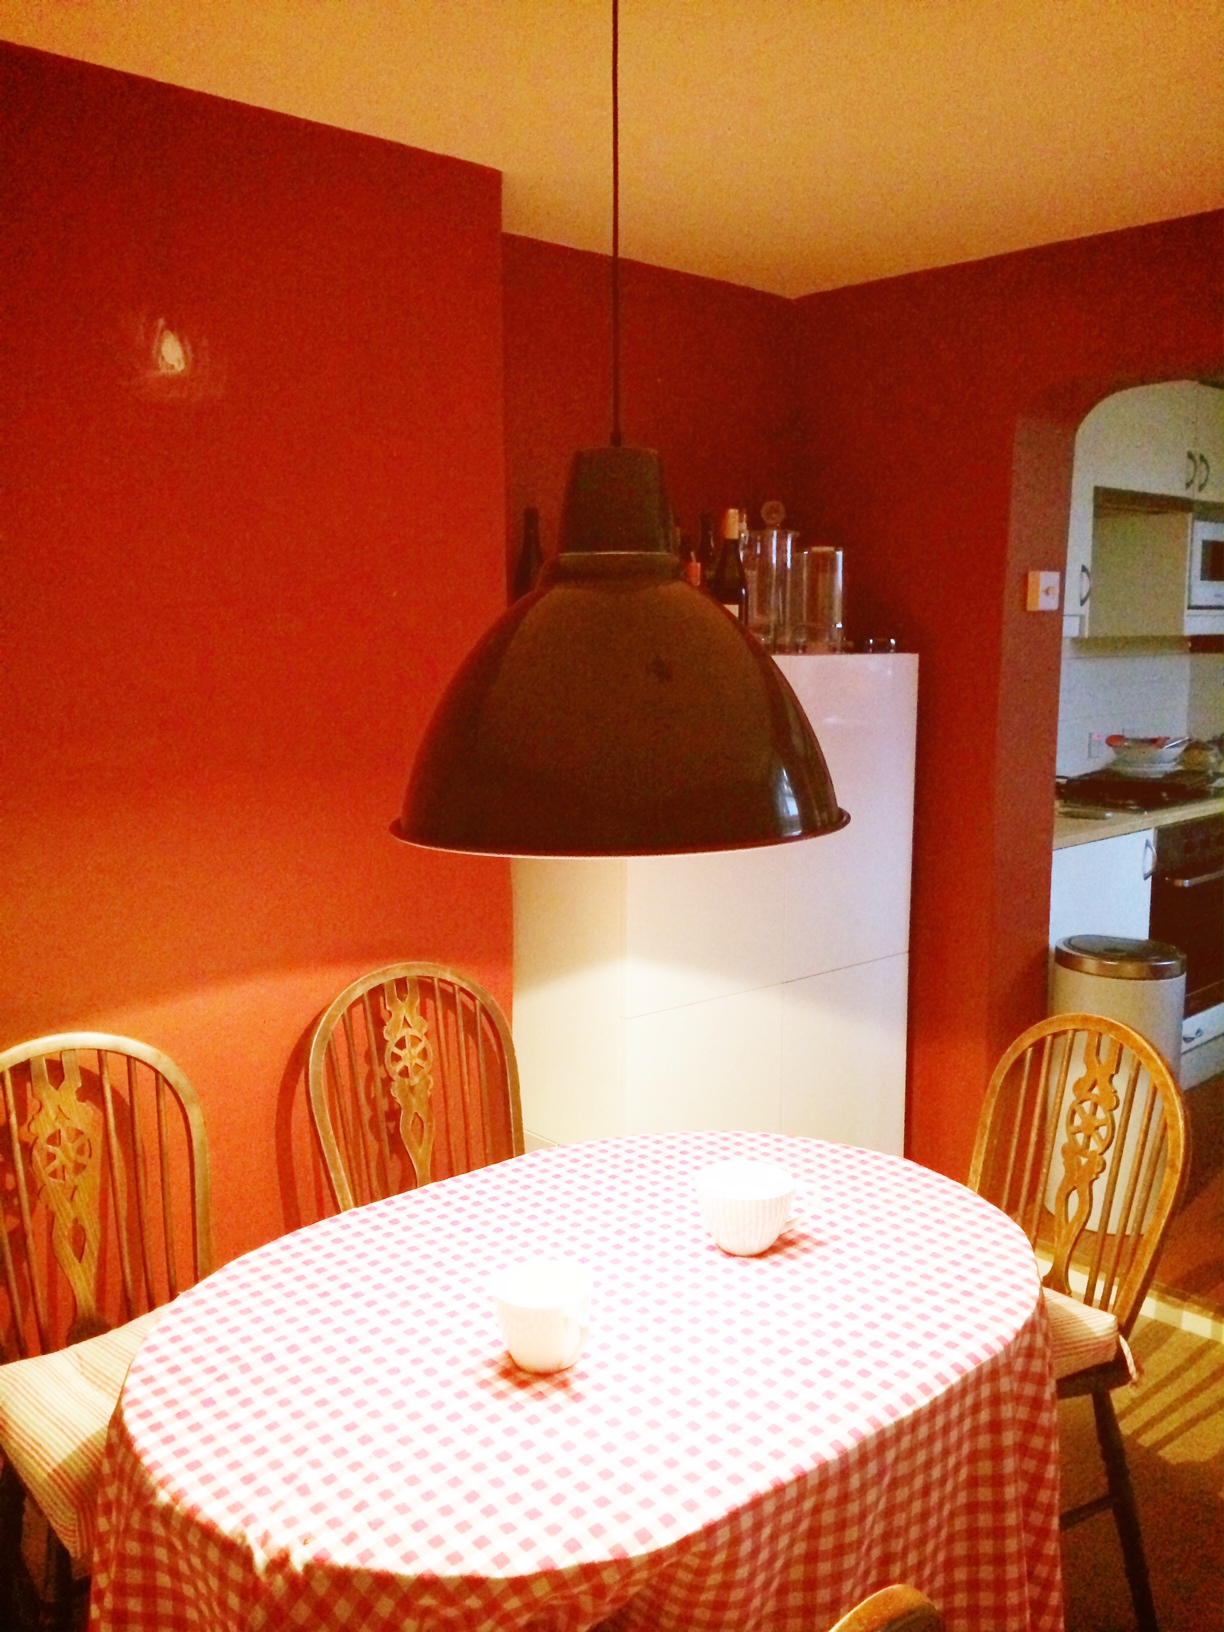
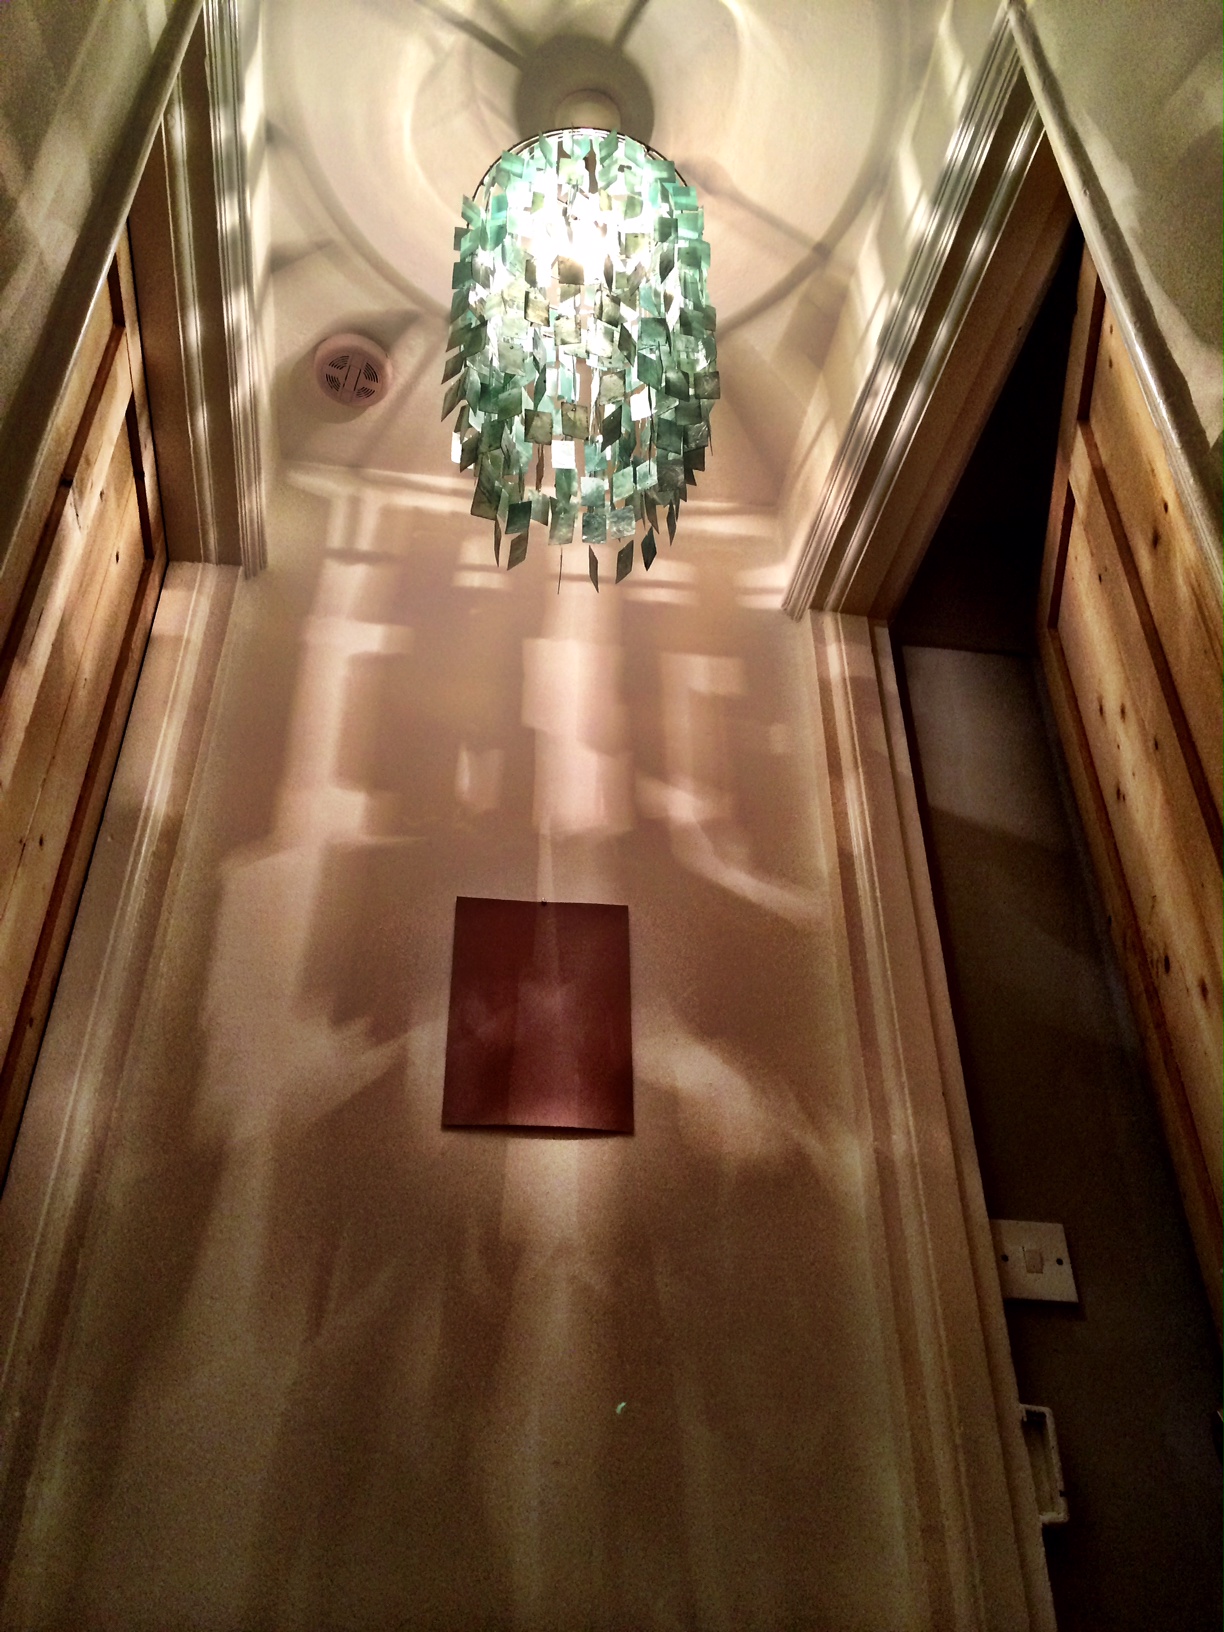
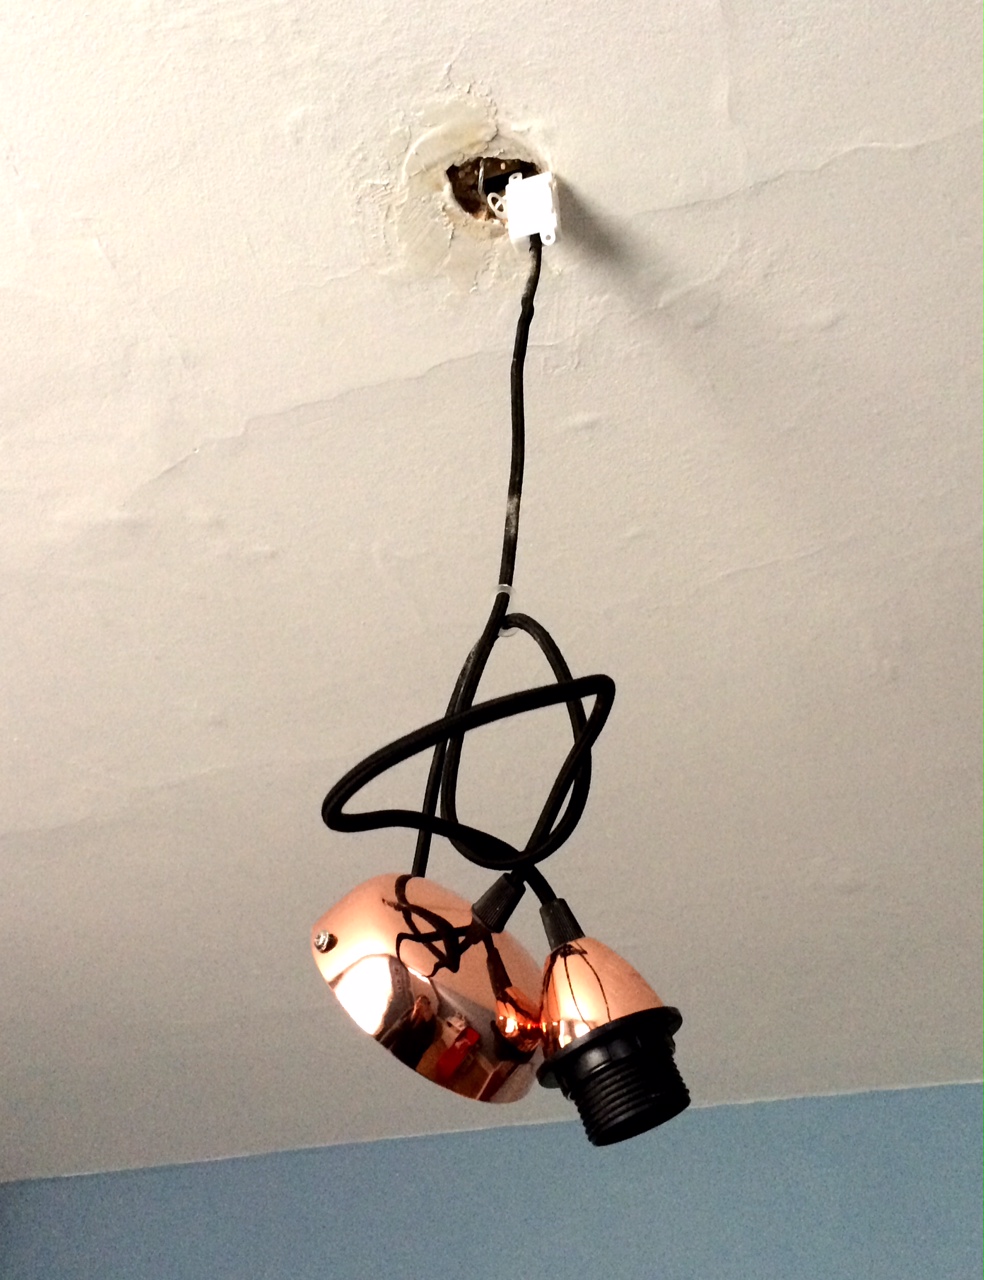
Usually I do most of the woodwork. booyaa doesn’t really have the patience, but given how very much I don’t want to paint another stroke, he takes over and finishes the second coat on the skirting board. We decide to cut our losses and leave the door surrounds and the radiator until next weekend. We clear up, put the room back together enough to have dinner at the table. It’s already feeling worth the effort. The lampshade I bought months ago with this paint colour in mind and that’s looked entirely uninspiring next to the ragey red all this time, has finally come into its own. I knew it would be just perfect in here. And despite our not-such-a-great-idea determination to have a low light over the dining table (which makes the rest of the room very dark since there’s no general light in here) it’s actually not dark in here at dinner time.
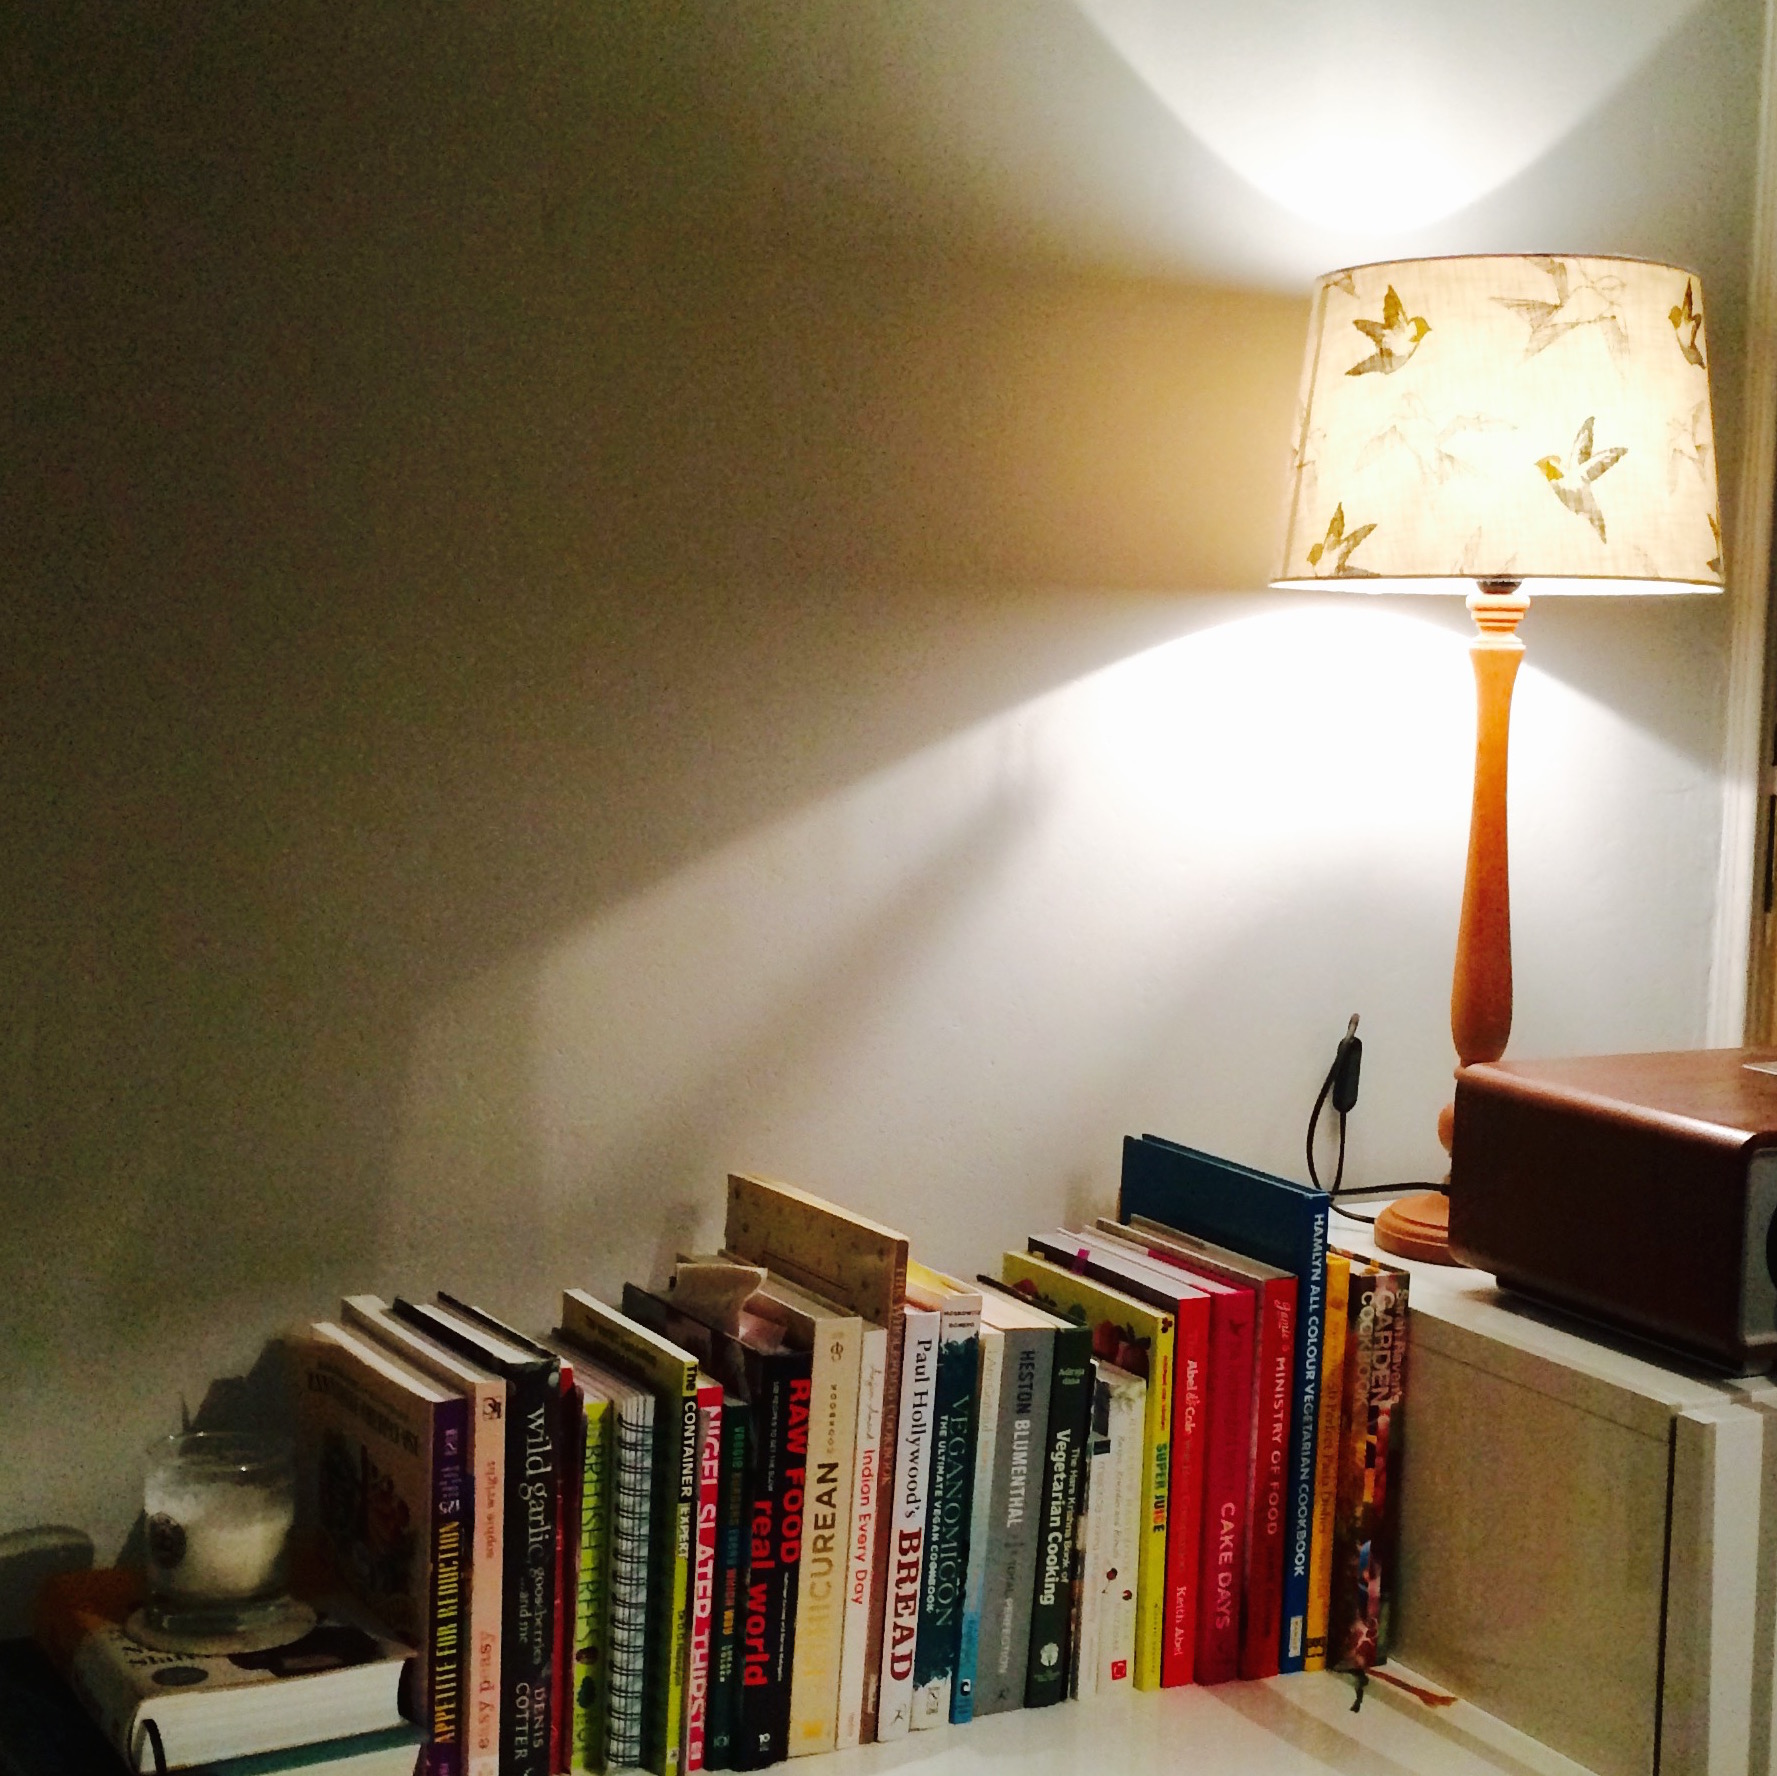
The lampshade that now looks lovely.
On Tuesday morning it’s the greatest pleasure to walk into the dining room and see that lovely calm colour and the room bathed in light. We don’t get much natural light in the dining room because next-door’s extension mostly keeps us in the shade, but what little light we get can now bounce around the room thanks to the pale wall colour. I always felt that the red colour was an angry colour and sucked in every drop of light, but I hadn’t realised how much. This is a tranquil, light space.
weekend three
We finish painting the door frames, do a couple of touch ups where the emulsion was a bit thin and put up some pictures. After three coats of eggshell on the woodwork we decide that the superquick, seems-too-good-to-be-true liquid sander is indeed too good to be true. Next time it’s elbow grease and a coat of F&B undercoat before we get to painting the eggshell. Another lesson learned.
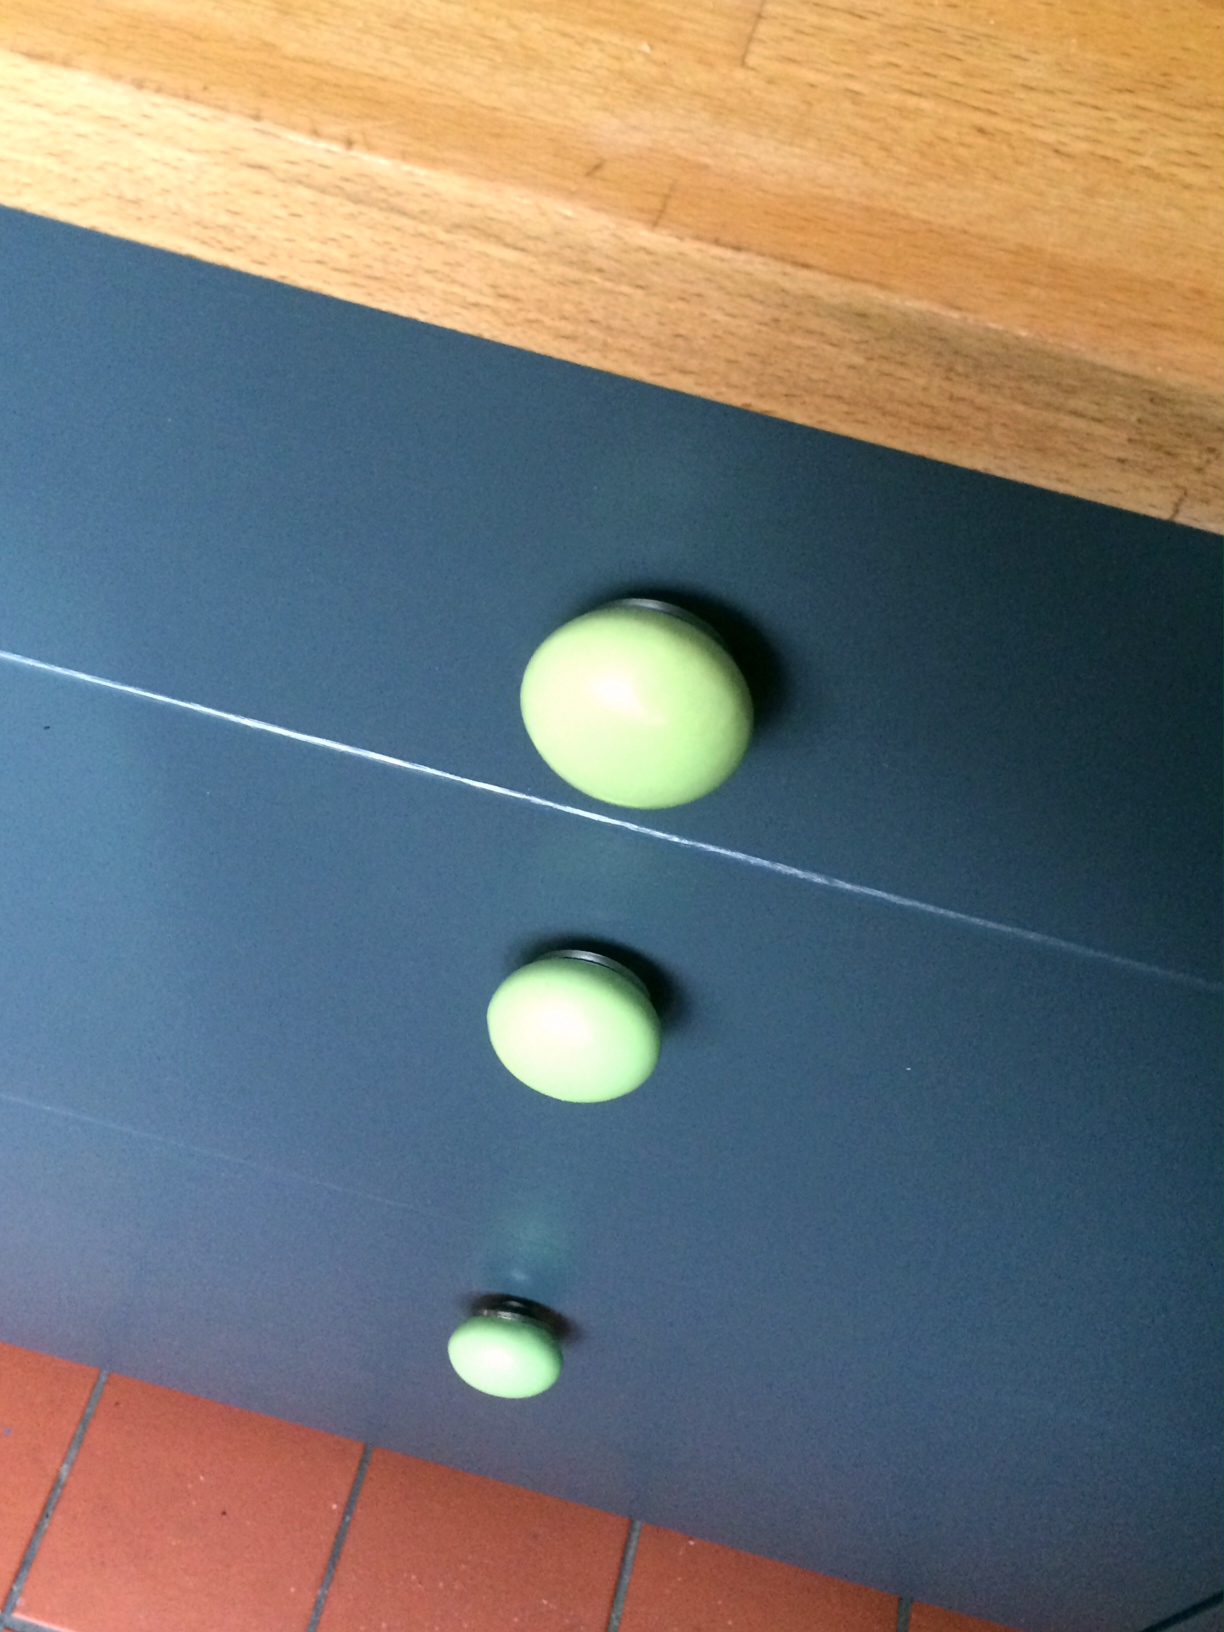
Our last task for this room will be a separate project. We need to take off the doors, give them a really good sand and repair them. Then we can get started painting them. They’ve been dipped and stripped (we didn’t do it) but they didn’t come up very clean, one of them is in a bad way, so we’re not going to try to keep them bare wood. They’ll be painted dark grey to match the kitchen cupboards.
PRODUCTS USED
Wilko own brand Basecoat undercoat and filler
Polyfilla Liquid Sanding
Farrow and Ball Cornforth White Estate Emulsion (walls) and Estate Eggshell (radiator, skirting, door trim). Wimborne White Estate Emulsion (ceiling).
Still to come: F&B Estate Eggshell in Down Pipe on the doors.