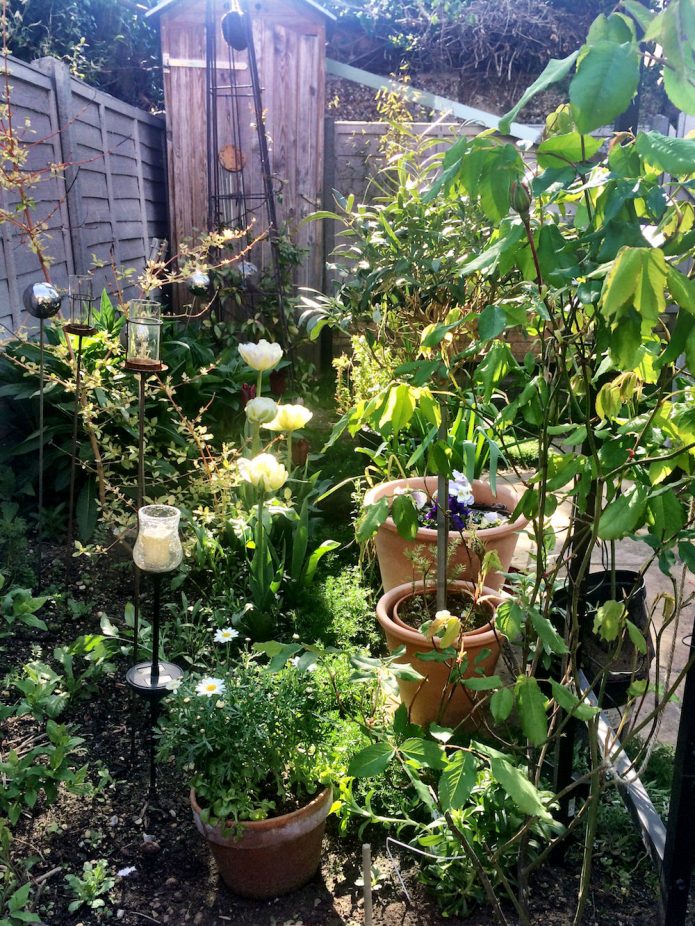
Winter wasn’t very kind to the garden. So many plants withered to almost or absolute nothing. We were both despondent when March came around and there seemed to be as much bare soil as there was last June when we’d just started planting out. Two months later, though, and things are looking up. Plants we thought had died off have sprung back to life. We had some geraniums that I thought were evergreen but are, we now see, in fact deciduous, and they’ve filled out their patch and started flowering. The sweet woodruff died back to scraggy stems, booyaa was convinced it was never coming back, but it’s now a mass of bright green leaves and I spy the start of tiny flowers. (They’re such pretty plants. I hope they spread soon.)
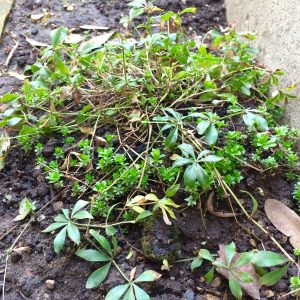
sweet woodruff late winter starting to show new growth
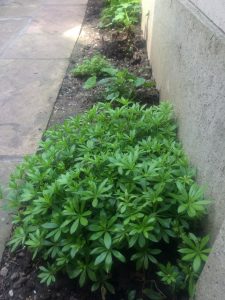
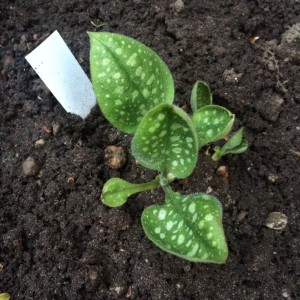
sweet woodruff in May
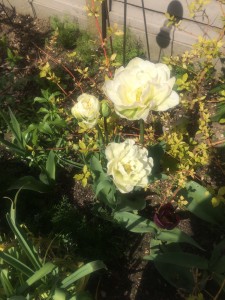
The rose bushes are two distinct stories. The older one (by a year) is zooming up the rose arch. Every few days I have to tie in another wayward branch as it reaches out to scratch you as you walk by. The younger rose has put on some growth but it suffered more over winter, and has had to fight harder to make its spring comeback. There are already over a dozen buds on them, which is about the total of last year from May to September. Looks like I might get an actual bunch of roses (as opposed to a single bloom) by my bed this year.
We had a number of biennials, mostly acquired from the lovely Ben at Higgledy Garden. Some of them didn’t make it – Betsy trampling, slugs, don’t know what else – but we prudently kept some in pots in our little nursery in the side return. So anything that didn’t make it over winter direct sown has been planted out in the past two weeks.
We tried direct sowing some wildflowers and other bits and pieces, but we don’t seem to have much luck. One patch was decimated by the pigeons (thanks guys!) and the other, well, maybe it dried out or didn’t get enough sun, I don’t know. So I’ve resown everything in those little coir pots and all the windowsills are groaning under the weight of seed trays. It’s working. We’ll have a second round of cosmos to plant out in a couple more weeks, we’ve got more alyssum (last year’s is still going, but you can’t have too much of that delicious honey scent, I say) california poppy and cornflowers (those colours will zing!) for the pots by the front door, calendula for Betsy’s garden (they’re non-toxic to dogs, so if she eats them it’s ok) and masses of dill to fill in any gaps in the main garden with feathery green leaves.
The chamomile that gets trodden on (and that Betsy likes to pee on) is looking a bit bashed and we’ve lost one or two plants over winter, but all around the edge of the patio where it’s been mostly protected by stacks of pots and the barbecue, so Betsy has kept off it, it’s lush and vibrant and gorgeous. I’ve just planted out another two dozen tiny plants to fill in gaps and start on the path to the shed. And there’s a tray of chamomile growing in the downstairs bathroom. It takes forever to grow into a viable plant. It’s a real slow burner. But by the end of June we’ll have another 40 or 50 plants to expand our scented pathways.
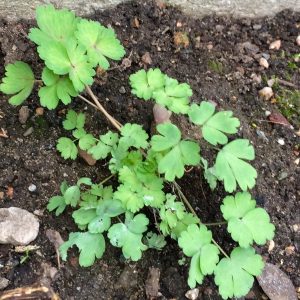
tiny little columbine has survived the winter too
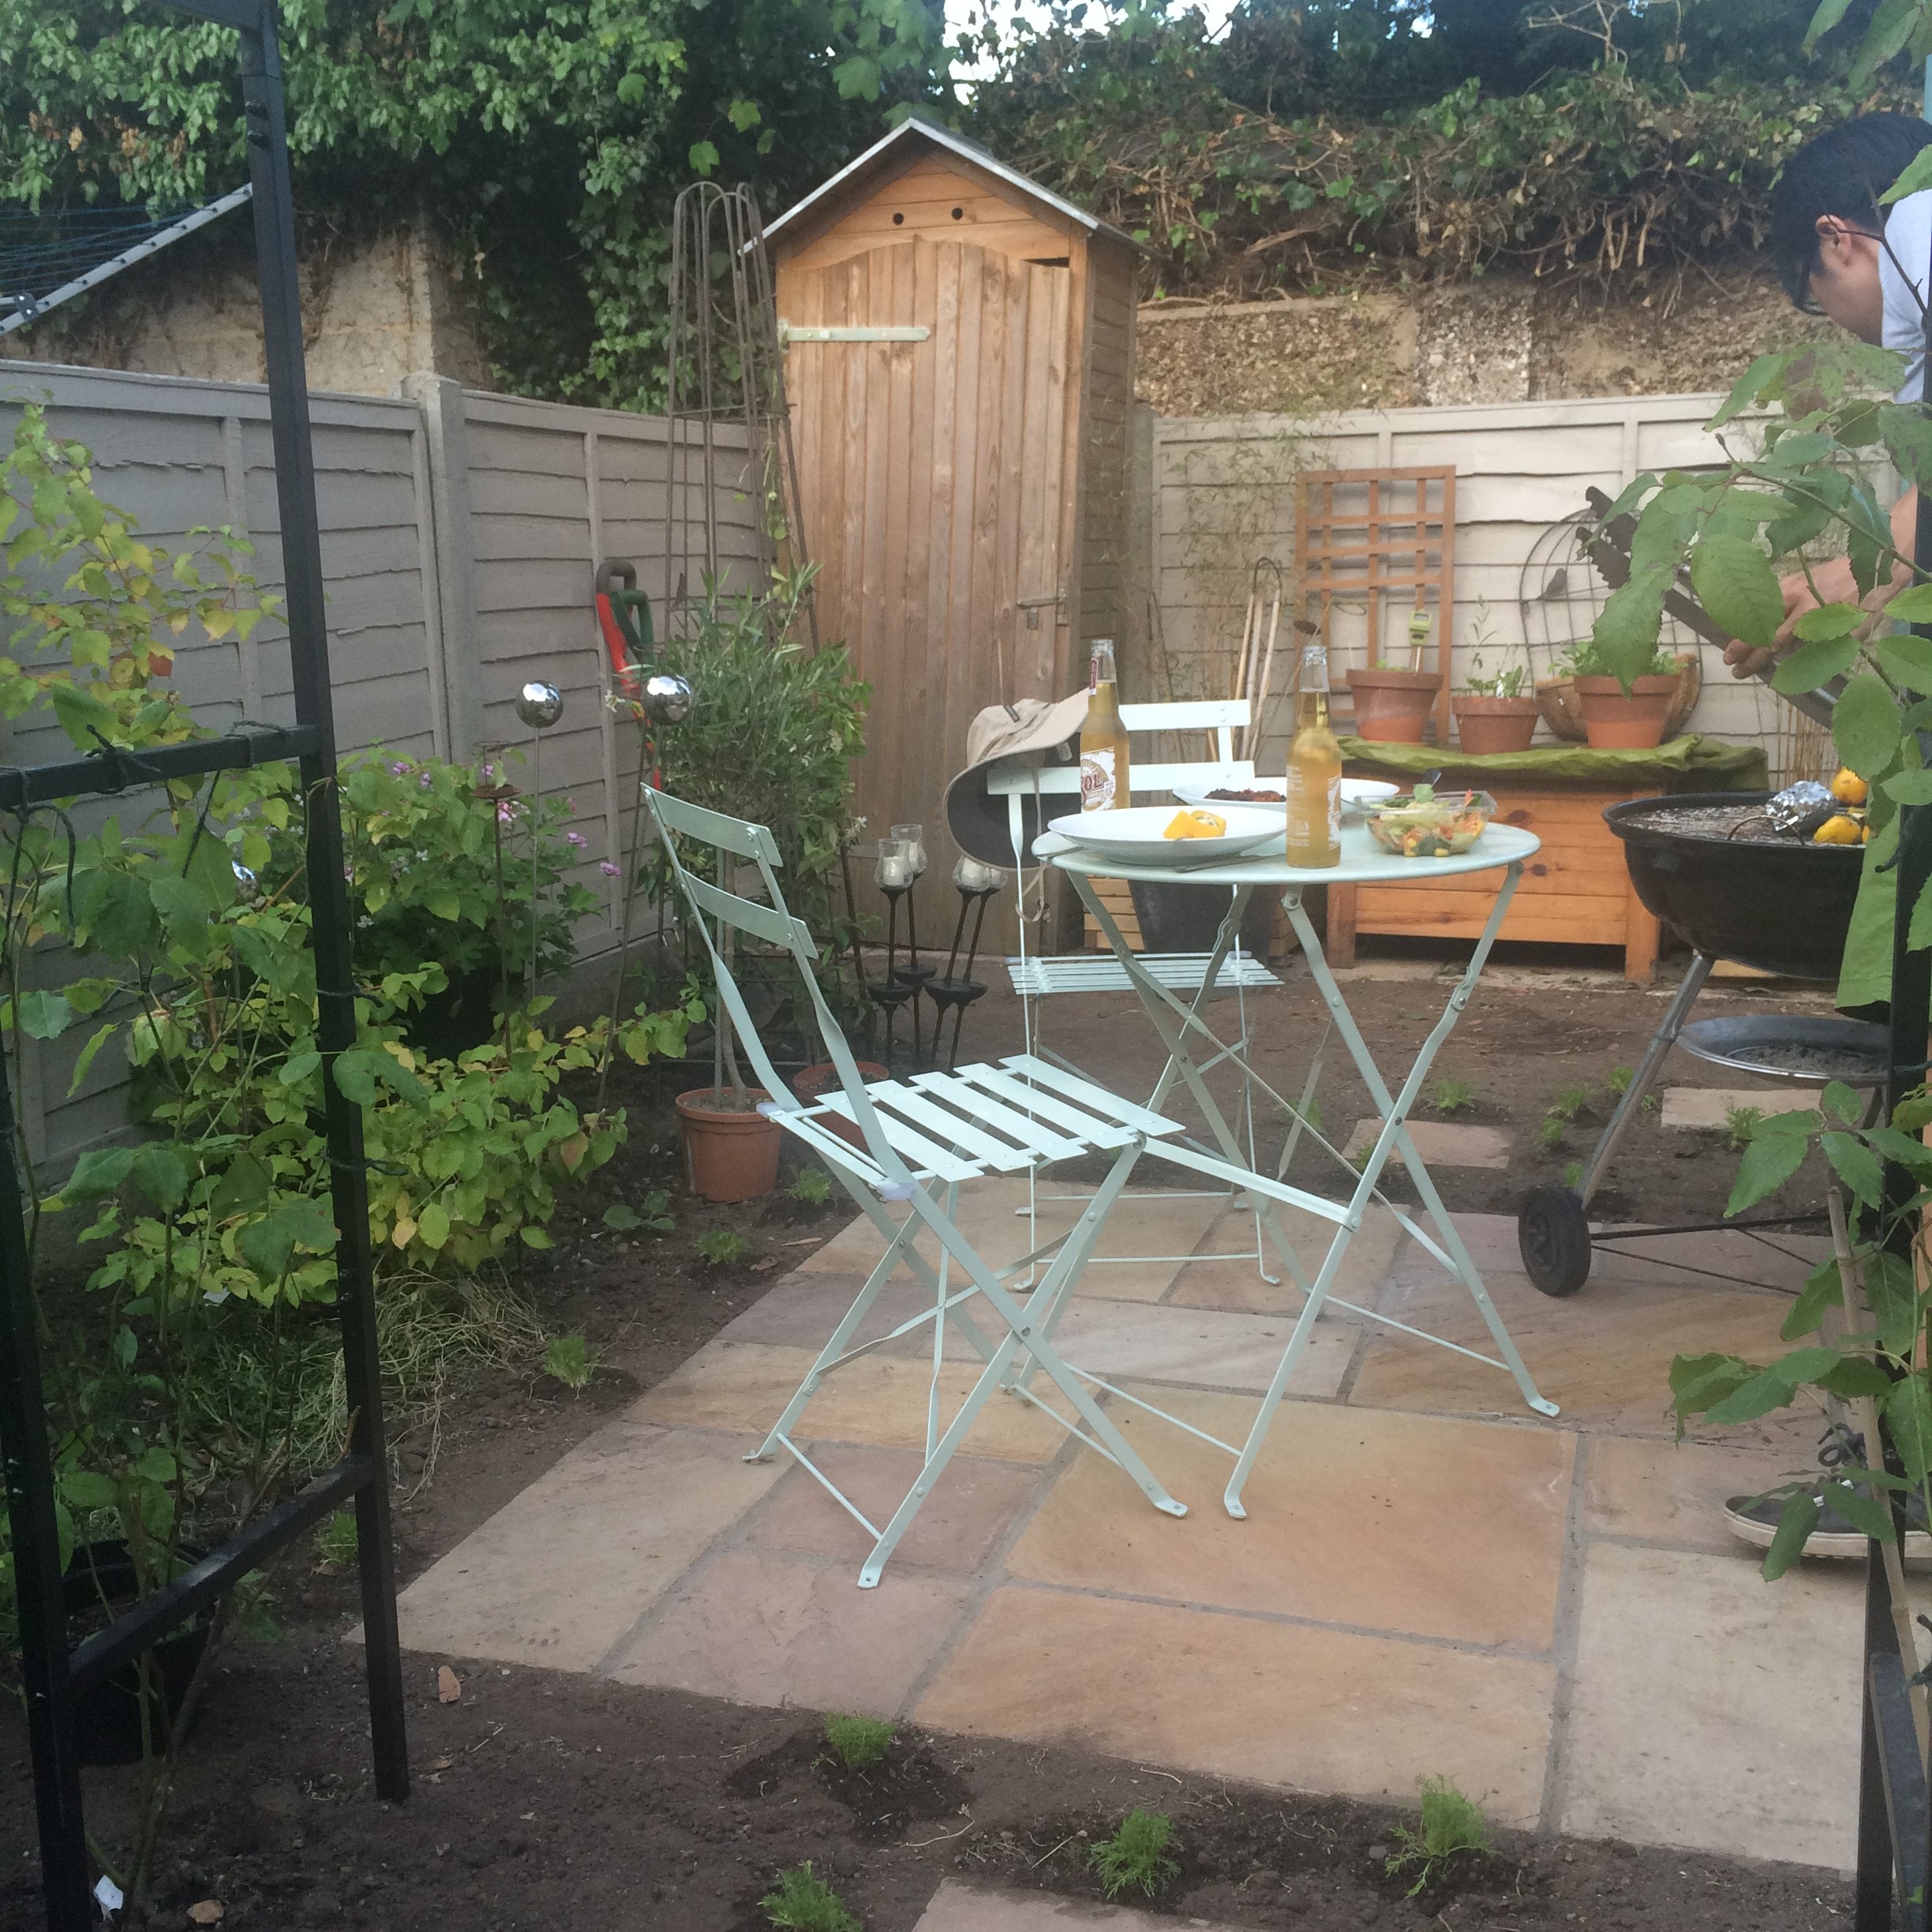
We bought a bench. We were going to upcycle the storage chest into a bench (and we still might) but we both knew it would take us a long time to get around to it. So, having seen a bench I loved, I scoured the internet for a similar but much cheaper option. It’s not first choice, design-wise, but now it’s in the garden I don’t care. The last two days I’ve been out with my morning coffee at 8am when it’s still quiet and enjoyed the sun, the birds tweeting and checking up on the plants everywhere. Watching things grow on a day-to-day basis is such a joy. Then Betsy barges in and tramples on tender plants, or barks at the birds and spoils my reverie. But still. (No photo yet. Will do that when it’s in its proper place.)
the pulmonaria made it through winter
booyaa planted tons of bulbs last autumn. We bought some species tulips, crocuses and mixed snowdrops, which came up and cheered us from January to March. Then the big tulips started to come through in April. They took their time opening, but the garden right now is a riot of big, blowsy flowers. They’re all pretty over the top, especially compared to my usual restrained palette. We have huge white-tinged-with-green flowers, they’re as big as peonies. Then slim, pointed ones in a deep purple (much darker and more velvety in real life than they come out in the photo). Then there are some bright pink multi-headed ones, just about to open up. We can see the glossy, strappy leaves of alliums poking through, too. June should see a haze of purple take over the garden if they all come up.
Last year’s nigella has self-seeded everywhere. We had some in a couple of pots and a neighbour gave us some dried seed heads which I tied upside down from an obelisk and now we’re awash with them. I’ve noticed that between the nigella, chamomile, cosmos and dill we’re going to be very feathery come high summer.
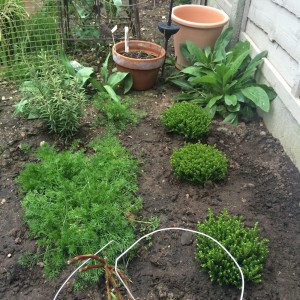
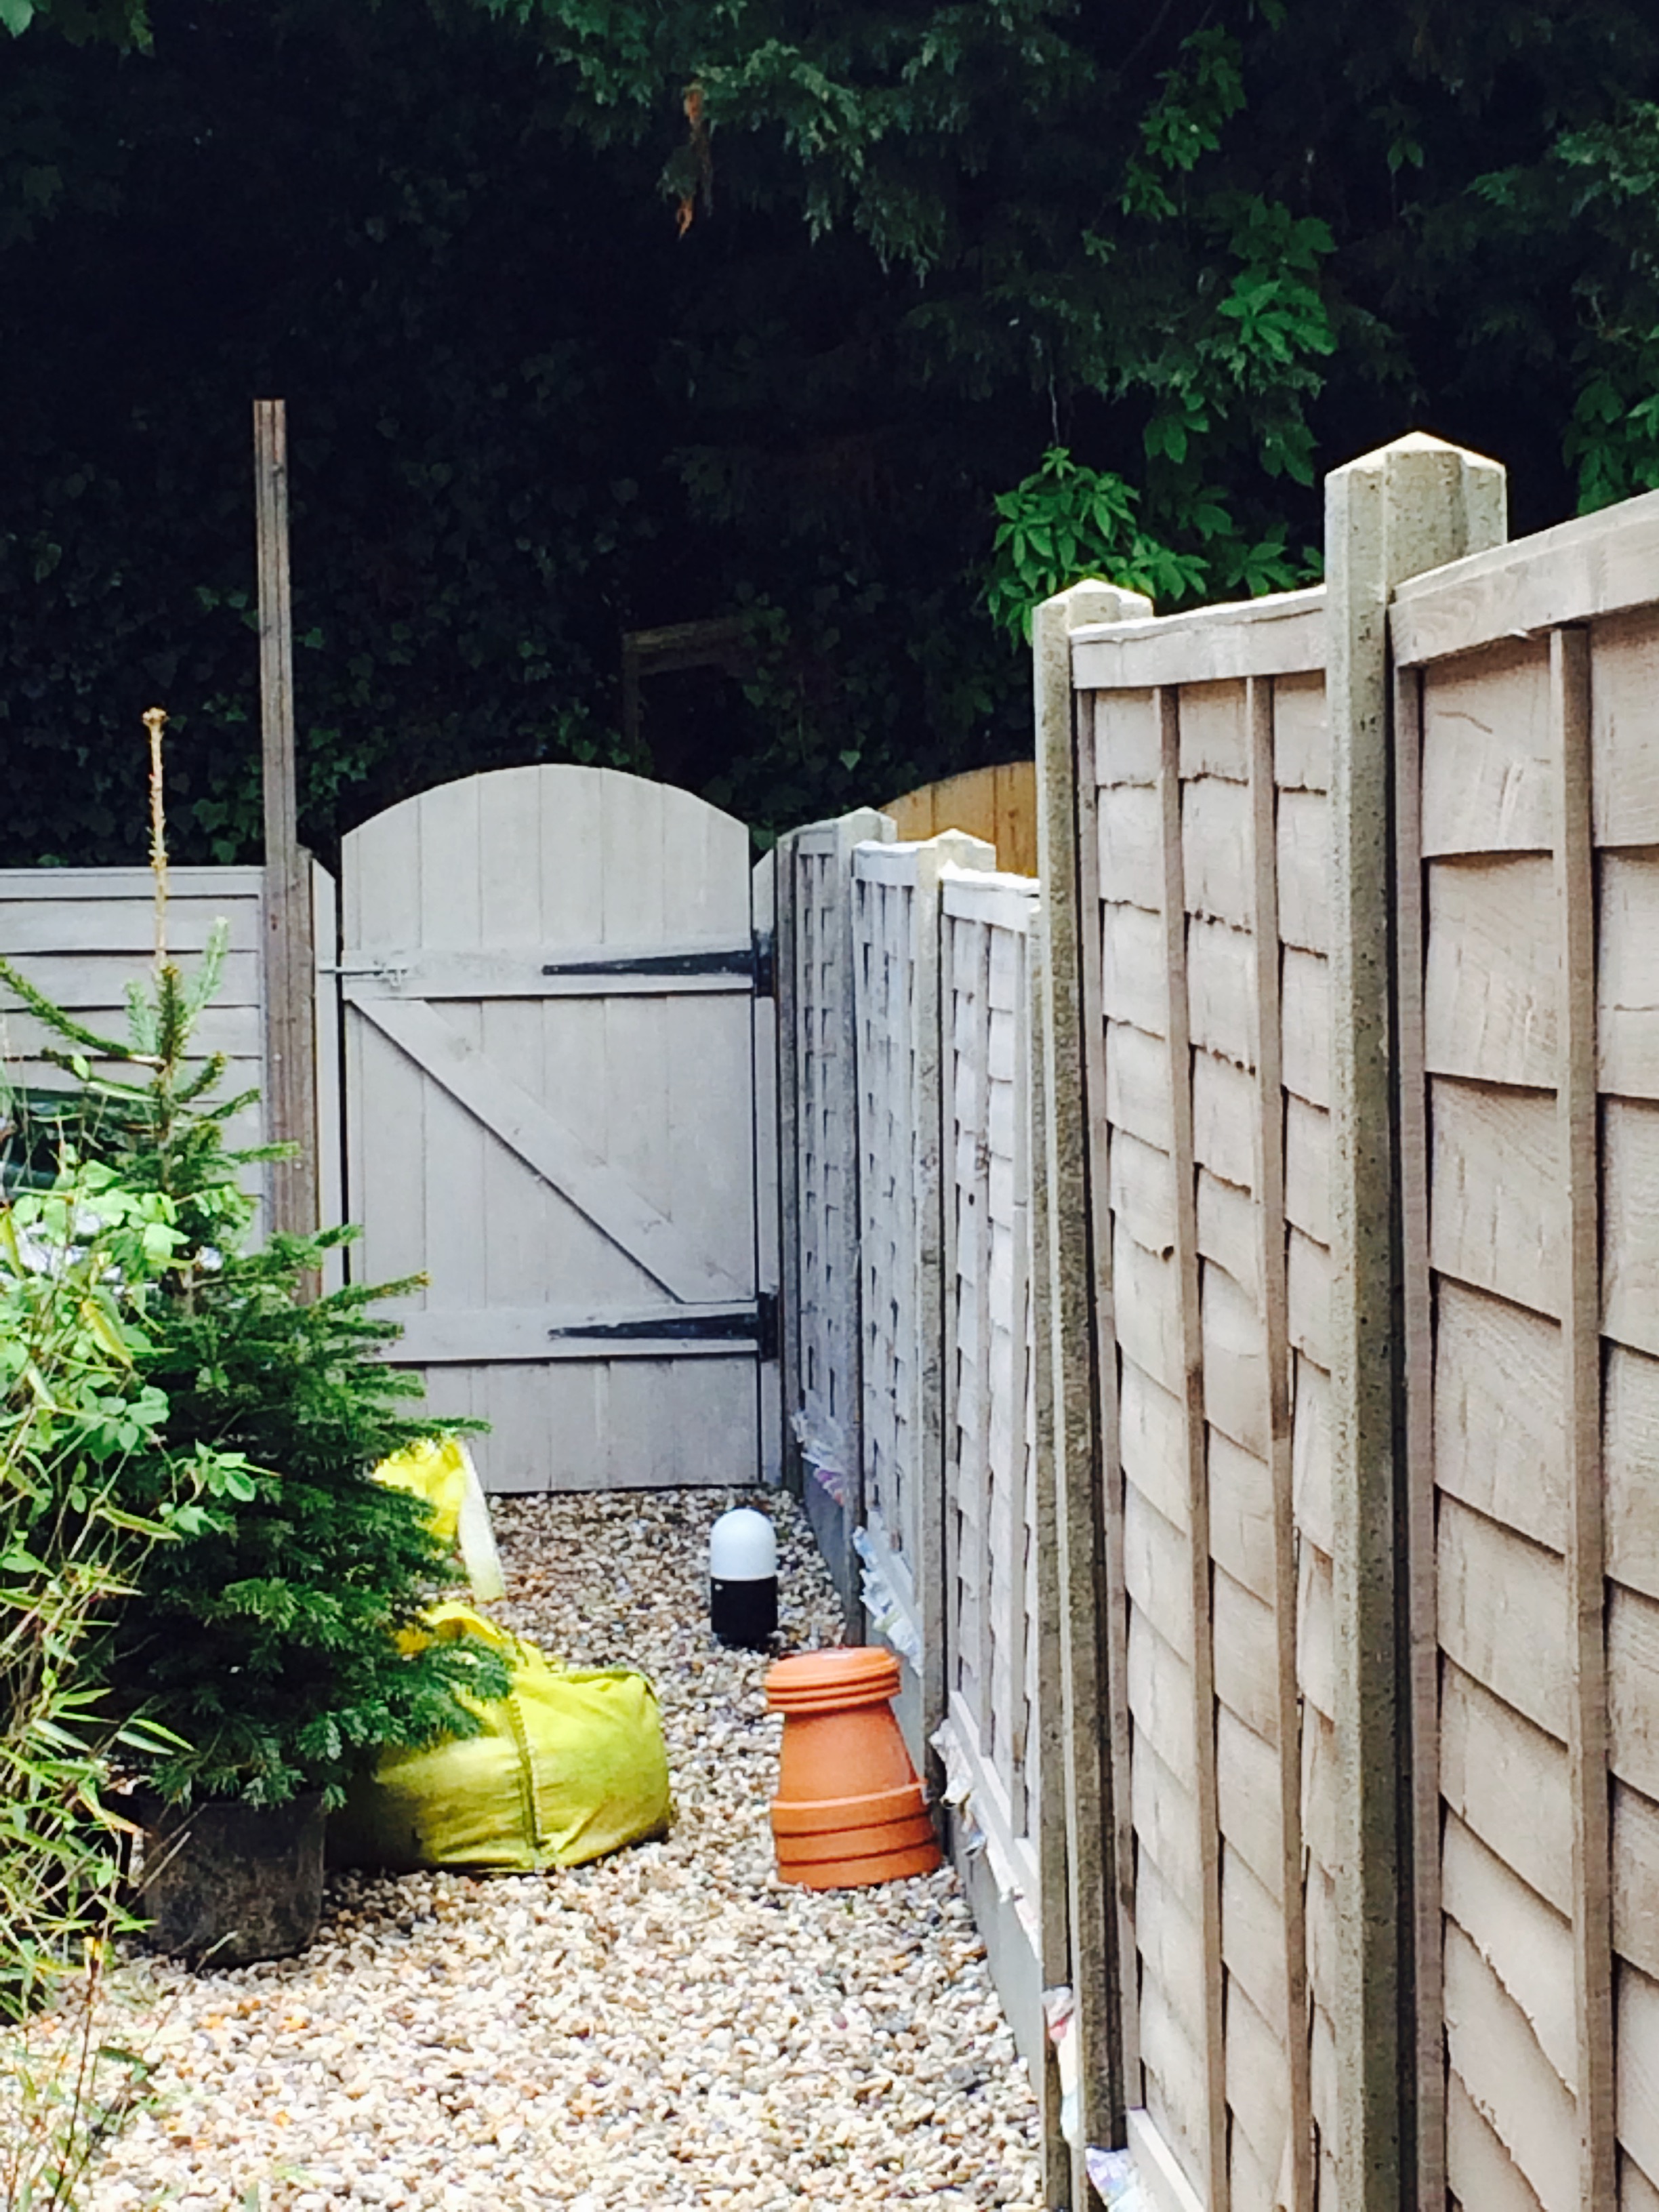
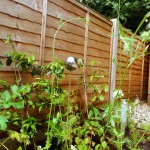
self-sown nigella and new shrubs along the fence
The deciduous honeysuckle, which has barely grown and never flowered since we got it – counts on fingers – 8 years ago, is romping up its obelisk like a crazy thing. It will need cutting back and retraining since it’s all lopsided from being retrofitted to the structure, but I’m quietly confident it’s happy now, we’ll get some flowers soon, and next year, with some careful tying-in, it will cover the obelisk from top to bottom.
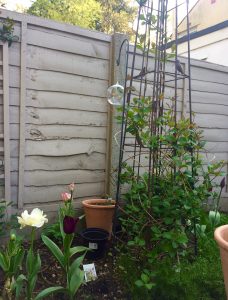
honeysuckle climbing skywards
Garden bargain hunting has gone well this year, with the discovery of lovely terracotta pots from Wilko at £10 each. They look just like your traditional Italian pots, rolled top and all, that normally cost an arm and a leg, but they’re a tenner! I can’t quite get over it. So we’ve bought lots of them. We’ll have plants moving round the garden to fill in gaps and these look just lovely in among the greenery.

you can spot one of the big rolled-top pots here
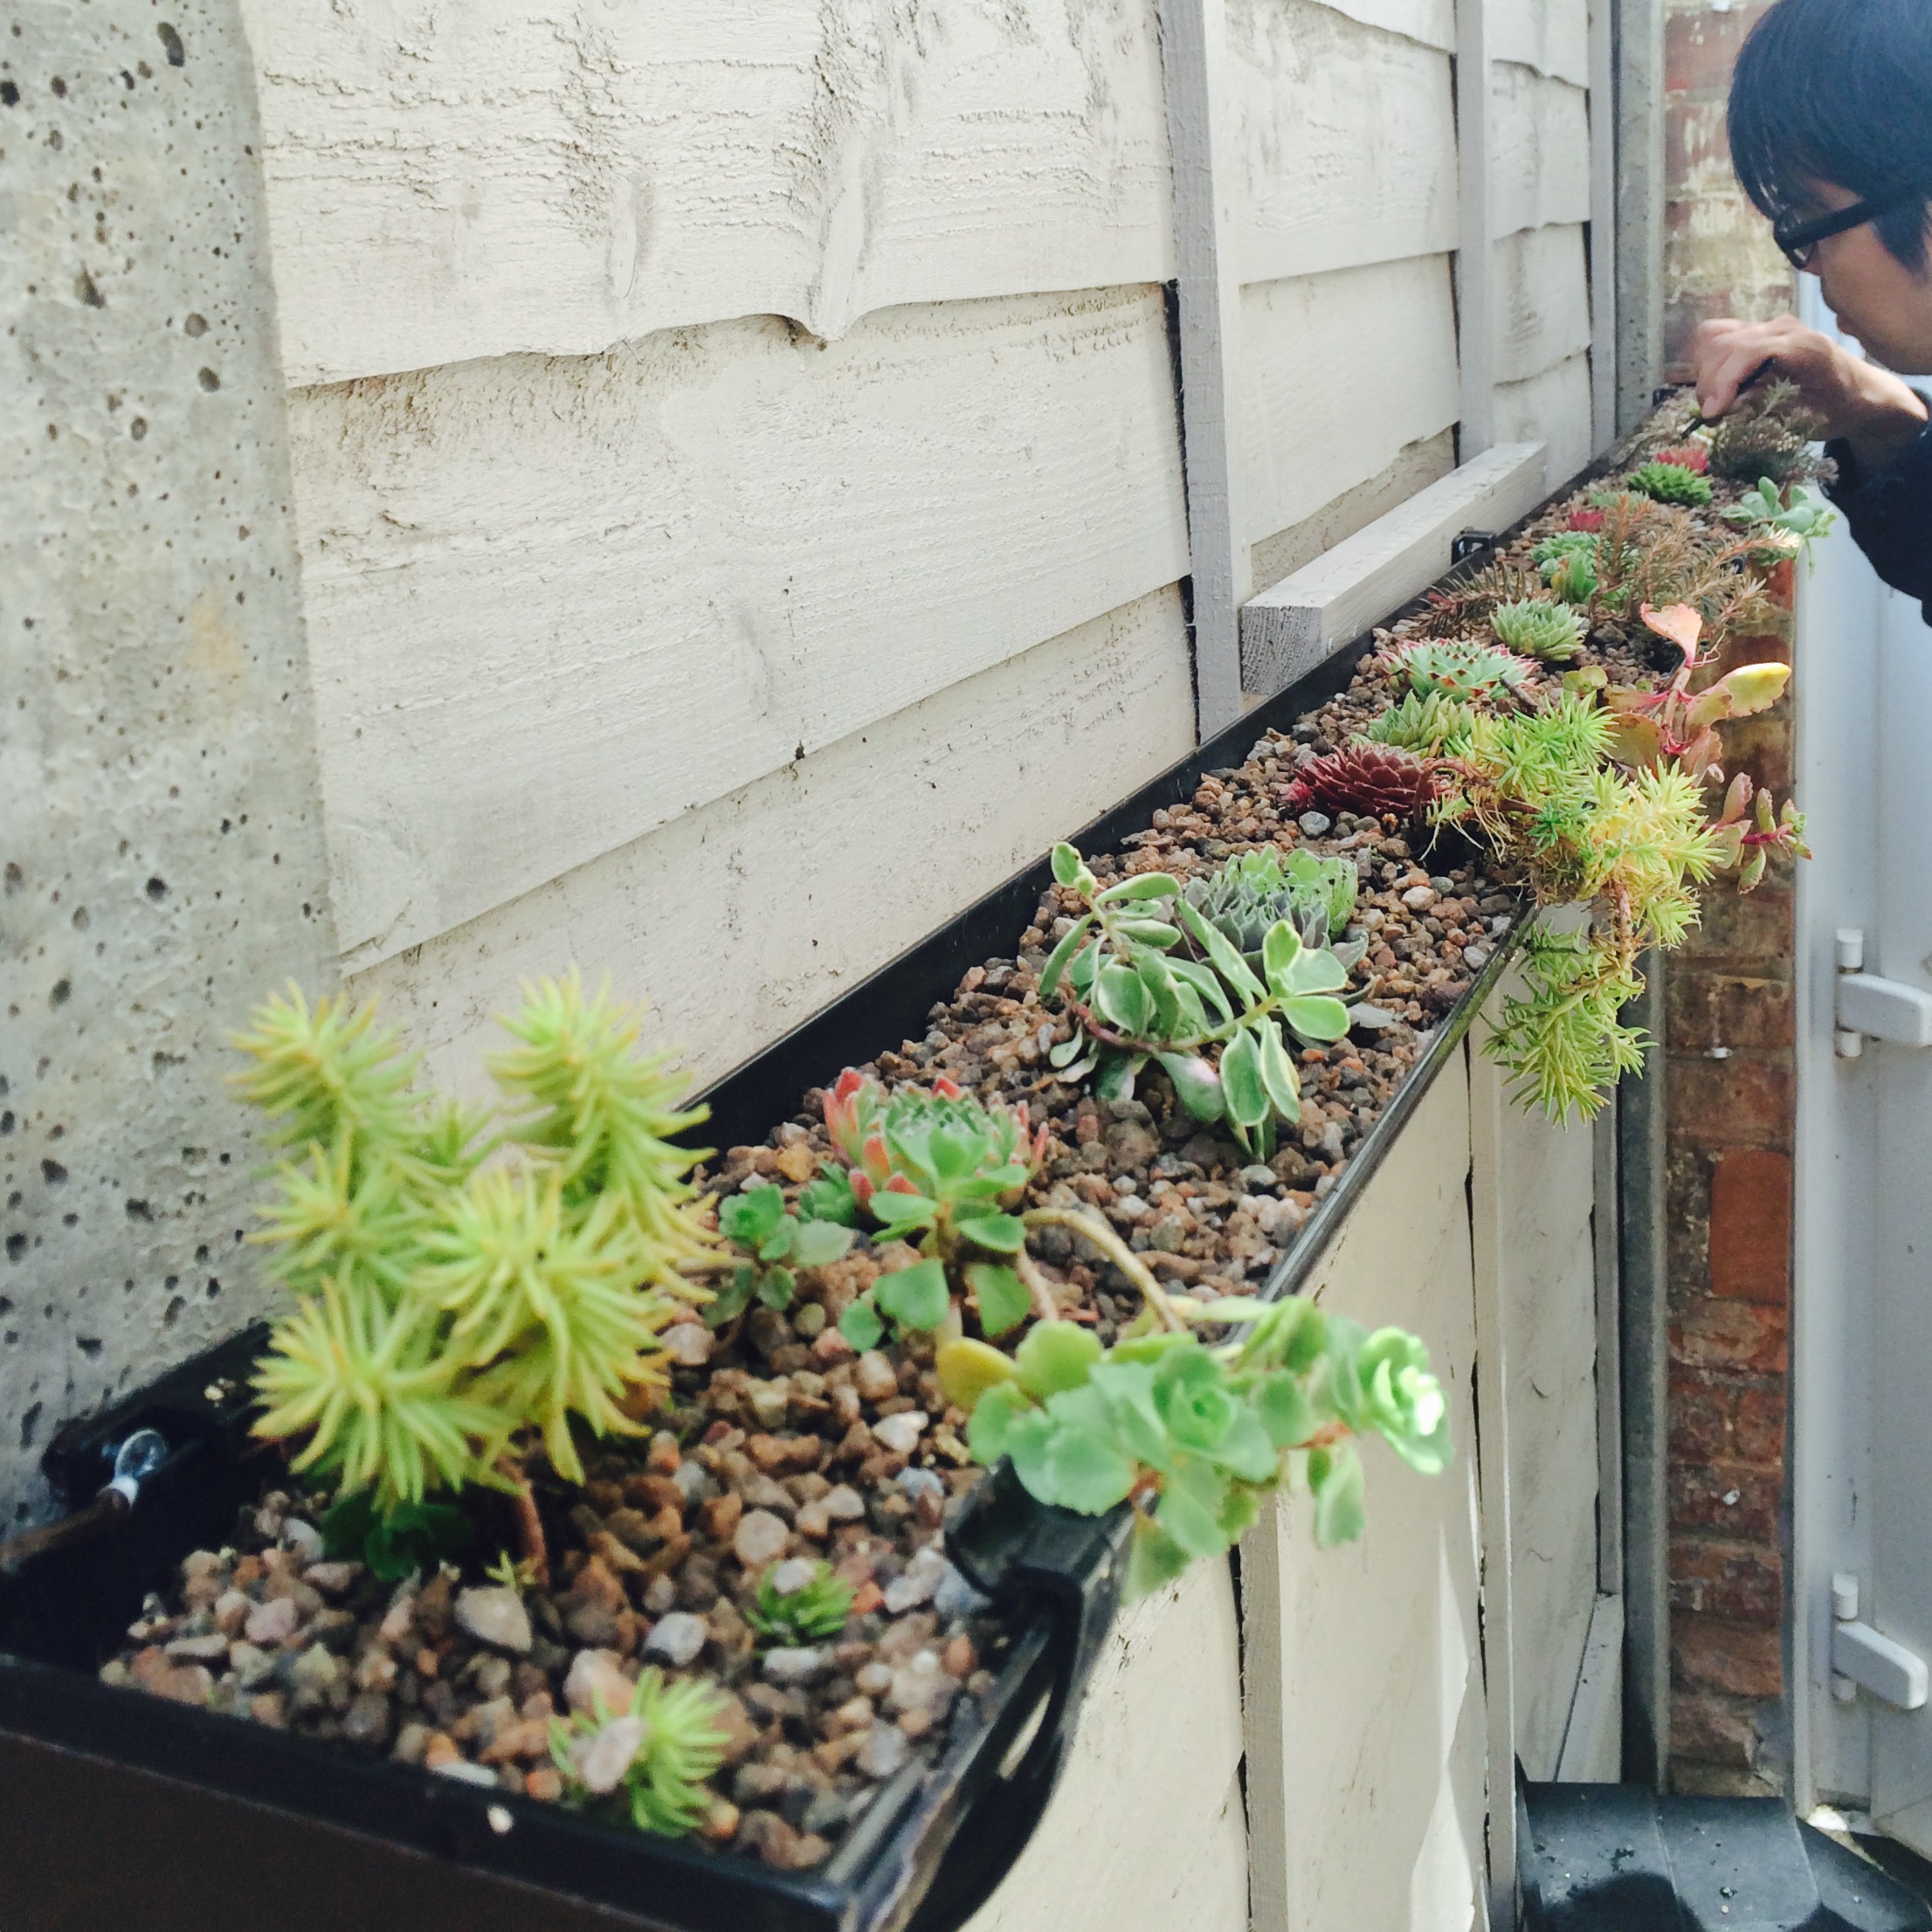
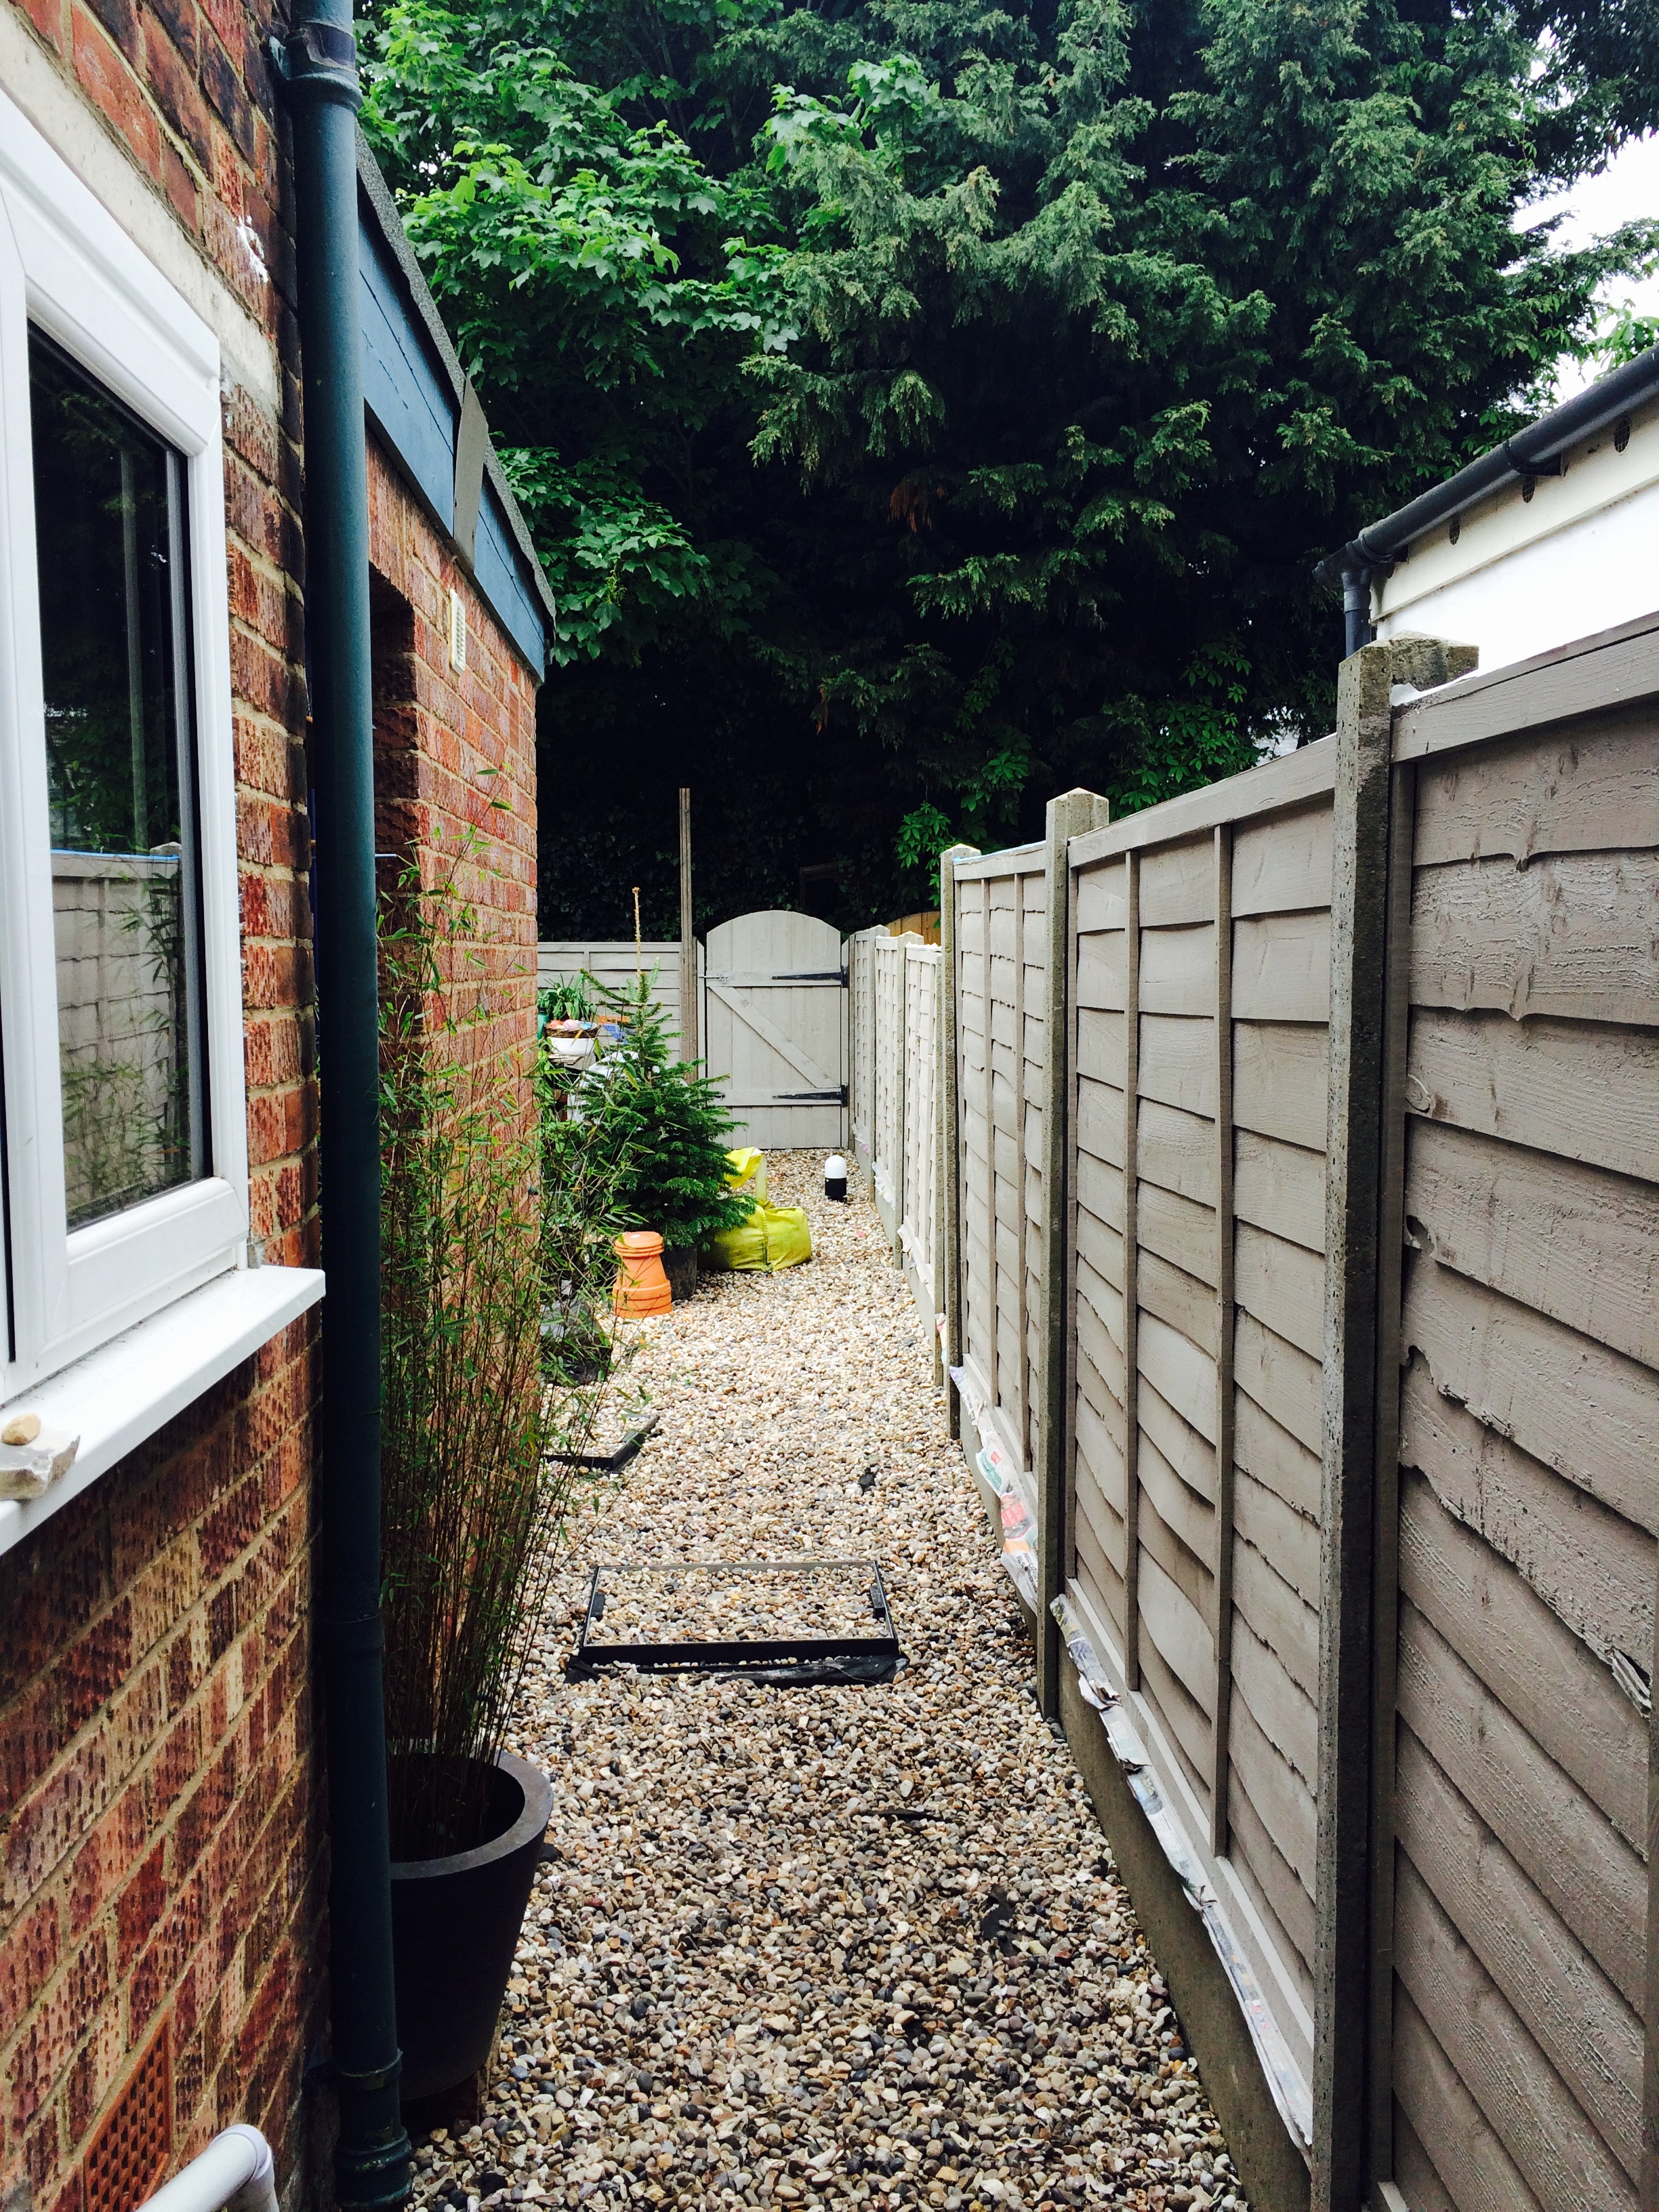
The side return’s little nursery has been great and saved us so much money. It’s just a metal wire shelf unit we picked up for about ten pounds at Wilko but because the side return is fairly sheltered we’ve been able to overwinter young plants there, and now it’s spring we’re hardening off seedlings and growing them on before they go out into the garden. It’s meant we haven’t bought many full-size plants or plugs from the garden centre, other than a couple I picked up on a whim. (I’ve got a lovely marguerite that I just couldn’t walk past, and some trailing lobelia for containers and baskets.)
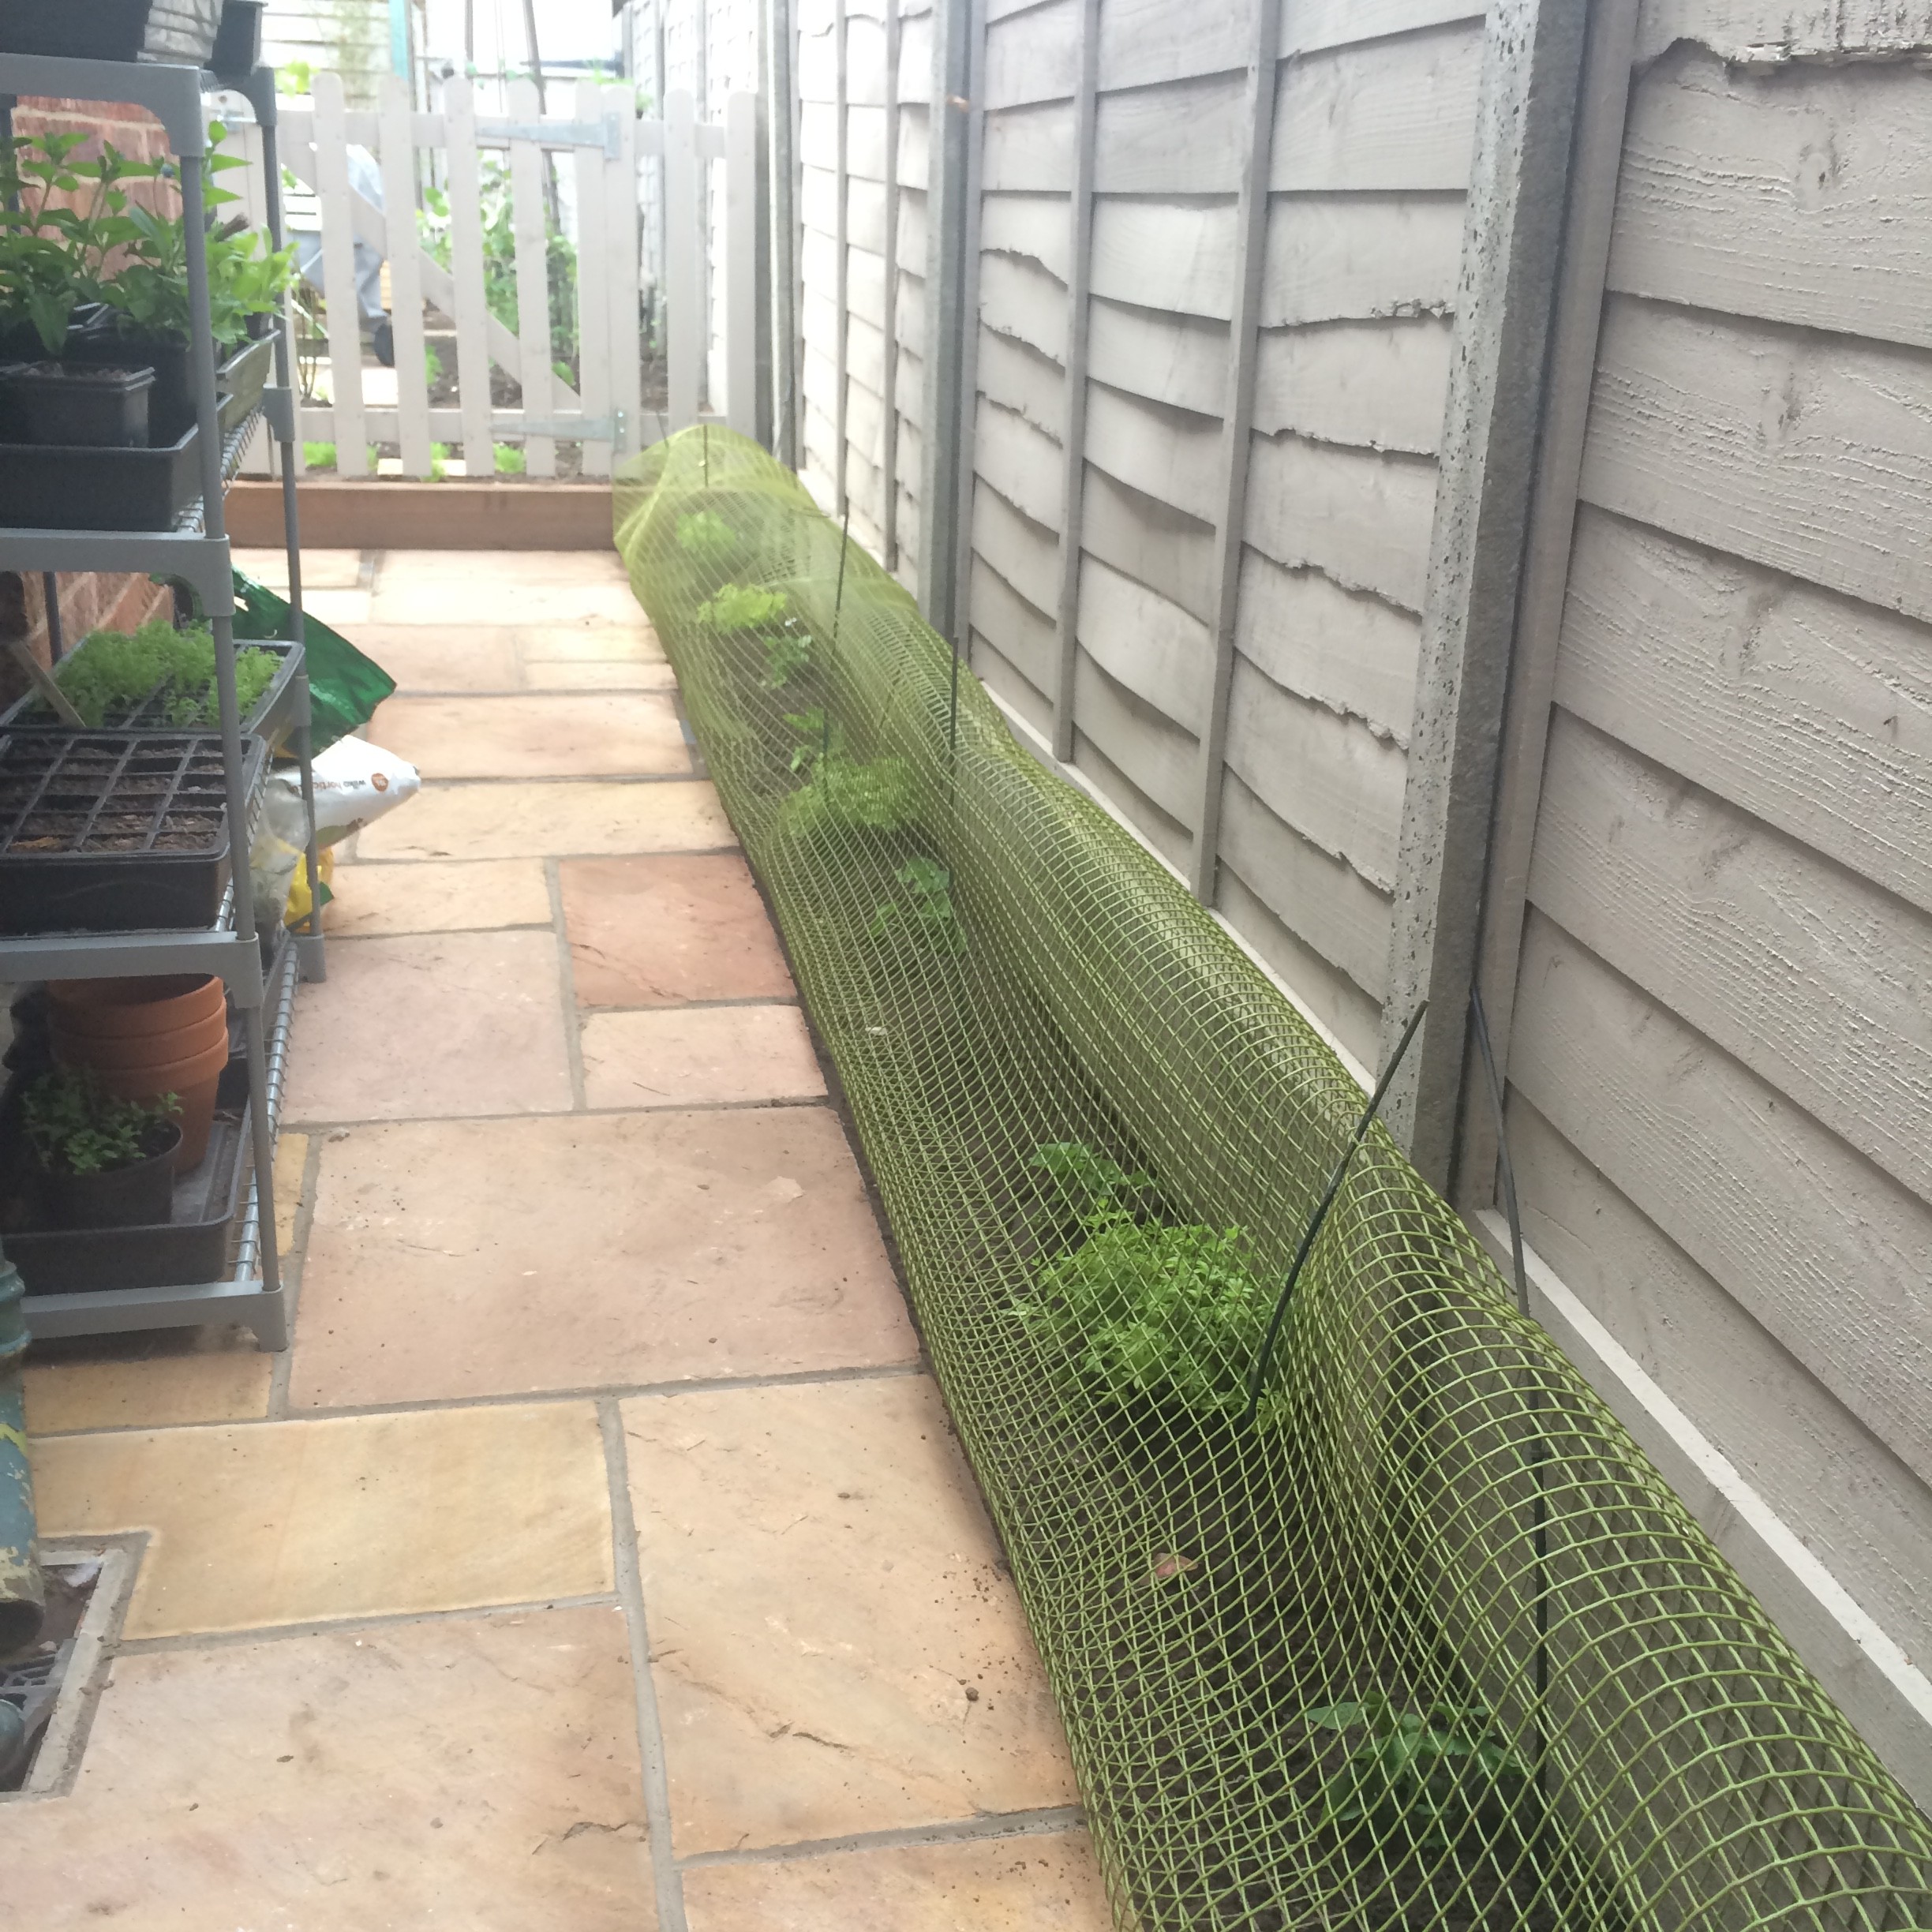
We’re trying slug-killer nematodes for the first time this year. We’ll be doing the second treatment this weekend. You do two treatments, six weeks apart, to first kill them and then break the breeding cycle. We still have a few snails around, but there’s a lot less damage to plants than we’ve had in previous years. Fingers crossed. Also on pest/disease/garden downsides: we’ve not had too much bother with weeds over winter and into spring. i’ve pulled out a few blades of couch grass trying to muscle in on the chamomile and there’s something that looks like speedwell that I’m just leaving because I like it. There’s another weed/wildflower depending on your take which next door are inundated with that creeps into our side that I’ve been ripping out. (I’ve forgotten its name. Big bright green leaves, tiny blue flowers. Like a forget-me-not’s ugly big sister.) We have a stripe of unidentified seedlings that I’m hoping I sowed last year and they’ve finally germinated. Otherwise we’re about to get eaten by triffids, because boy are they growing fast. The tiny tender buds on the roses are starting to attract aphids so it’s time for Vitax 2-in-1 – it worked last year to clear them and let the buds grow to full flowers.
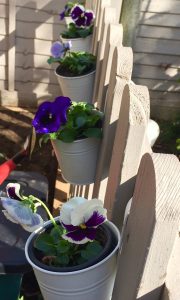
pots of pansies along Betsy’s fence
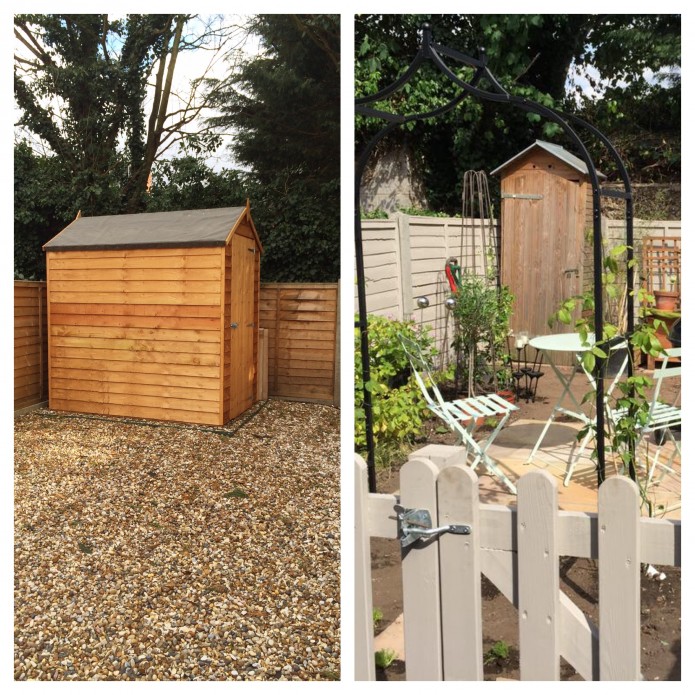
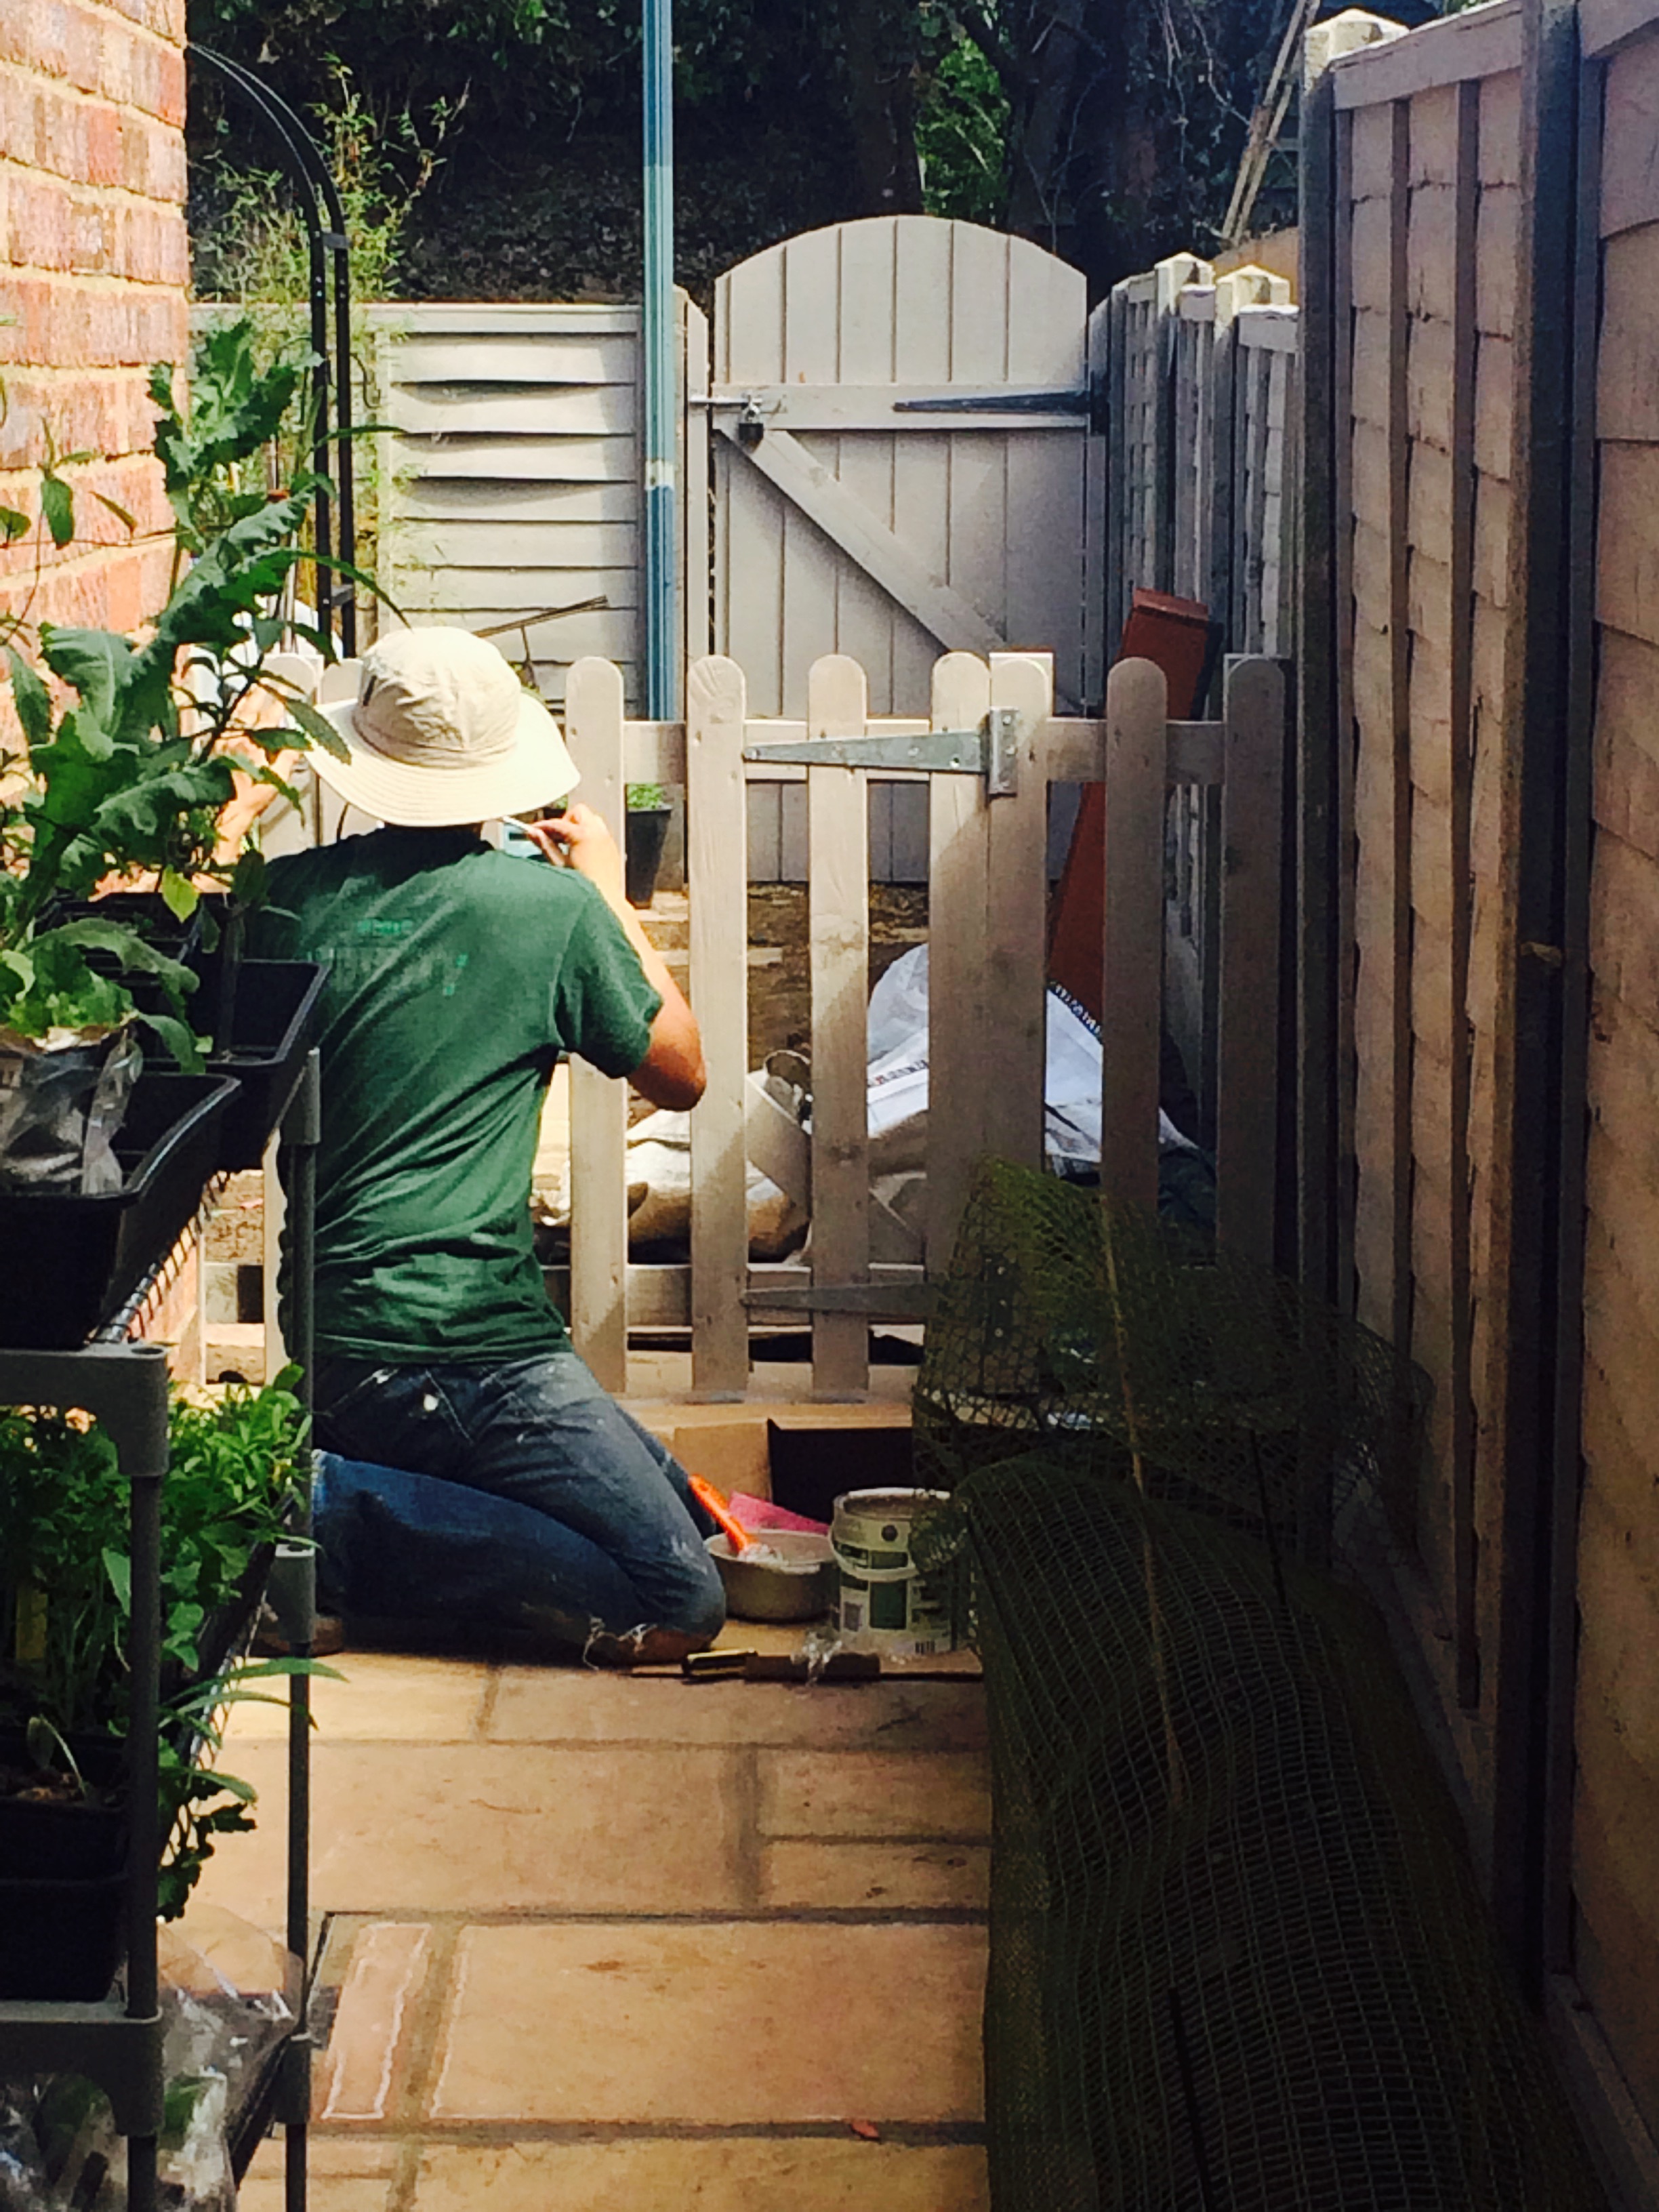
DIY-wise, we’ll be painting the shed and the storage bench – just as soon as I can decide which colour to choose – and making a brick platform to put our new bench on. (The bench is currently sitting with its legs about five centimetres submerged into the soft topsoil.) I’ve made a start on painting the back door, though I didn’t get the last coat on before rain stopped play last weekend. It will need replacing soon, but we’re hoping three coats of paint and some woodfiller will keep it going for another year or two. And the patio and side return need cleaning. The rose-coloured stone has an unpleasant greenish hue. I’m going to try a mild cleaner and scrubbing brush first. If that fails I’ll be asking a friend to lend us his pressure washer.
And that’s your springtime garden round up for 2016. It’s been hard work and there’ve been plenty of disappointments along the way but even now, only half finished, it’s a lovely place to spend your time. As it fills out towards mid-summer it’s going to get better and better. It will be full to bursting with plants and flowers, scents and textures, buzzing bees and fluttering butterflies.