This has been a ton more effort – and cost – than we’d anticipated. It goes in four stages: ripping up carpet and repairing floorboards; sanding the floor; finishing with varnish or paint. Here are stages 1, 2 and 3.
Three weeks ago
ICKY CARPET
The carpet in the dining room and up the stairs smelled of cat pee (even after dousing it repeatedly with a cat-pee treatment spray) and was a depressing beige colour. Both of us had decided we wanted to pull it up and restore the floorboards underneath. Bare floors look great and are easy to keep clean – and since we’re planning on getting a pair of puppies soon it’s a more sensible option.
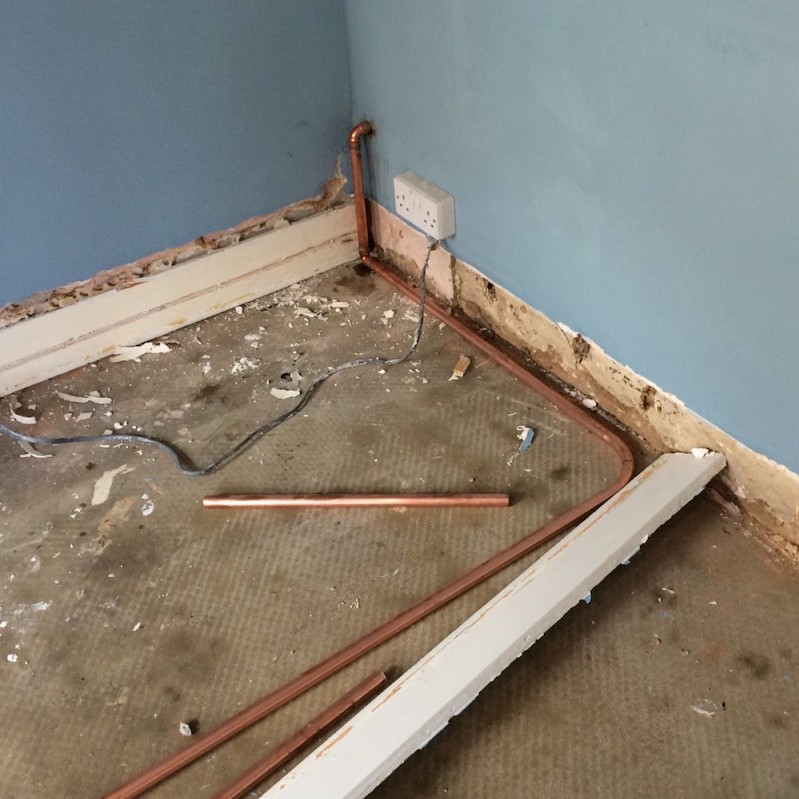
What concerned us, though, was that in a number of places you could feel a depression in the floor under the carpet. I was worried we’d have unusable boards. We did a quick exploratory carpet lift in the tiny square at the bottom of the stairs and our hearts sank. It was covered in two pieces of board of the sort you’d use to board out a loft. Boards on the floor, yes. Floorboards, no.
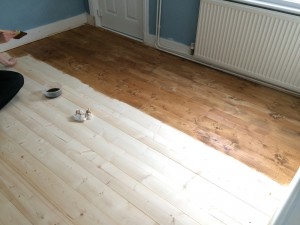
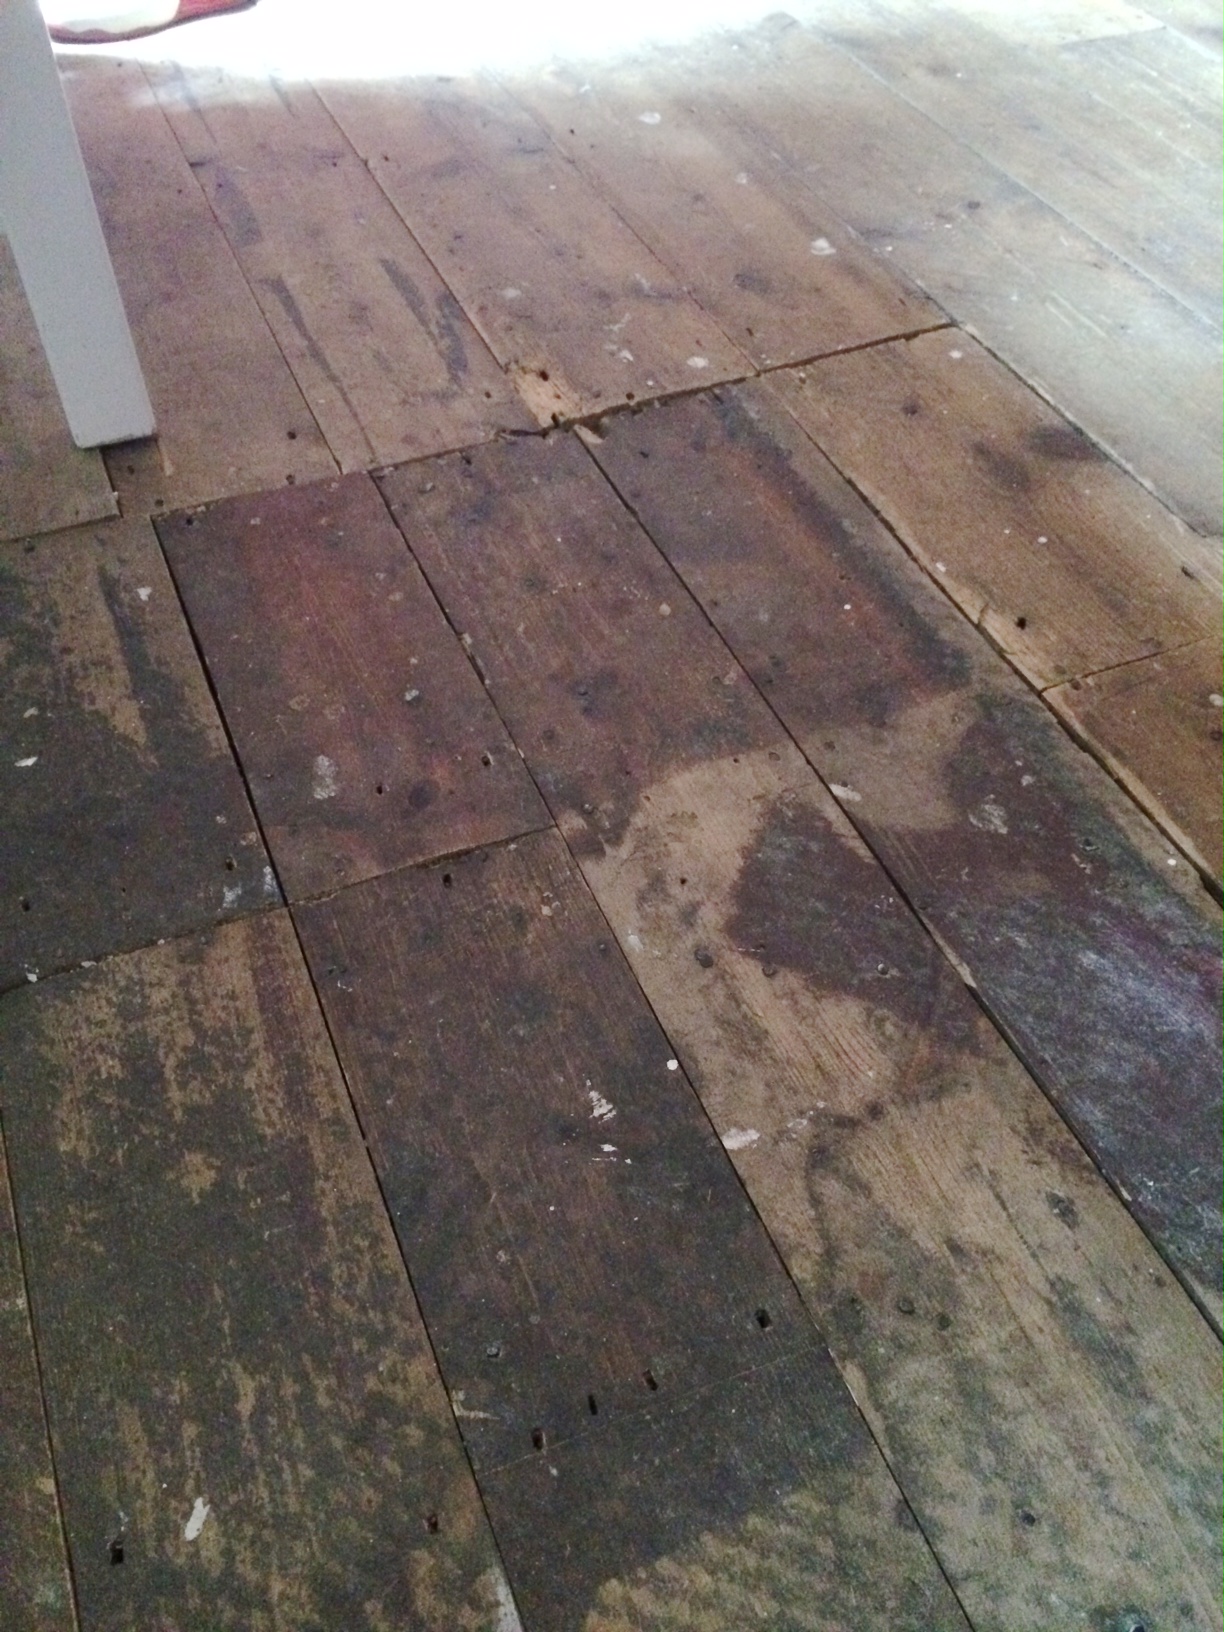
A week later we removed the whole carpet. We cut it into strips and rolled it up. It’s in the shed. Another thing that needs to go to the tip. What we found when we lifted the carpet was a fairly decent if dirty and smelly floor. We let it air for a few days and then I gave it a really good scrub. It came up a shade lighter and didn’t smell quite so musty. Progress!
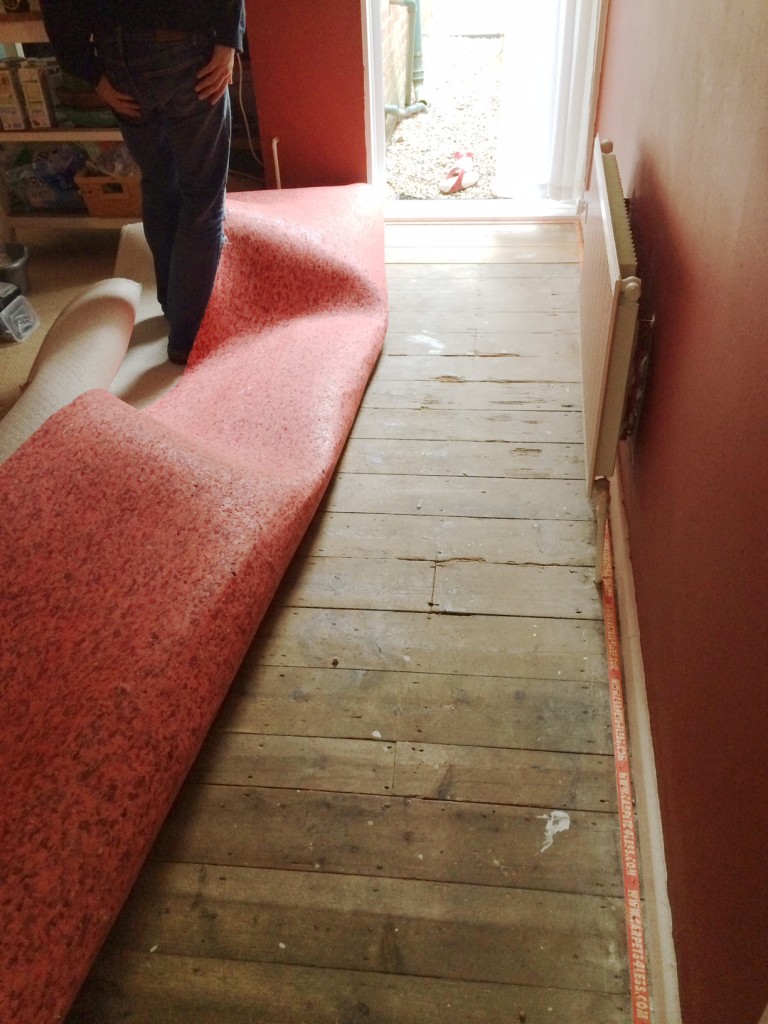
Pulling up the carpet
We had a look at the state of the boards and tried to work out what we could hope to achieve with what we had. Some of the boards were badly damaged where they’d been crowbarred up to, presumably, lay pipes for the central heating. Some of them had dozens of nails in. Dozens. Ridiculous. One of the dips in the floor turned out to be due to a board being more sunken than its neighbours. The other dip was slightly more problematic. One corner of the room had the floorboards replaced. The replacements, it turned out, were all cut to the same length and thinner than the original boards next to them, hence the sudden dip.
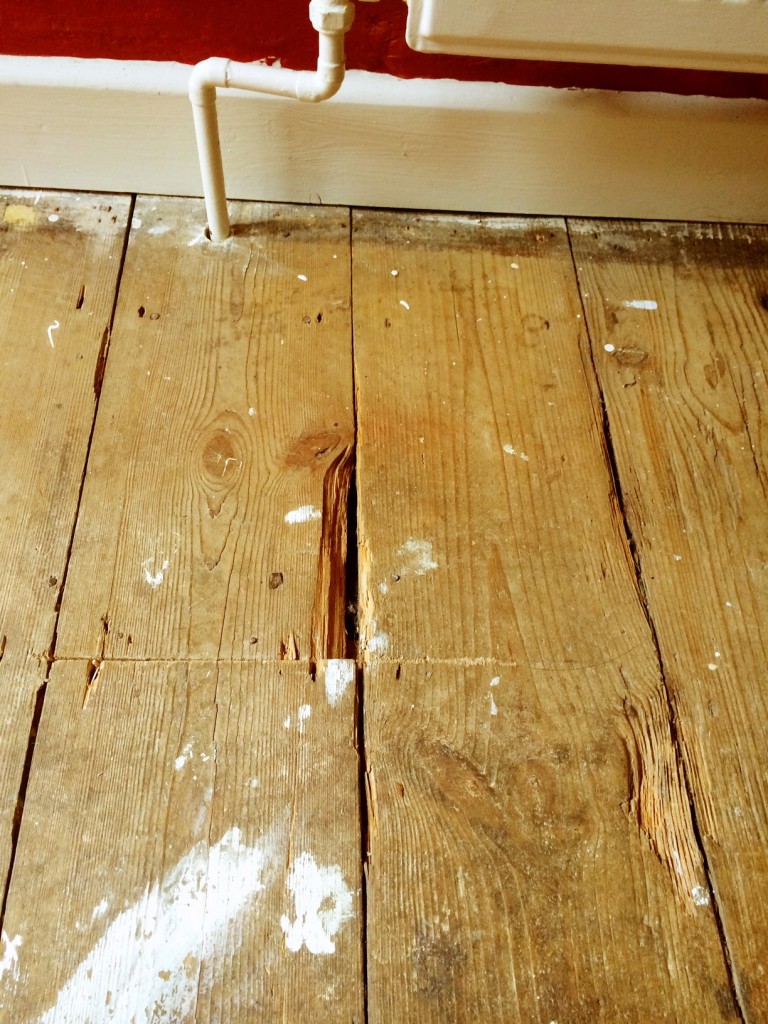
Floorboards with damaged edges

Corner patched with boards of the wrong depth
Last week
REPAIR AND REPLACE
We called in handy Mr Joiner-Painter for a consultation. His verdict fitted in with what we’d anticipated: lift the skinny boards and use them to board the bottom of the stairs and relay the whole section on the far side of the dining room so that the boards don’t all join in the same place. We’d need a few new boards to fill in the gaps.
Mr J-P came and started taking up boards and cutting and refitting them. He re-used as much he could then took me to the timber yard at Kent Blaxill (a local trade supplier, like B&Q for grown ups) to choose our new boards. It was quite exciting. I flirted shamelessly with the guy on the till and got a 10% discount usually only for trade customers. Result!
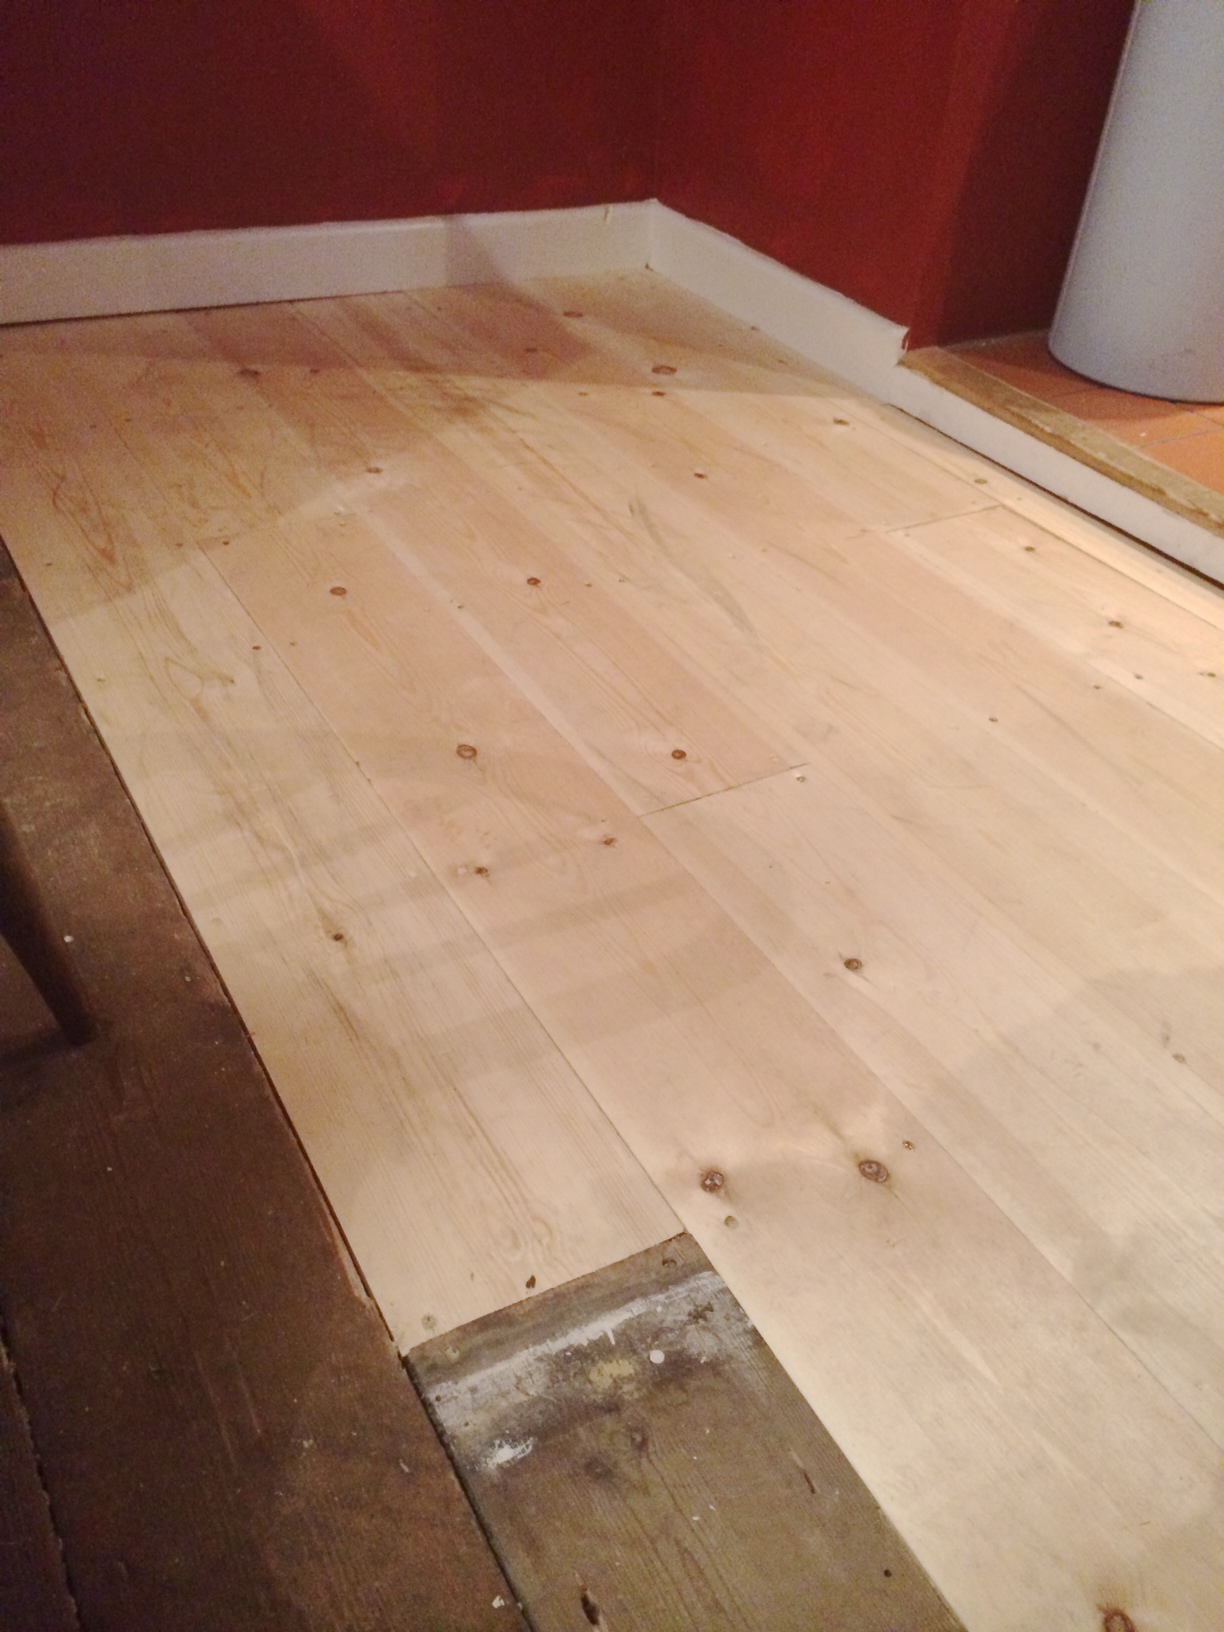
Back home with the new boards, and Mr J-P got on with laying the new boards. He proclaimed the joists in good nick; some of them have been replaced in the last 10 years, he says. So with the joists, the new boards and repaired original boards the dining room should have a sturdy floor for another 100 years.

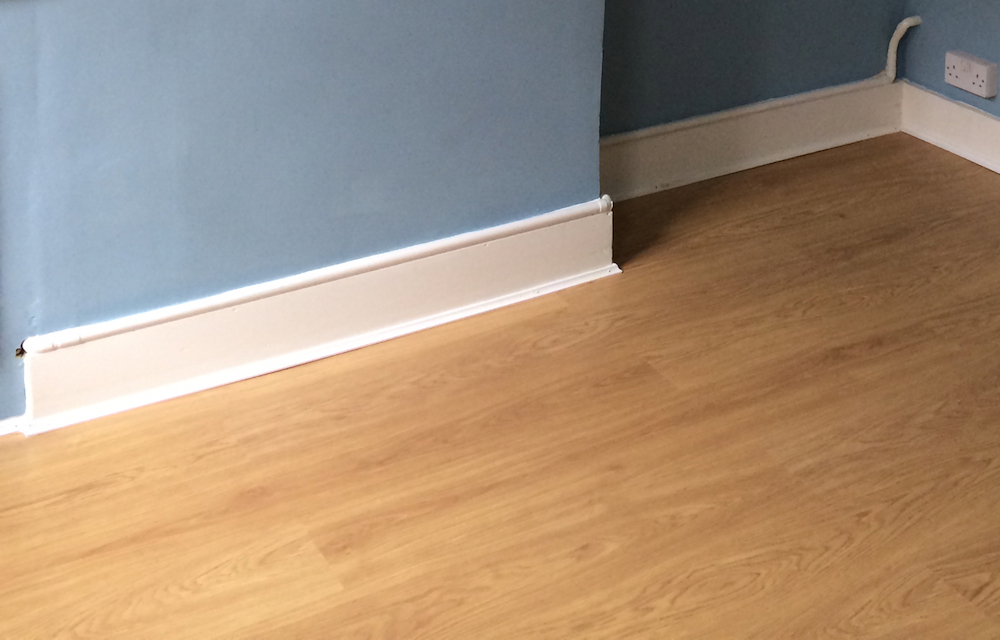
New boards laid
Saturday
SANDSTORM
During the week we read blogs and FAQs and DIY forums until we were blue in the face, then booyaa ordered a drum floor sander and an edging sander. We guesstimated the number of sheets of different grades of sandpaper we’d need based on advice elsewhere. We had the sanders delivered on the Friday so we could start on Saturday after breakfast and finish the job by early evening. We were both hoping we’d get it all done in one day, but knowing we had Sunday to finish off if we needed it was a bonus.
So, Saturday morning we moved all of the furniture out of the room (yet again) and got started.
Everyone said over and over about punching in any nails as even a tiny nail head will tear the sander sheet, and they’re pricey, so you don’t want that. After breakfast we cleared the furniture from the dining room and booyaa got on with punching the nails. This was when we discovered just how many nails were in the floorboards. Ridiculous amounts. Those he couldn’t punch down any further he marked with a chalk circle so he knew to avoid that bit – we’d get as near as we could with the edge sander and after that it would be the mouse (my dinky palm sander intended for furniture restoration).

Marking protruding nails (also: look how many nail holes are in those boards!)
After watching the instruction video one last time, he got his face mask, goggles and gloves on, tested the breaker switch and got going. We’d decided to go the wrong way across the boards first time, since the boards are so uneven. The sander hire video recommends a diagonal motion, but our room is just too small for that to be practical. So, on a clear run with no nails jutting out, he set off. Half way across the room the sanding sheet shredded… Gah! We had a look and saw there was a nail which was probably flush the board, but given how much the sander skims off the top of the board it was too high. Back to hands and knees and punching in nails again.
After the clear up (the sanding sheet was in a million bits all over the floor) we also saw that the edges of the boards which protrude were splintering badly. Change of plan! We decided we’d follow the direction of the boards, at least for now.
It took about an hour to do the whole of the old section of the floor with the coarse sanding sheet. booyaa said that once he’d realised that he needed to pull the machine back to slow it down that it was fairly easy to use.
Then, once he was feeling confident, he went across the boards with the coarse sanding sheet and smoothed off a few of the bigger differences in the board heights.
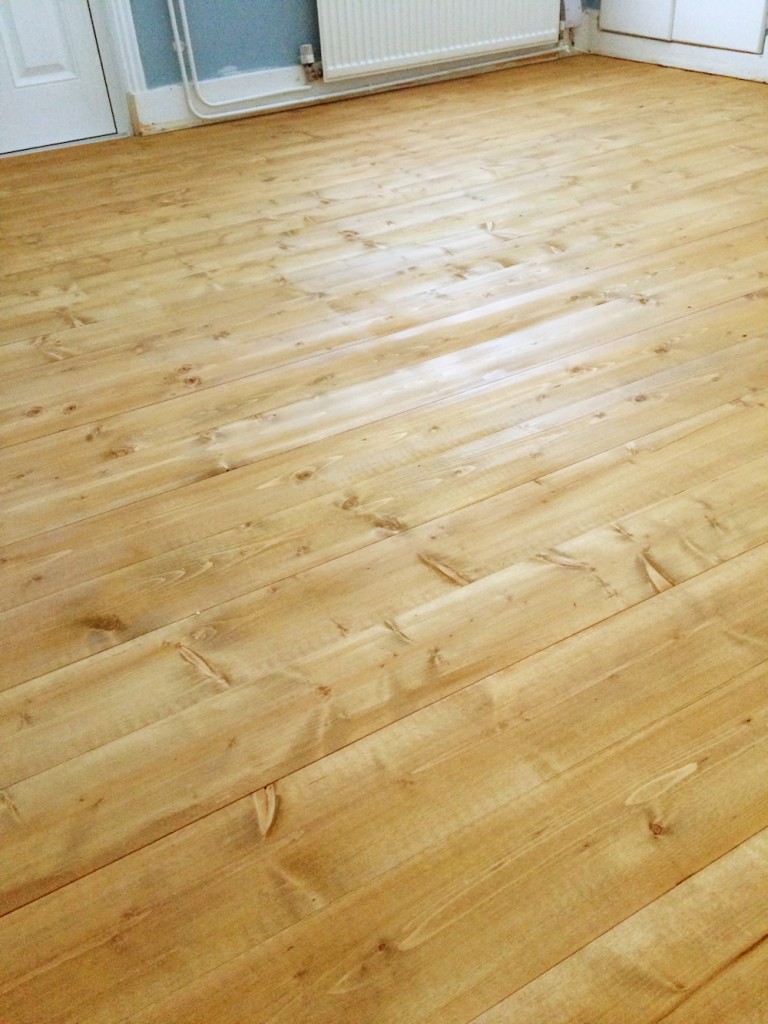
He went over the old boards again once with a medium sander and then over the whole floor, including the new boards, with the finest grade sanding sheet. After copious vacumming we could see the state of the floor. It was looking pretty good, but not, we thought, good enough to be able to stain and varnish. Too many patches. We noticed that there was a dark area at the very edge of the old boards where the sander hadn’t reached.
Now we could see it closely, we also worked out that some of the edges where we thought the boards had been crushed by a crowbar actually are actually woodworm damage. One of the patches is so big we’re not sure how sturdy that board really is. We’ll do some investigating and hope that woodfiller will repair it, though we’re both being optimistic and we know it. At some point we know we need to replace at least three more floorboards. At this point it dawns on us that it would have been cheaper (and easier) to have had a flooring company come in and replace the whole floor with engineered tongue and groove. It’s a crushing disappointment. We try to hang on to our reasons for doing this: we’re restoring the original features of the house. That’s the point. I’m not sure either of us is convinced.
Sunday
NEARLY THERE
After breakfast in the garden, a positive outcome of the dining table being out of bounds, booyaa got back into his smelly DIY clothes ready to use the edge sander on, yep, the edges of the room. It isn’t nearly as effective as the main sander. One disc disintegrates, another wears out. Three goes with the edge sander and a two inch strip of floor all along the skirting board remained resolutely dark.
Another close up investigation of the edges shows that they have a greyish opaque finish, and we’ve decided we’re probably up and against old carpet glue. I tried a water-based white spirit alternative, but that doesn’t do anything (serves me right for being so darn eco-friendly, right?). Then booyaa had an epiphany. He cut the coarse sheets leftover from the belt sander and fitted them on the edge sander. It worked! We’re left with a few tiny patches which I’ll work on with the mouse over the next week.
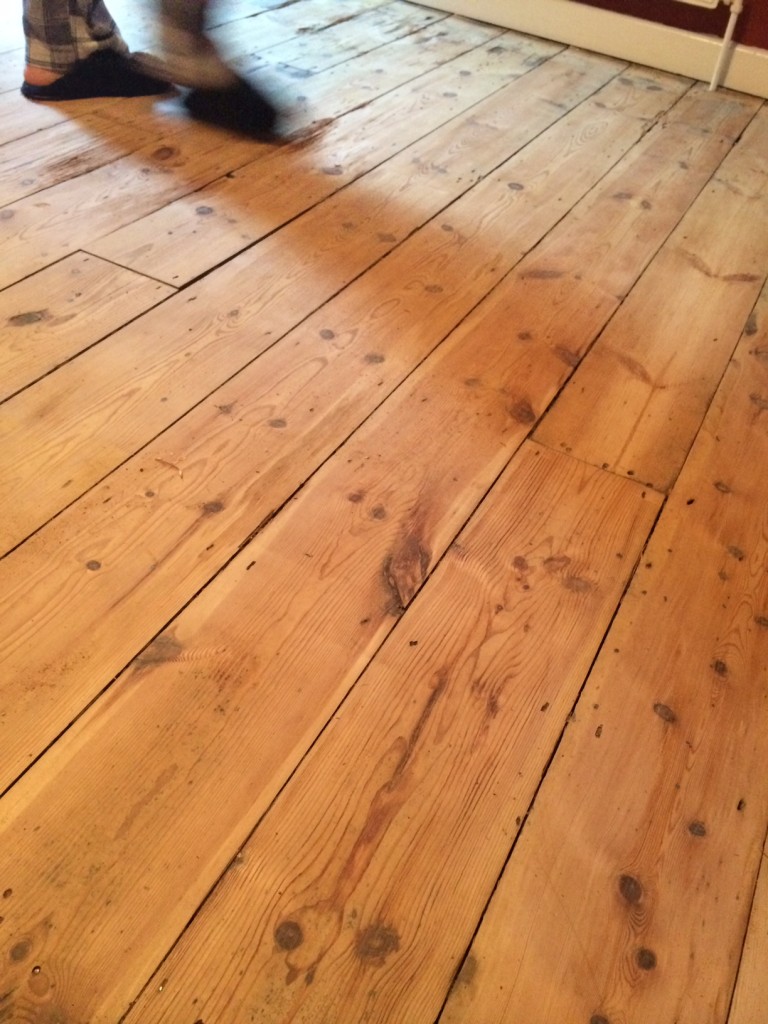
sanded floorboards (and booyaa’s feet)
Next up: woodfiller to patch the damaged boards. Stain the new boards to blend in with the old. Varnish. Avoid the floor for a day while the varnish dries… Tune in next weekend to find out how it’s going.
I bet you look good on the dance floor…