minor updates

lost weekend

Lost to busy-ness, that is. Though we did manage a sneaky gaming session on Sunday night. But you don’t care about that, do you?

Saturday morning, what was left of it after we had our leisurely hot cross bun breakfast, was spent re-assembling our garden furniture and relocating a few things out of the big shed. One of booyaa’s work friends needs a new shed and the one left here by the previous owner is just too big for us, so that works out. We just need to do some rehoming. I finished painting the bathroom. In the afternoon/early evening we put up the library shelves (see previous post).

Today we also had a brief investigate of what lies beneath the carpet in the hall and dining room. More on that later. We ordered some fancy AV kit so we can shove the cable box and DVD player in the fitted cupboard in the corner of the living room and an infrared doobie to relay the commands from the remote control. That means the lovely AV unit can go next door. Not family pet “next door” but in the next room. It’s going to be set the challenge of being a sideboard in the dining room. It’s far too low and doesn’t have a great deal of storage space to be a sideboard, but it matches the cabinet which stores our plates and glasses and at some point I’ll get a glossy floating shelf to put above it and it will be fine. It will. *determined face*

On Sunday we planned to replace two light fittings (living room and dining room) but our crumbly plaster got the better of us. The fittings just wouldn’t stay put, so we ended up polyfilla-ing as best we could and we’ll try again once that’s set.

Our arty light fitting.

Our arty light fitting.

We put up the towel rail and loo roll holder in the bathroom. Still to do: put up the blind (again, a fail today because the plaster crumbled) and put up the mirror. The fixings are currently MIA so that will have to wait a short while.

TIL*:
I’m not as good as painting straight lines as I used to be. Have invested in blue masking tape.
Walking up and down steep stairs all weekend makes you achey.
120-year old ceiling plaster crumbles as soon as you look at it.

* Internet-speak. Short for “Things I Learned” or “Today I Learned”

body in the library

I love this story, and especially the way the Bantrys pronounce library in this adaptation. But fret not, there isn’t a body in our library. But there is a library!

We have a shortage of space for my books. I don’t have that many, honest. But we’ve had to put our large shelving unit in the loft as it’s too big for where we’d hoped it would go. The boxes which used to live on top of the bookcase in my study won’t fit on the top here as the ceilings are much lower, so they’re now using up valuable shelf space. The solution (I’m so proud of this!) was to put a high level shelf along two walls of the guest room. And that will take the book overflow quite nicely thank you. Project ‘Turn the guest room into a library’ is go!

We ordered some white painted wooden shelves and brackets from Ikea. We carefully measured and marked a neat line as near to the ceiling as we could go whilst still fitting large paperbacks.

Action shot!

Action shot!

Then, after putting up the third shelf we found that despite our careful measuring, using a spirit level and making a template, going easy on the crumbling plaster, accounting for wobbly walls and lack of a right angle in the corner, etc. etc. the fixings on the brackets varied by a couple of milimetres. So we’ve still ended up with an uneven line of shelves. Cue forehead slapping. Still, looks great, doesn’t it?

Slightly wonky shelves on very wonky walls

Slightly wonky shelves on very wonky walls

We’re considering painting the shelves and brackets to match the walls, so they blend in a little. But I’m very happy with them anyway. I’m also tempted to arrange the books by colour. One day, when I’ve finished all the other jobs.

Put a book on it.

Put a book on it.

bedtime stories

Boy do we love our bed. It’s served us well. We bought it when we moved into our first unfurnished flat about 9 years ago. It’s a super king size (that’s big) with a firm, memory foam mattress. But… it takes up too much space in this room and looks daft.

bedroom-old-bed

So it’s going on Gumtree. Let’s see if we can get a few quid towards a new one. Along with it are the bolt-on bedside tables and the matching chest of drawers.

For now we’re using the guest bed and various bits of furniture to replace the bedside tables. I totally get the mismatched but also artfully paired furniture look so many vintage and scandi homes do so well… but this is just whatever we have cobbled together. It’s not exactly a ‘look’. This bed is a standard double with a standard mattress. I was expecting we’d get in each other’s way after years of acres of space, but so far there’ve been no turning-over-in-the-middle-of-the-night mishaps. And neither of us has fallen out of bed. Though my back would like my firm mattress back.

bedroom with guest room furniture

This weekend we’ll be swapping the woefully inadequate slatted blinds for blackouts so we can sleep past 6am, and add gauzy curtains for privacy when the blinds are up.

Next task here is to renovate the old chest of drawers so we can start using it. Then we’ll turn the shelving in the built-in cupboard into hanging rails for a temporary wardrobe. We could do with some pictures on the walls, too.

Long term we’ll get a new bed and bedside tables plus a substantial wardrobe built into the alcove.  For now, though, this is it. Other, more pressing projects, come first.

white lines (don’t do it)

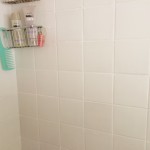
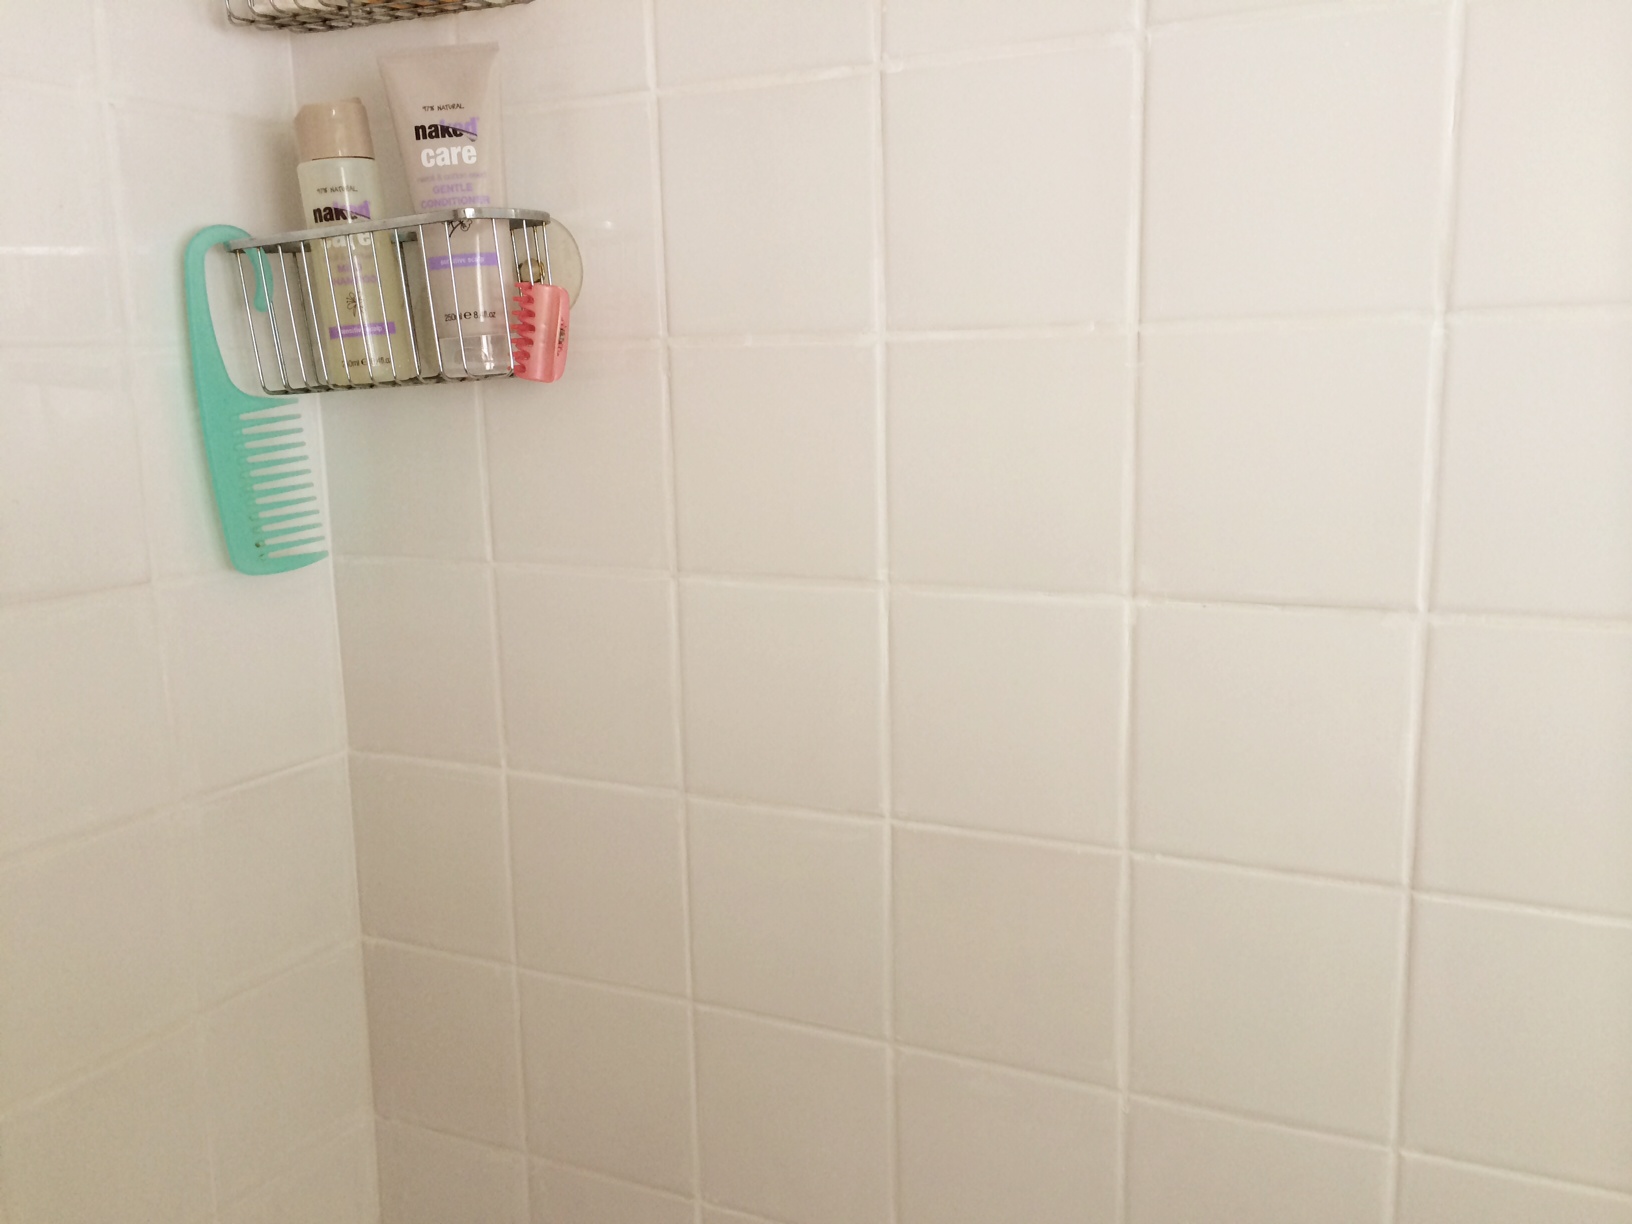
We’re in the bathroom again.

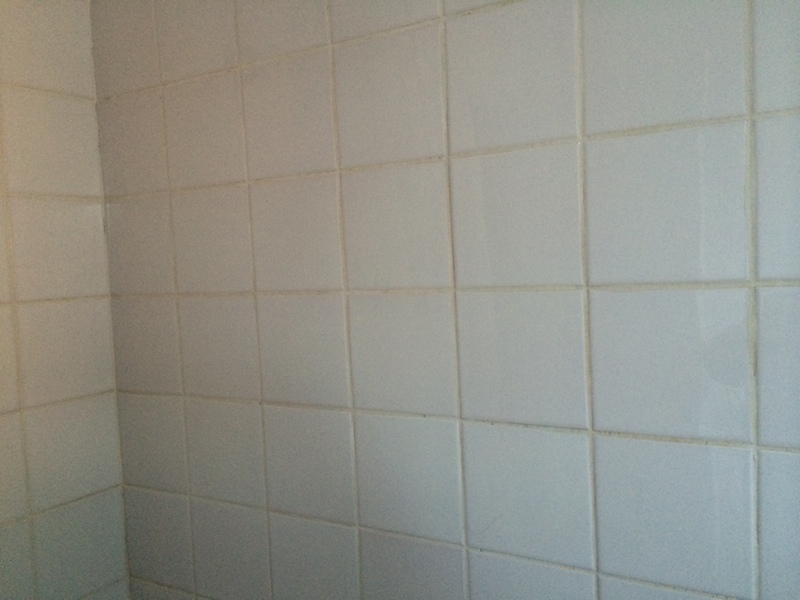
The grouting between the tiles is an off-white shade. At least, where it isn’t dank and in need of some good old-fashioned bleach, that is.

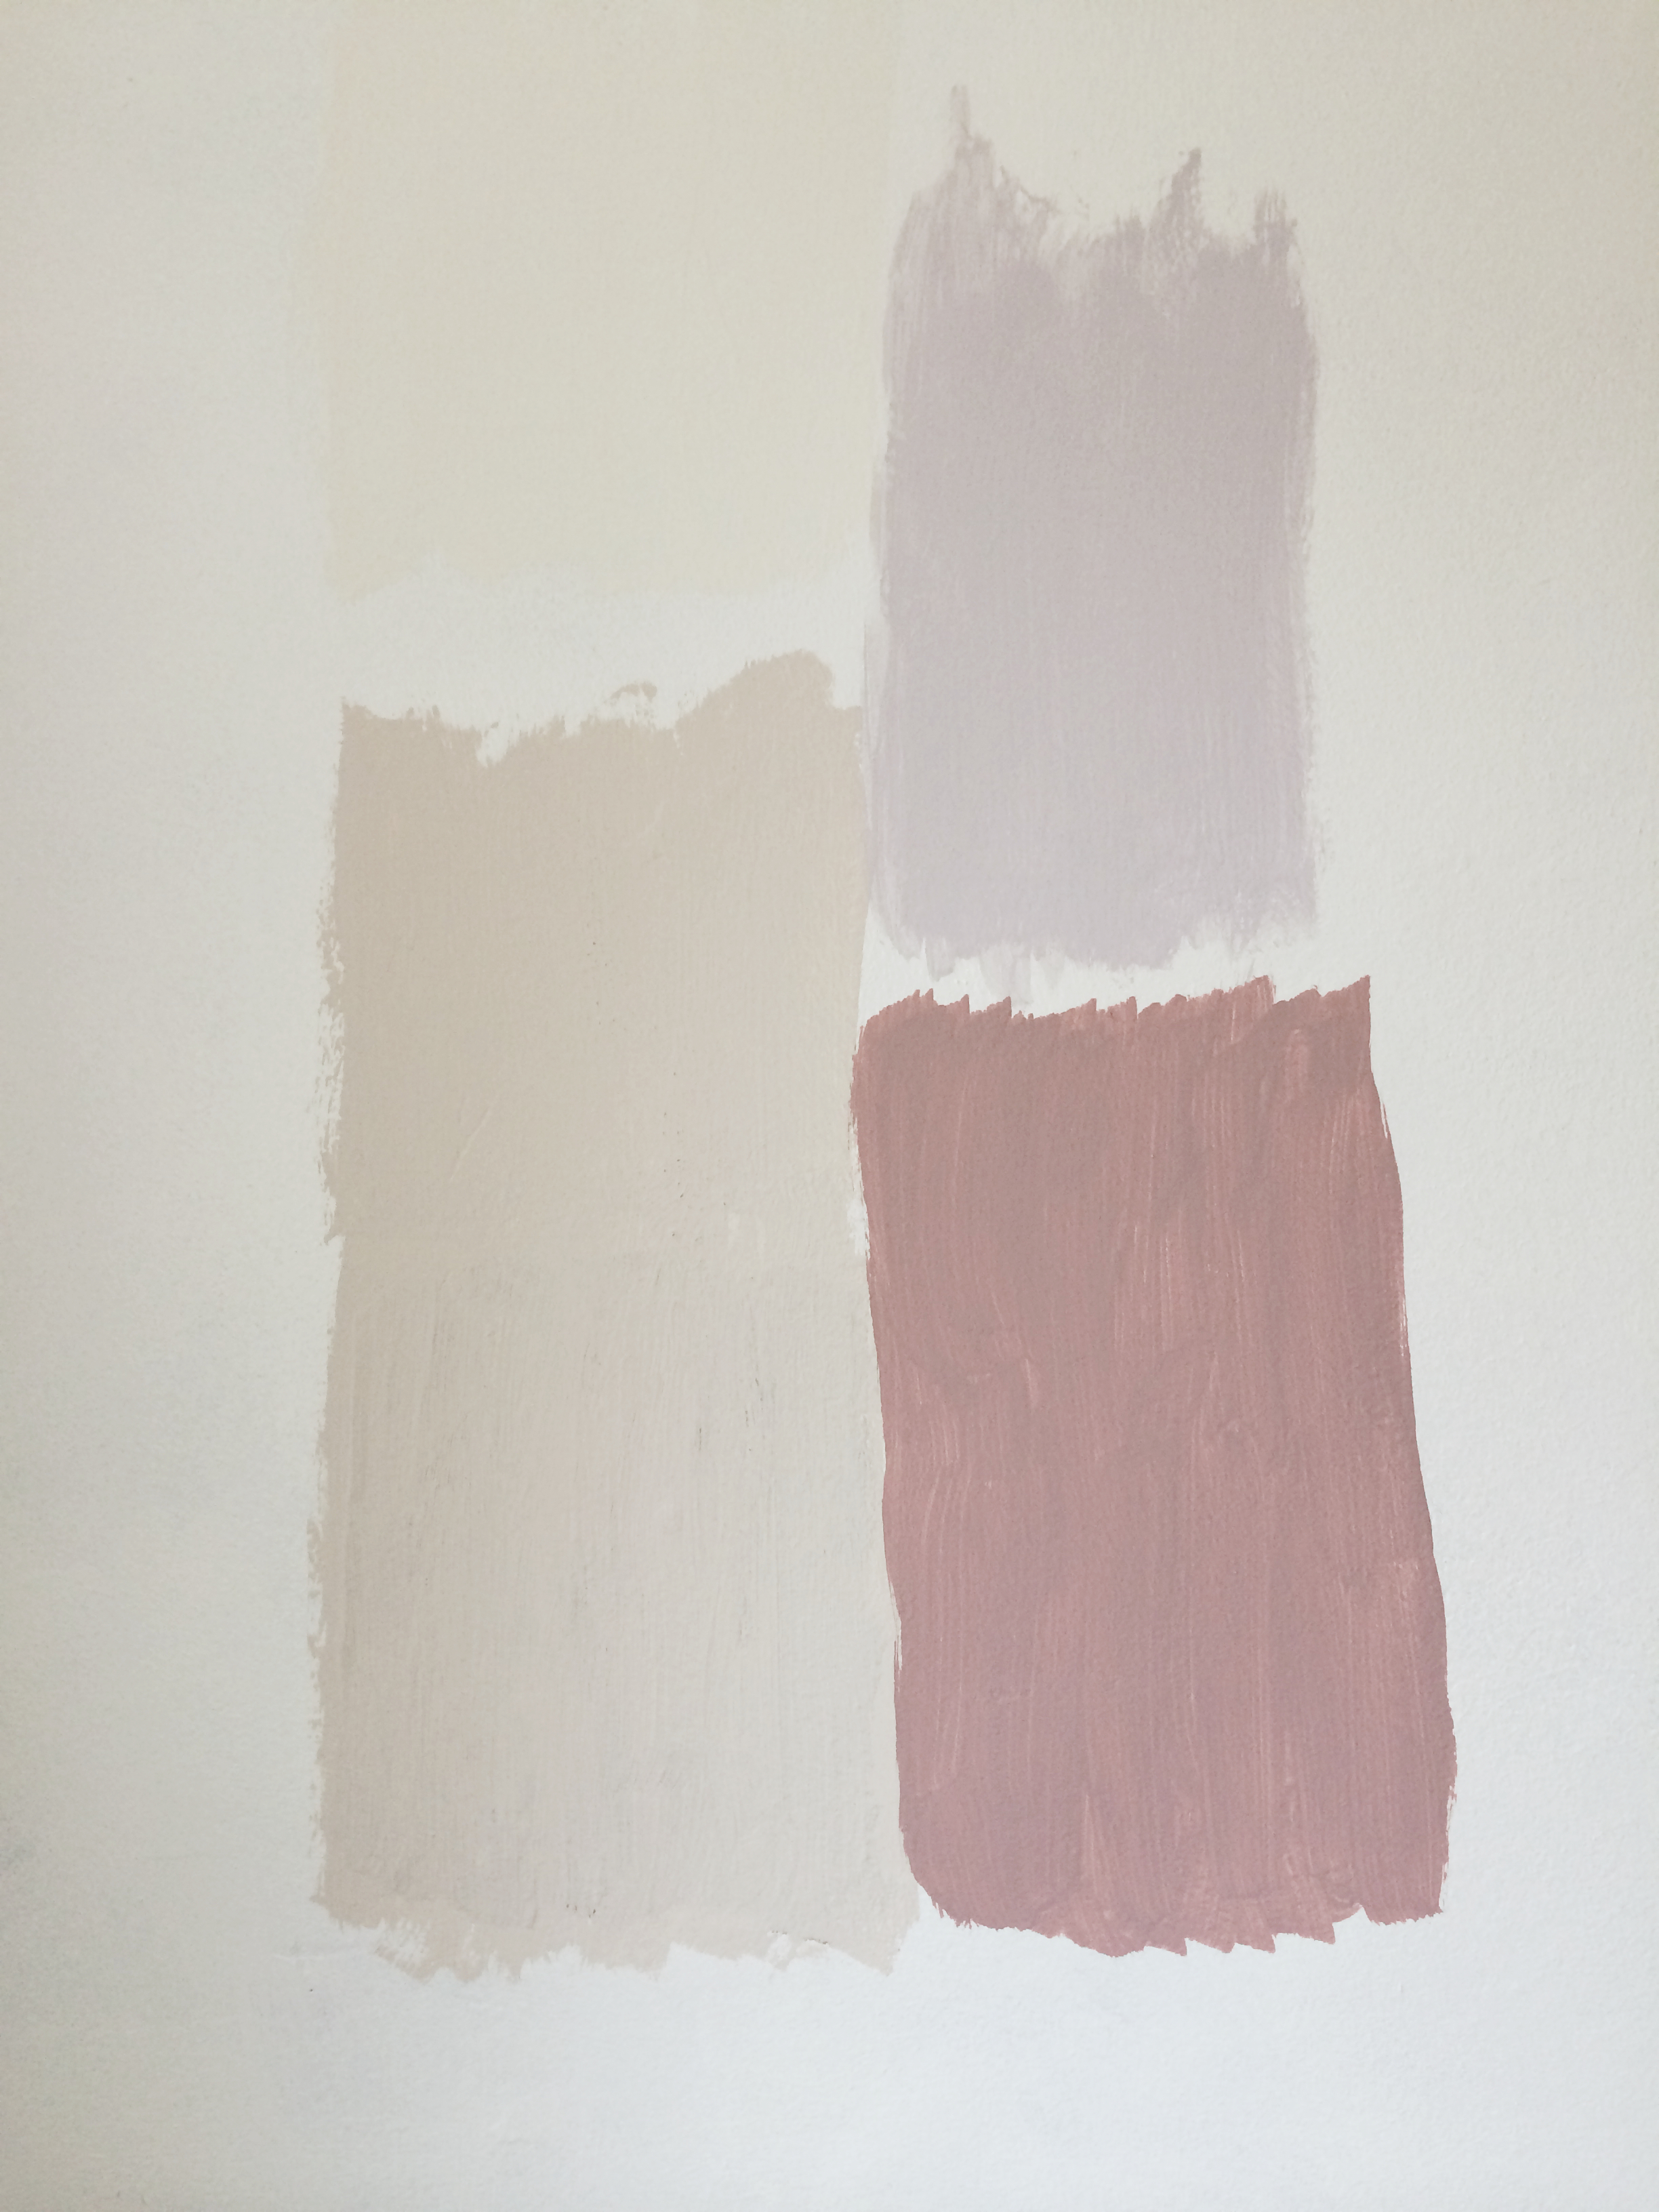
I can’t bear dank bathrooms. Ours is really uninspiring in the mornings. What with me still faffing over the paint colour and the tester pot blotches of every colour on the wall, well, it’s not the best place for your wake-up shower. So, it’s time to see how well this girl scrubs up.

bathroom-tiles-before

I washed all the tiles and the grout with bleachy water and let them dry. Then I used Unibond Grout Reviver in Ice White to touch up the grouting. The grout whitener comes in a tube with a sponge applicator, much like the white stuff you used to put on your tennis shoes all those years ago. It’s quite a task to rub the sponge over every line of grout over a wall and a half of tiling, but I put on the radio and listened to Iggy Pop on 6 Music and that kept me focused.

The instructions for the product suggest you leave it to dry for 30 mins before wiping off the excess with a damp cloth. Don’t make me laugh. If you leave it for 30 minutes you need to get a scourer and scrub every single tile. Which is what I did…

I also decided that it needed two coats. Some lines were super white straight away, but others looked a bit cleaner, not white.

bathroom after

The finished look is a vast improvement. The slight grey cast to the tiles seems to have gone since they’re no longer sitting alongside yellowing grout. You can still see where some grout lines are whiter than the others, but it’s still better than before.

My tips:

  • If you have yellowing grout just one light coat of grout reviver will knock back the yellow.
  • If you have frankly manky grout try a good scrub with a bleachy toothbrush then use two coats of the reviver to get your grout sparkling white.
  • Keep your application very even or you’ll end up with bright white blotches here and there, and you’ll have to touch up.
  • Wipe down the tiles within just a few minutes of application using a cloth and a flat hand to take the excess off the tiles but hopefully skim over the grout in between.
  • If like me you end up with dried white stuff all over your tiles use a window scraper to get the worst off and a green kitchen scourer to tidy up the rest.

If I were to do this again I think I’d go for the grout reviver pen, which is a more expensive option (you get less product for your money) but faster. You draw over the grout lines and don’t have to clean up the excess afterwards.

The bathroom is starting to come together. We’re missing a blind and some accessories but we’ll get that done once we’ve painted. What? No. No, I haven’t decided on a paint colour yet.

tricks of the light

The bathroom is a really cold room. It’s physically cold. It seems when the extension was built in the 70s they didn’t bother to insulate the walls or the floor. The encaustic tiles, though very trad and perfect in a utility/boot room, are just awful for a bathroom. The room feels cold psychologically too. There’s a slightly grey cast to the tiles (cheap tiles, I’d wager), the painted walls are finished in a high-sheen paint and the garden facing ours has the hugest conifer trees which mean the light coming in has a bluey-green cast, then reflected around the room by the shiny tiles and shiny walls.

I’ve tried four different tester pots of warm colours on the walls. I don’t like any of them. Warm white, I thought. That’ll do the trick. Boring. Beige with an undertone of lilac? Also dull. Grey-lilac? Still cold. Truffle? Ugh. Not for a bathroom. So we might work with what we’ve got and go for my first choice, which is a greeny-blue. And then I’ll cross my fingers that I don’t shiver every time I walk in the bathroom.

Update: I got my F&B tester pot haul yesterday. I bought a pink colour to use in a renovation project. Since the wall is already a mess I splodged some on the wall alongside the other tester patches. Here is the whole scary mess.

paint testers

Clockwise from top left: Dulux Jasmine White, Wilko Stardust, Farrow and Ball Cinder Rose, Dulux Walnut White.

ch-ch-ch-ch-changes

First change! Within days of moving in we noticed that the fanlight above the front door can be very distracting when you’re sitting in the living room. Although the living room layout will likely change, so it might not always be an issue, we decided to add some privacy film to make it less distracty.

I chose a design with a number eight on a transparent circle, and the rest of the fanlight is etched-look. It looks great, was easy to put up and does stop the play of the light, reflections, birds, whatever it was  that was catching our eye.

We bought this from purlfrost.com. I’ve used brume.co.uk before (I had their lovely “Kiss the cook” on the kitchen window which looked out over a path shared with next door) but this one turned out a little cheaper. I’d recommend either company, it’s mostly about finding the right design for you.

I also put the zinc flower troughs, which used to hang off the railings in our courtyard, onto the front window ledge. The geraniums have been little troopers all winter and are still putting on a good show. The vivid blue anemones have come out to join them and look very pretty bobbing their heads in the breeze.

So we look a tiny bit different from the outside now.

fanlight

fanlight