This has been a long journey. But we’re nearly there.
After discovering we have had woodworm we treated the floors before going any further. It’s very unlikely the woodworm are still hanging around, there’s no sign that they are active, but just to be on the safe side.
Talking of safe sides… woodworm treatments vary but some of them are exceptionally toxic, to humans, plants, other insects (like bees) and pets. I did some research and looked into what I could get hold of fairly quickly and we opted for a middle-ground. It’s a synthetic insecticide and in lab tests if ingested it does harm small mammals and some insects but the claim is that bees will be warned off before they get near enough for the insecticide to do any damage. You have to wear gloves and masks to apply it, but within an hour it’s safe for all.
It didn’t give a ‘time to dry’ on the packaging but we anticipated from overnight to 24 hours. How wrong we were. Five days later and it was finally dry.
So we resume the process.
First up: wood hardener. Because some of the boards have exceptionally damaged patches we had to use this or risk one of us putting our foot through a floorboard in the near future. It still feels a little risky given just how fragile some of the parts are along the path that leads from the dining room door to the kitchen.
This is actually a ‘wet rot’ treatment, but Dad recommended it as an easy way to toughen up the flaking wood before applying the wood filler. booyaa chopped up bits of wood to make little bits of scaffolding for the most damaged areas. He slotted them in to keep the fragile wood in place while treating them.
The hardener darkened the treated areas considerably and we couldn’t tell if it was because it was still drying out. After a week we decided that the dark patches were here to stay.
Some of the patches had toughened up a little. They were more stable and looked able to support the weight of wood filler. But there was one floorboard in particular that moved ominously if you stood on it. We finally plucked up the courage to investigate properly. That was when we saw that the board wasn’t just damaged on top. It was also falling apart on the underside. Lawks.
Much hand-wringing ensued. We decided that two or three boards were beyond repair. Time to bite the bullet. I called in Mr Joiner-Painter again. He said, “If I were you I wouldn’t bugger about. Pull these two…” prod, poke, mumble “probably these four boards up and replace them.” So that was that.
Mr J-P was booked in ten days hence to do more floor replacing. When he lifted up the boards he found what we’d expected, that the boards that looked ok from the top but felt wobbly to walk on were badly damaged underneath. But it was worse than we’d all thought. He salvaged what he could and we were left with one old board as an island in a sea of new boards, and then one third of the original floor grouped up to one side. 8 more boards had gone “next door”.
It was sad. And frustrating. And expensive. But I didn’t want an unsafe floor and it felt like we were spending time and money and not making progress. At least now we could get on with finishing the floor and use the room properly again.
On Friday night we cleared the room – again – so that we could get started first thing Saturday. I say first thing. By the time we’ve had breakfast and a second cup of coffee it’s always nearly midday by the time we actually do any work.
We finished off the few bits of sanding around the edge of the old wood, and gave all of the new wood a medium sand to make sure it was clean and ready for staining.
We used one coat of woodstain in ‘Victorian Pine’ on the brand new wood and left it to dry. We were hoping we might be lucky and the new wood would stain to match the old wood. Just like that. My backup plan was to do another coat of the stain across the whole floor.
I bought a floor stain brush and a big sponge for the stain application, having read arguments for both sides. We tried both and decided that the brush gave a better finish. The big chunky sponge wasn’t great for applying the stain but it was good for mopping up spills and excess stain.
The first coat went on and the colour was an astonishingly good match. We were both impressed. And quietly relieved.
Once the stain was dry we were ready for the first coat of varnish. It’s not traditional varnish. It’s what’s called a “hard wax oil” which makes no sense whatsoever to me, but it’s an as green as you get combination of oils and waxes which will, after two coats, protect the floor as much as varnish would. The plus side, on top of the eco credentials, is that it nourishes the floor at the same time.
For the oil we bought a fancy applicator which is designed to make the job cleaner and faster.
One of the plus sides of this type of non-varnish varnish is that it doesn’t need sanding between coats. We also bought the fast-dry formula so we don’t need to avoid the dining room floor for 24 hours. Because that would be interesting, since the only way you can currently get to the bathroom is via the dining room… We tossed ideas around about how we’re going to manage with no access to the kitchen or bathroom for what could be up to 8 hours.
The obvious solution was for the drying time to be overnight. Make sure we’re ready for bed bar this last coat of varnish. We could have jars of cleaner for the brushes and hand wipes ready, as we have no access to water once the dining rooom floor is out of bounds. Once the varnish is on we go straight to bed. We can both sleep for 10 hours if we put our minds to it, so the floor would be usable when we woke up. booyaa’s addition to this plan was (are you ready for this?) that we get a chamber pot “for emergencies”.
The plan was to do the coats on consecutive nights.
We applied the first coat, which is supposed to dry in 4 hours if the room is sufficiently well-ventilated. Since we couldn’t think of a better way of doing it, we left the windows slightly ajar, thinking that with 8 hours to dry it would work out fine. And it did.
But our consecutive nights plan was somewhat scuppered. The quantities recommended for the size of our dining room were hopelessly underestimated. We ended up leaving it at one coat and ordering another can of not-varnish and doing it two days later.
Same game of getting ready for bed and doing the varnish at 10pm and crossing your fingers you didn’t need to go to the loo in the middle of the night.
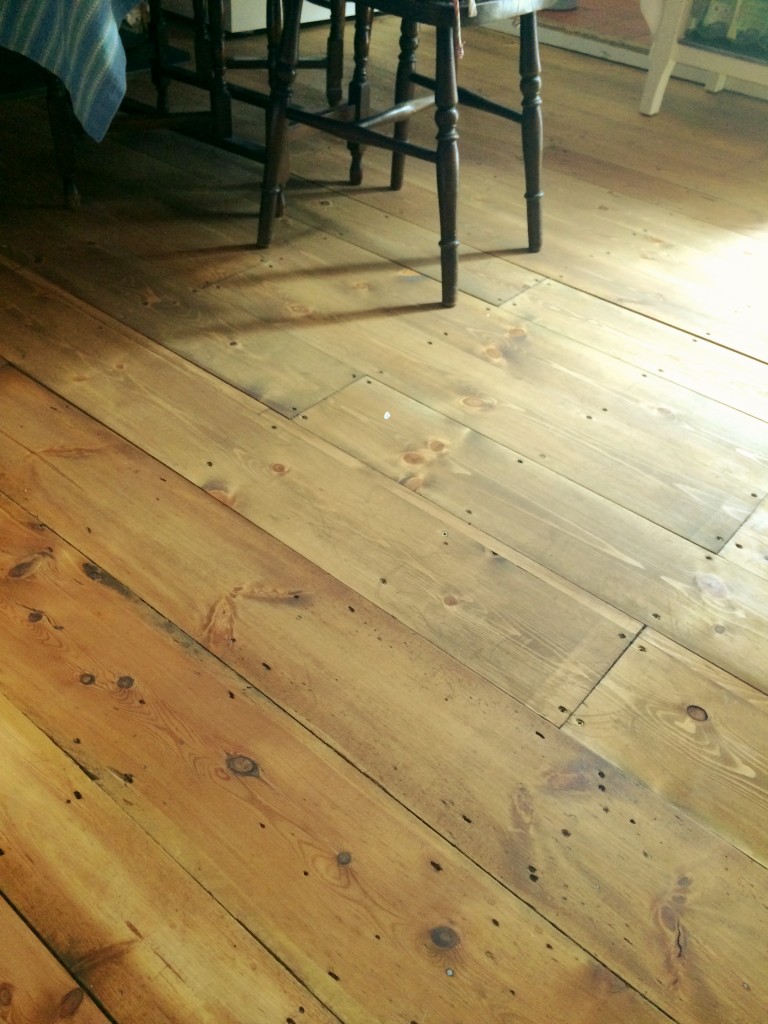
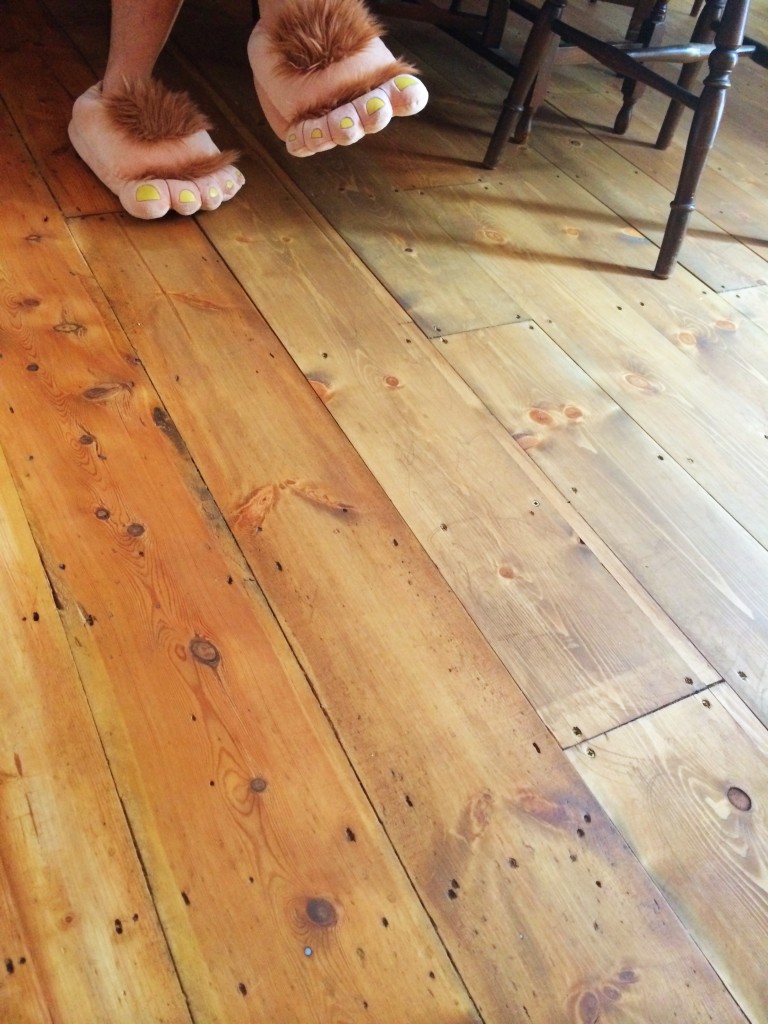
The final result is a very subtle matt finish. In a few places where the varnish went on a little thick there’s the merest hint of sheen. Mostly it looks like it’s bare wood. After applying the not-varnish we noticed that the original boards have a red hue which the new boards don’t have, so there is a difference between the old part and the new, but the new boards still, miraculously, look aged.
Well, it’s been a long journey, but we have a nice floor now. We both like it. And it’s ready to dance on.
(One of those occasions where the cover is vastly superior to the original. Go Lissy.)
PRODUCTS:
Mann’s water-based floor stain in Victorian Pine
Osmo Polyx Oil Rapid in Matt
Both from wood-finishes-direct.com


