
The staircase is a narrow, steep death-trap. It’s also that special shade of used-to-be-white that’s just depressing. When we moved in the stairs were carpeted but we pulled the carpet up at the same time as the dining room.
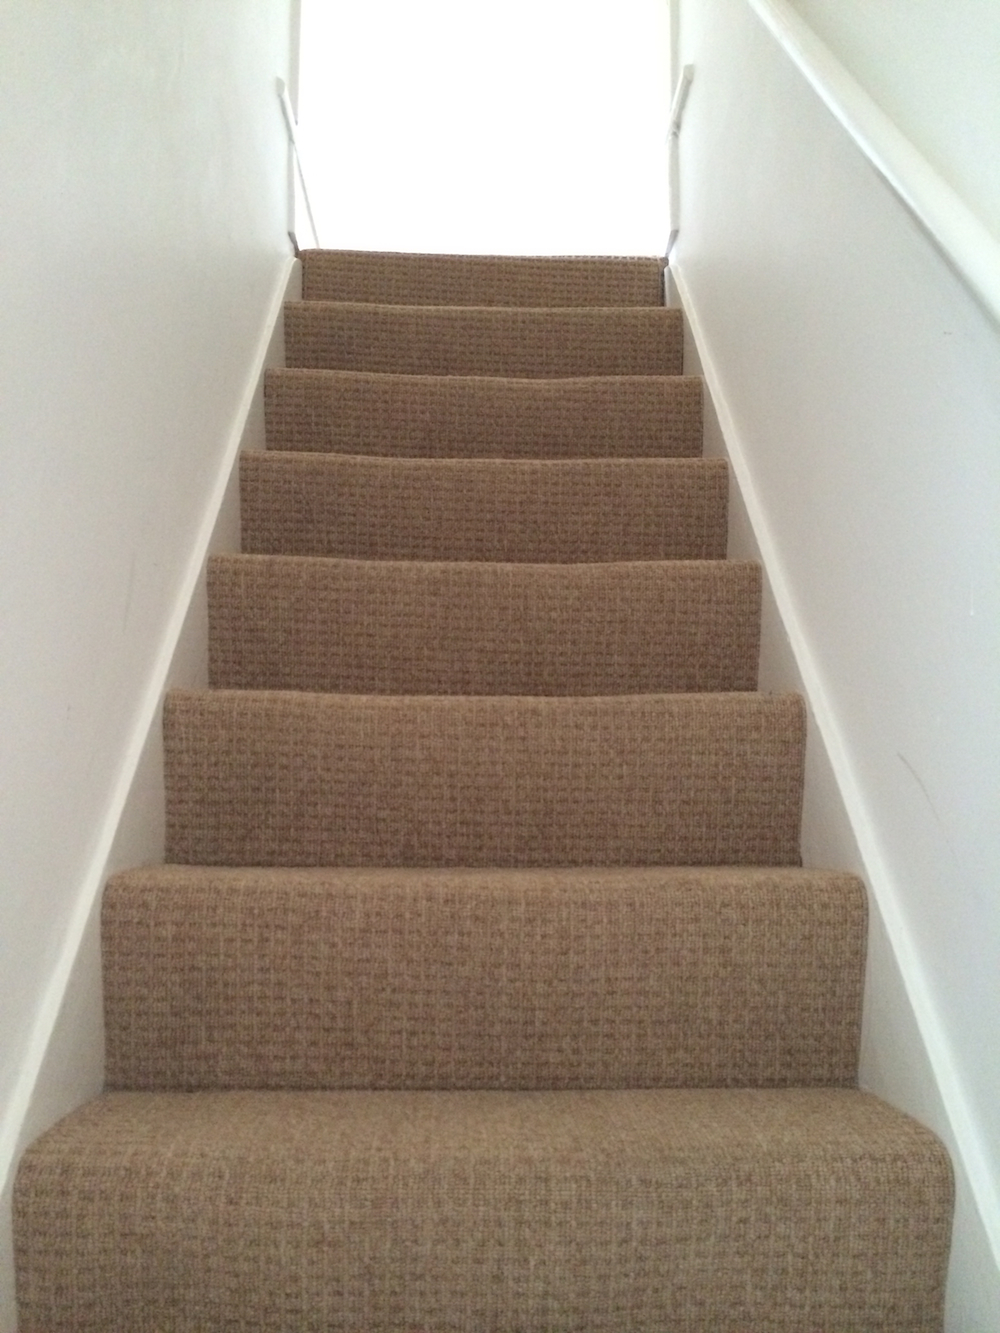
before: carpeted stairs
Looks pretty clean and shiny in the photo, but it didn’t feel like that in real life.
Once the carpet was up we discovered what it had been hiding. The treads on the stairs are very worn down in the centre and in some places creak ominously. We know we’ll have to put new treads in eventually but for now we’ve stabilised the parts we were concerned about. Lengths of 2×4 screwed under the tread, if you must know.
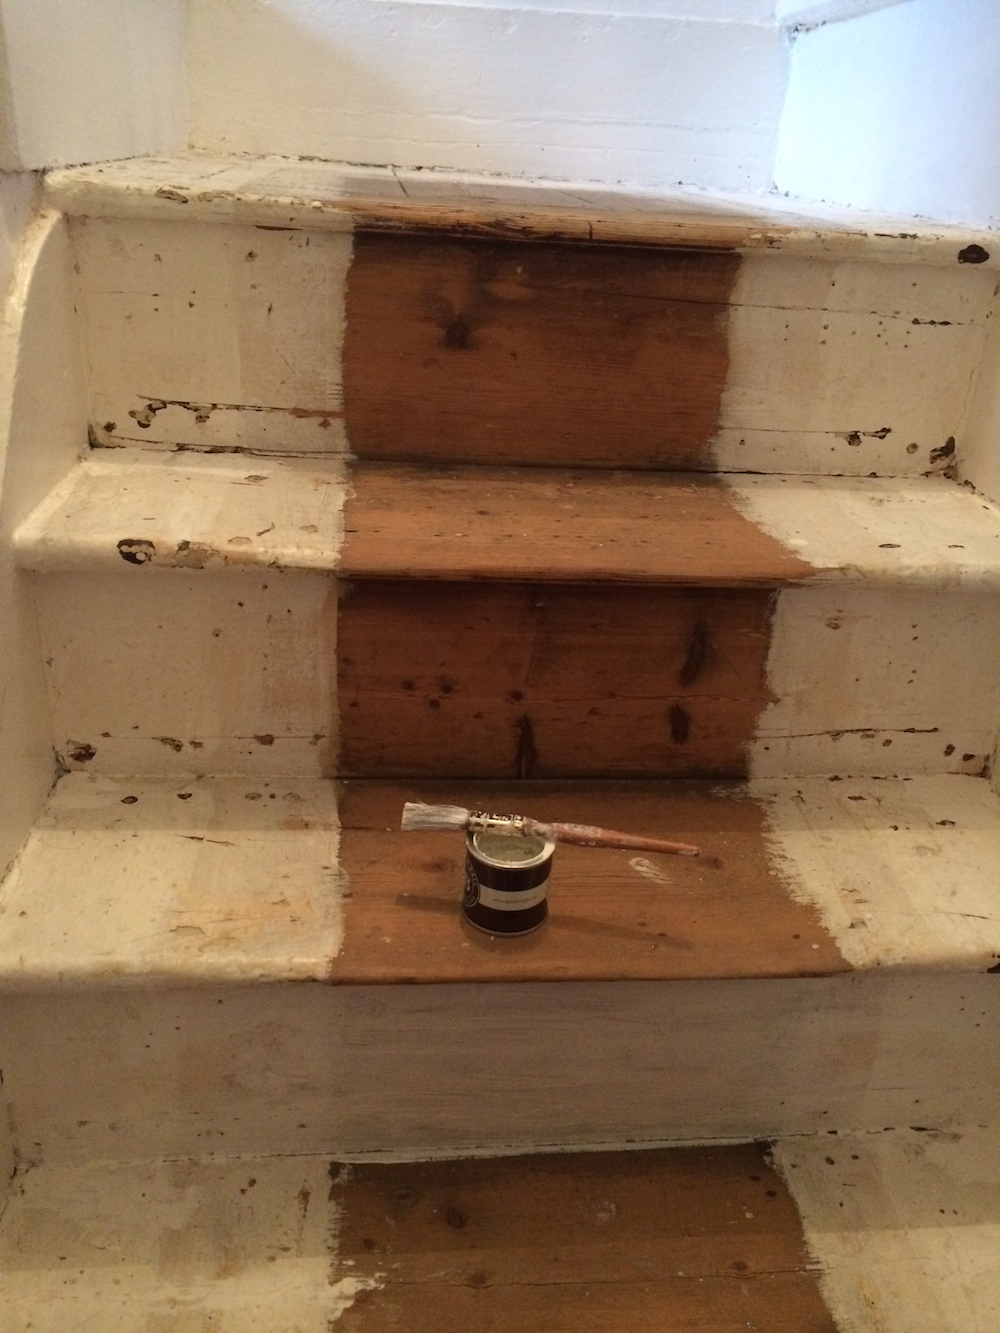
stripped stairs ready for primer
Then scrubbing, polyfilla-ing where the stair rods used to be nailed down, sanding, touching up. Two coats of primer and two coats of paint (it’s not floor paint, so this may turn out not to last very well) on the treads. The risers were painted using up tester pots and mixing them to make the inbetween shades. This was booyaa’s idea. I think it’s great. Because it’s emulsion they have a coat of varnish to stop them becoming instantly scuffed.
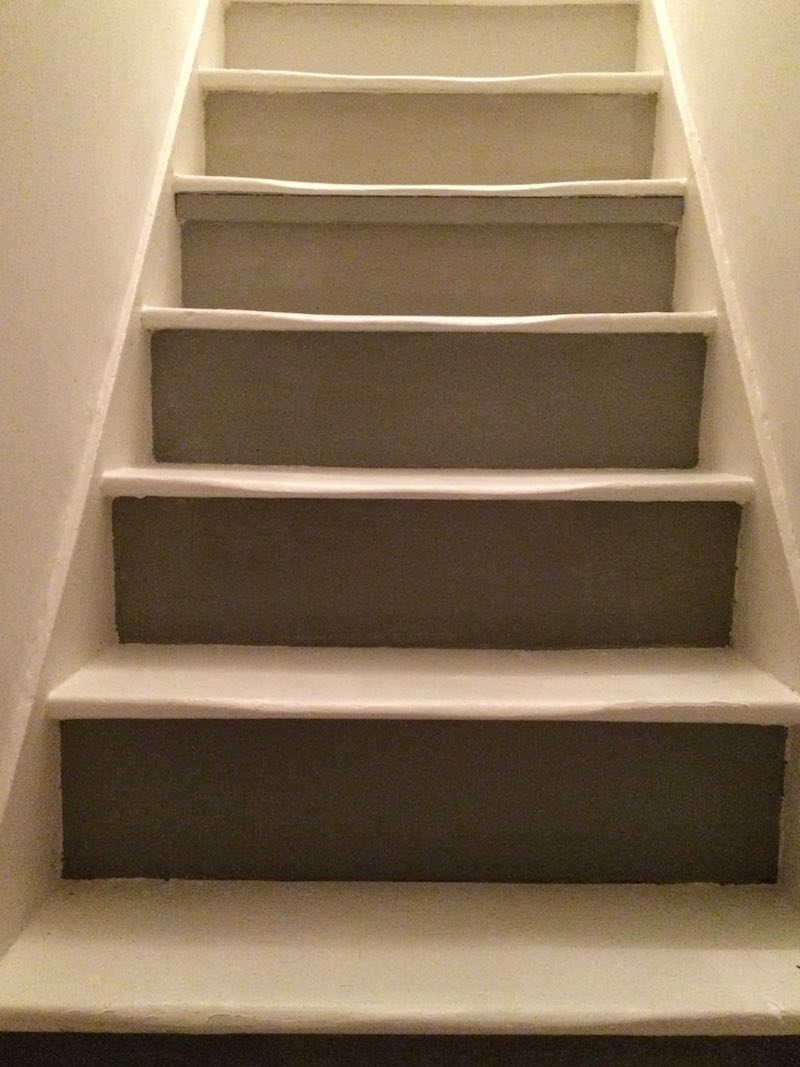
stairway to heaven
(what?)
There was only a handrail on one side, but given the staircase’s perilous nature, we’ve added a twin to the left hand side too. (Massive thanks to Dad the DIY Superhero for helping with this.) We couldn’t get an identical match, but once it’s painted we think it’ll blend in just fine. Both the wall and the handrail seem to avoid doing things in straight lines so we’ll have to fill a few gaps between the rail and the wall to finish off.
So, we’ve the handrail to paint and a coat of light grey paint on the lower part of the wall to cover scuffs. We could really do with painting from the handrails up to the ceiling but we’re leaving that until later.
We’ve also tried different colours on the tall wall at the top. I first tried a dirty pink which goes well with the bedroom walls alongside, but it just didn’t do it for me once it was up. So we’ve gone green! The new colour works brilliantly with our chandelier and when the light’s on it creates a bluey-green moving shadow which makes it feel like you’re underwater. Every time I walk past I think I’m a mermaid and that’s a pretty cool thing for a tiny landing to achieve.
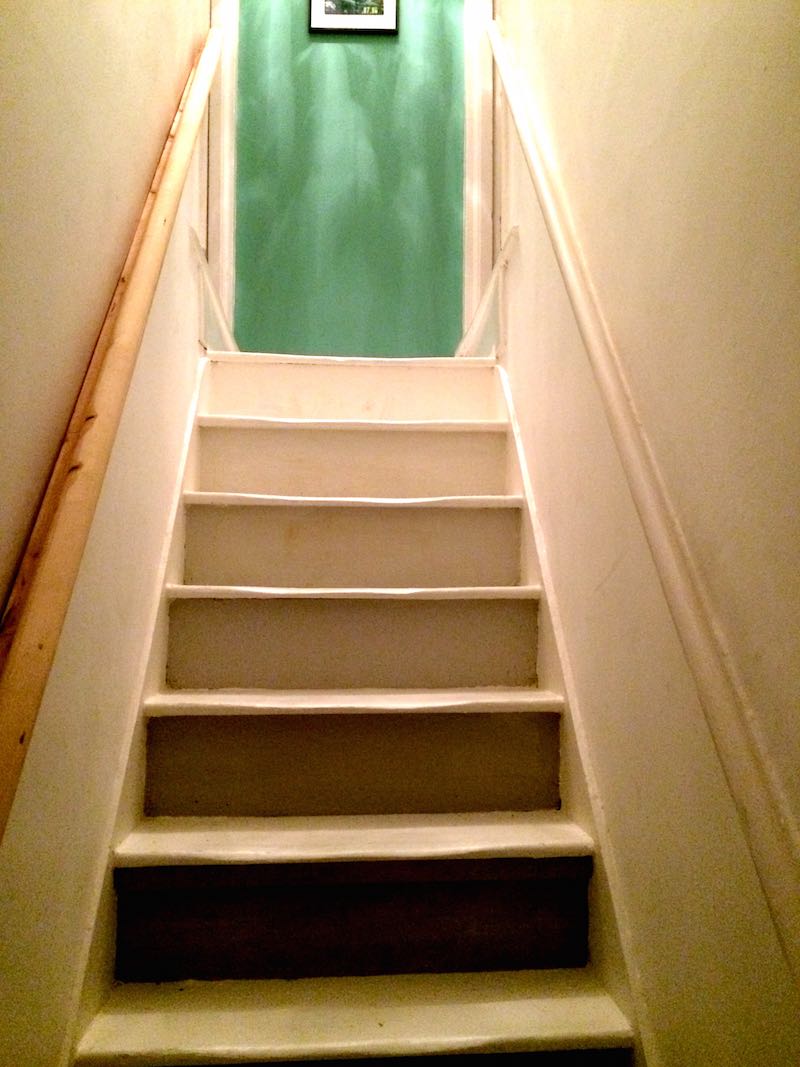
sea green landing
Last thing to do is start on our ‘gallery’ on the very high wall that you can only see on the way down. You’ve got the lovely green wall to keep you entertained on the way up. Because it’s quite hard to reach we’re going to attach 3 rows of picture shelves then we can swap things and move them around without needing a ladder everytime there’s a new photo of our gorgeous nephew to add.
Please don’t trip on your way down.