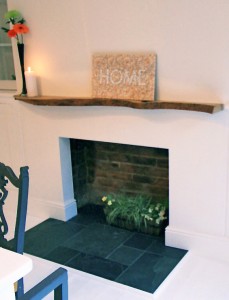
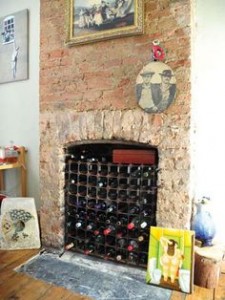
We want to install a woodburner in the living room so this project feels like a practice run. We decided to open up the fireplace in the dining room. We don’t need a fire there, I just want an empty brick recess where a fire would’ve been. It seems strange to me to have a chimney breast and not even a nod to its purpose. In my head I envisage something like this:
We look up information on chimneys and fireplaces. We read blogs of people who’ve already done something similar. We trawl through the DIY forums and watch some timelapse of people renovating a boarded up fireplace. Then we gird our loins and go for it on Sunday after breakfast.
We move everything out of the way and since we can’t find the plastic dustsheet from painting we cut up bin bags to seal off the kitchen archway.
booyaa uses a crowbar to prise off the skirting board, which we’ll cut up and refit once the chimney breast is replastered around the new fireplace recess.
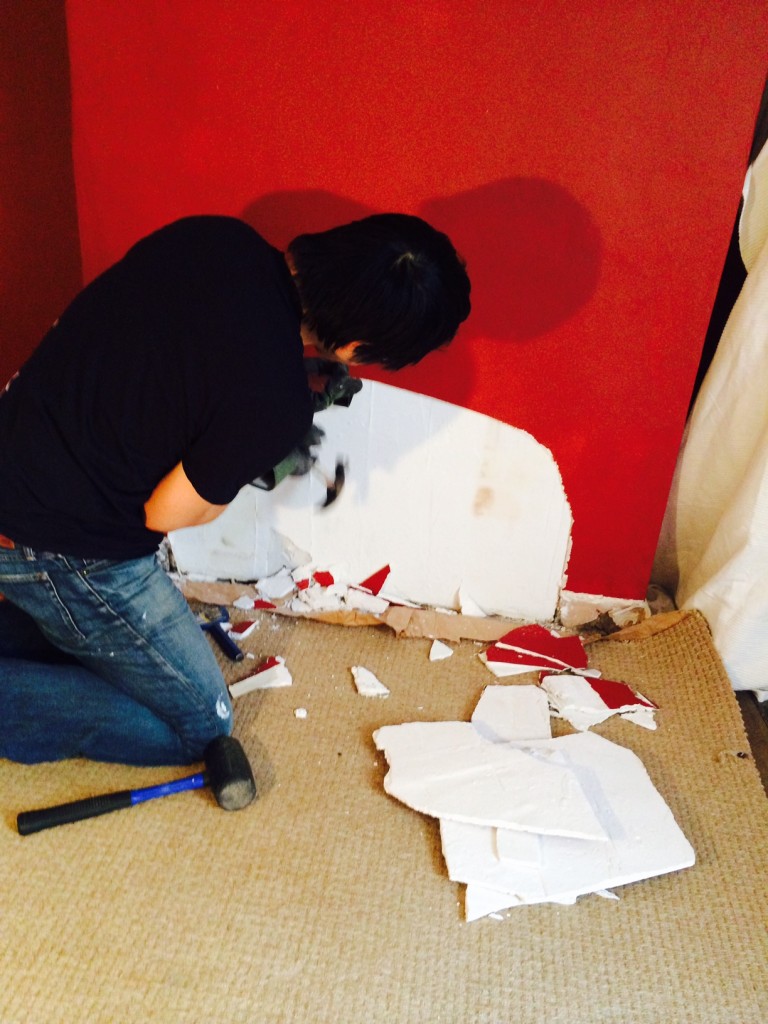
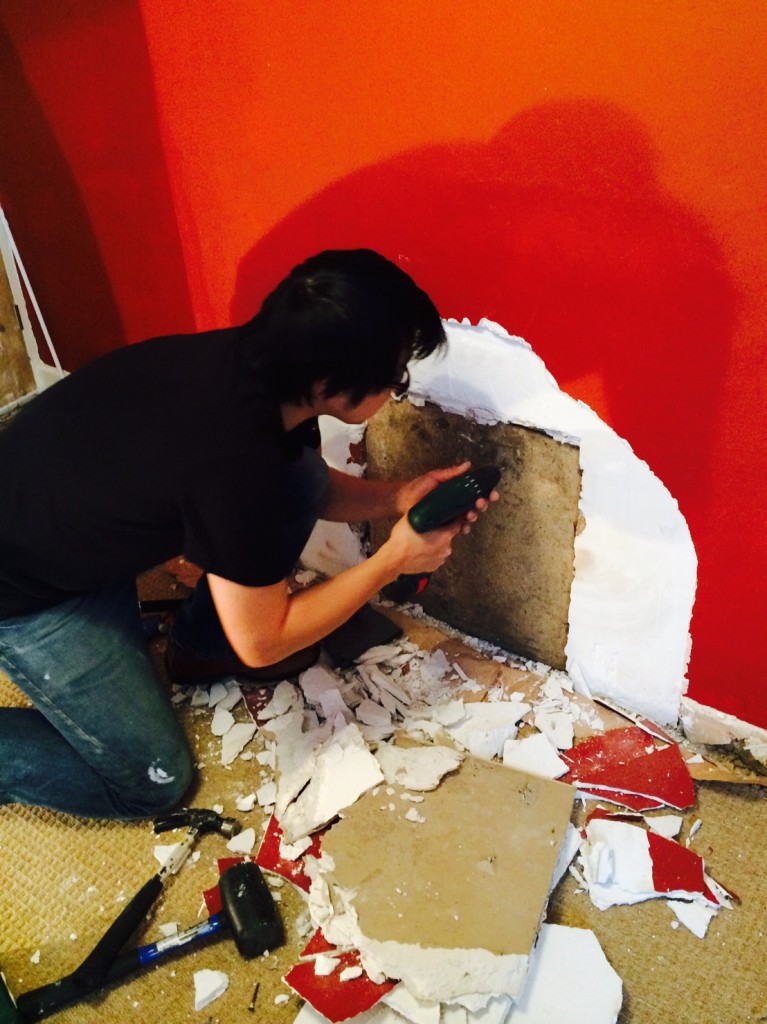
booyaa gets his dust mask and gloves on and starts chipping away at the plaster with a chisel. Great sheets of plaster come loose easily. We get quite excited that it’s going to be a really easy job.
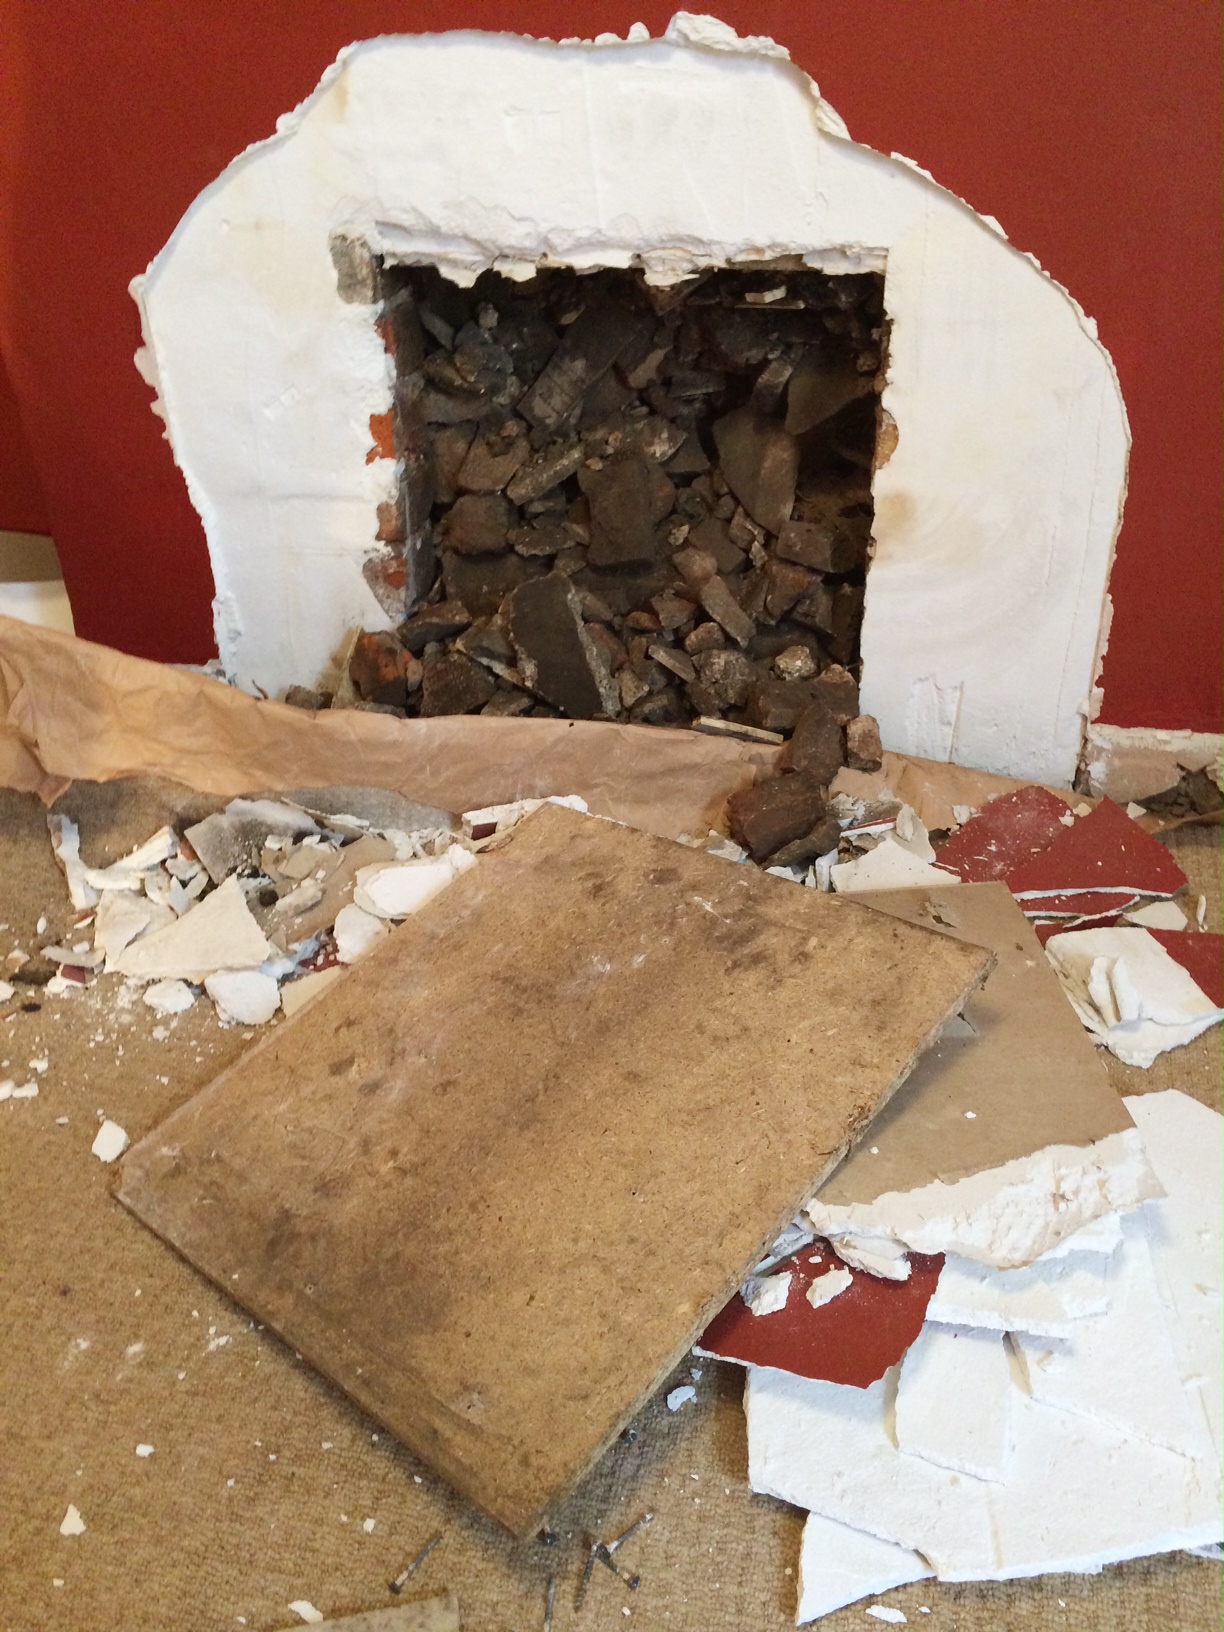
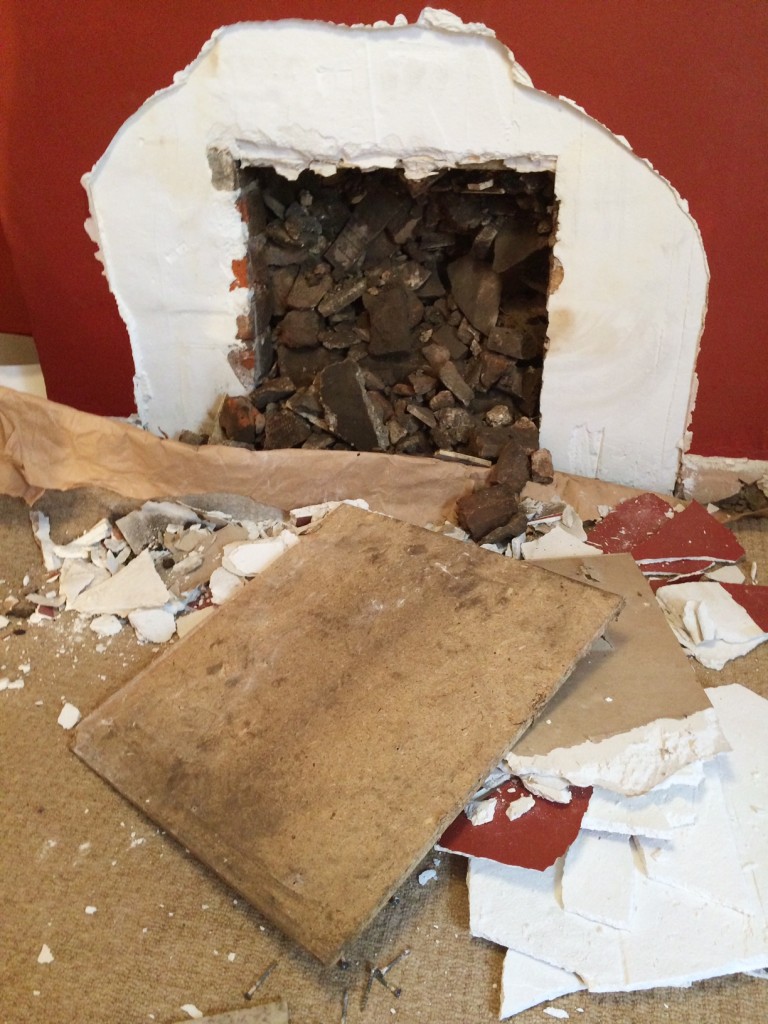
Ten minutes or so later we can see the board in ‘boarded up’. booyaa chips away a little more to expose the whole board. It’s screwed in (to what?) so a few whizzes of the electric screwdriver and we’ll have an unboarded fireplace!
Oh. Too soon with the fanfare. The boarded up fireplace was hiding a substantial pile of very sooty rubble. Oh lordy.
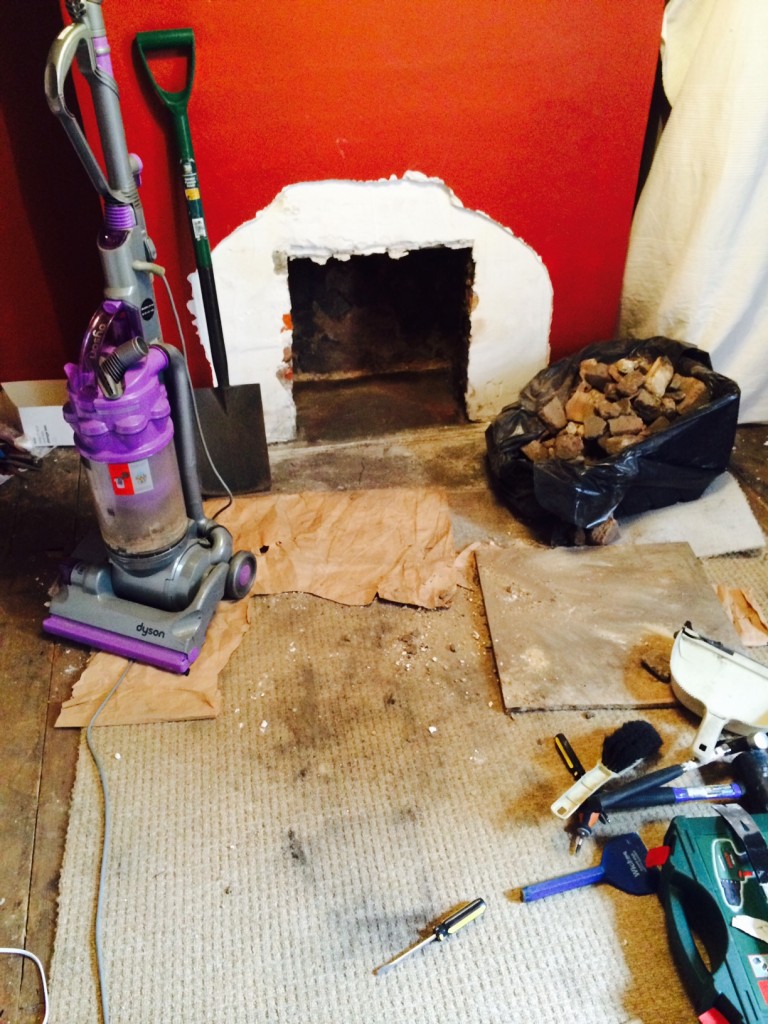
So the clean up begins. Two bags of rubble to go to the tip. With no car, that’s going to be interesting. (Edit: it’s sitting in the back lane while we wait for the fairies to take it to the tip for us.)
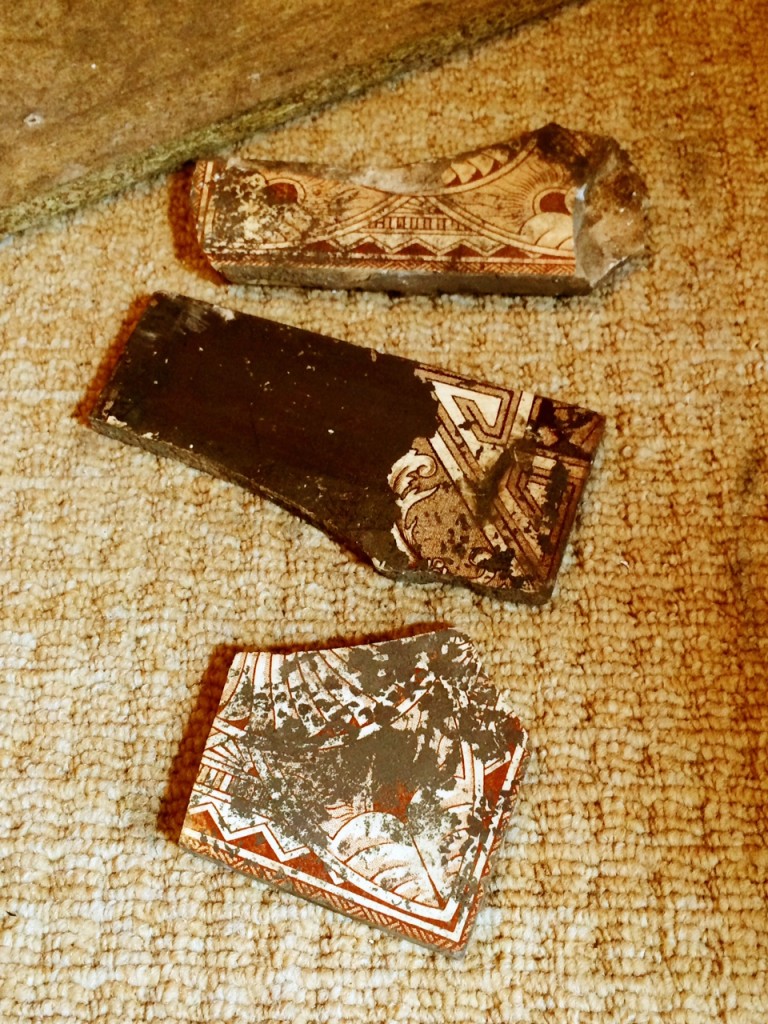
On the plus side, we found some remnants of what were probably the original hearth tiles. Not a single of one them had survived intact. Such a shame.
All in all it took us about 4 hours to complete this part of the project. Most of that was clearing the rubble and cleaning the soot.
booyaa looked like a Victorian urchin by the end of it. He was taken out to the garden and hosed down. Just kidding. He did have a very long shower and everything he’d been wearing went straight in the wash. He was exhausted and grouchy by the end of it. It’s not a project for the faint-hearted. Pie for dinner definitely helped soothe some of the aches.
Next steps
Given the amount of rubble we found and the gusts of wind that come down the chimney now the board is off we’re slightly concerned about the safety of the chimney. So we’ve arranged for a fireplace and chimney expert to come and tell us if we need to do anything with it.
Then we’ll tidy up the exterior, scrub the bricks and seal them with acrylic varnish, replace the skirting on the chimney breast and voilà – all done.
Further reading
Here are some of the places we found useful information about opening up a boarded fireplace.
Good photos of each step at this home renovation blog.
Little House on the Corner. We love this blog. They’ve already done many of the same projects as we have planned, and in a thoughtful modernising-whilst-being-true-to-the-heritage-of-the-building way that we hope we’re doing too. Here they’re installing a woodburner and achieving a modern, crisp finish.
Also useful was this Reader’s Digest post. (I know! Reader’s Digest being useful. Whatever next.)
And finally, for sanity-checking, we read through the Stove Fitters’ Manual.
(Aside: I recently heard an anecdote of a colleague saying, “Why does anyone bother writing a blog these days, who cares what you have to say?” etc. It struck me just how helpful it’s been for us to read other people’s blogs. I am eternally grateful to everyone out there blogging their renovation projects. Keep doing it! Ignore the sceptics. Haters gonna hate.)

